
Before you begin
Unsure which version of macOS you have installed on your Mac? Click on the ‘Apple’ icon within the menu bar located at the top of your macOS desktop and select ‘About this Mac’. A new window will open and display the host system’s macOS version.
Please note, this guide describes the DisplayLink Manager installation process using macOS 26 Tahoe. The process is very similar when using macOS 15 Sequoia, and macOS 14 Sonoma, however there may be slight differences due to the specific operating system version in use.
Guided Video Demonstration
For those who prefer, we have a video demonstration of the installation procedure available (an embedded link is below). The video demonstrates the process on macOS 26 Tahoe, however the process is virtually identical in macOS 15 Sequoia and macOS 14 Sonoma.
For those who prefer, a detailed text-based description of the installation process (including screenshots) is available within the sections below.
How to install the DisplayLink Manager application
IMPORTANT NOTE - The screenshots in this article (and the demonstration video) were produced using macOS 26 Tahoe however the process and appearance is virtually identical in macOS 15 Sequoia and macOS 14 Sonoma
1. Download the correct version of the DisplayLink Manager Application for your version of macOS from here → https://plugable.com/pages/displaylink
2. Double-click on the file you downloaded to start the application installer:

3. From within the ‘Introduction’ section of the application installer, click on the ‘Continue’ button to start the installation process:

4. After having read the license information from within the ‘License’ section of the application installer, click on the ‘Continue’ button

5. Click on the ‘Agree’ button in order to agree to the software license agreement.

6. From within the ‘Installation Type’ section of the application installer, click on the ‘Install’ button:

7. When prompted, please enter your system password and click on the ‘Install Software’ button to start the installation. The installation process will begin:

8. The application installer will notify you when the installation process has been completed. Please click on the ‘Close’ button in order to close the application installer.
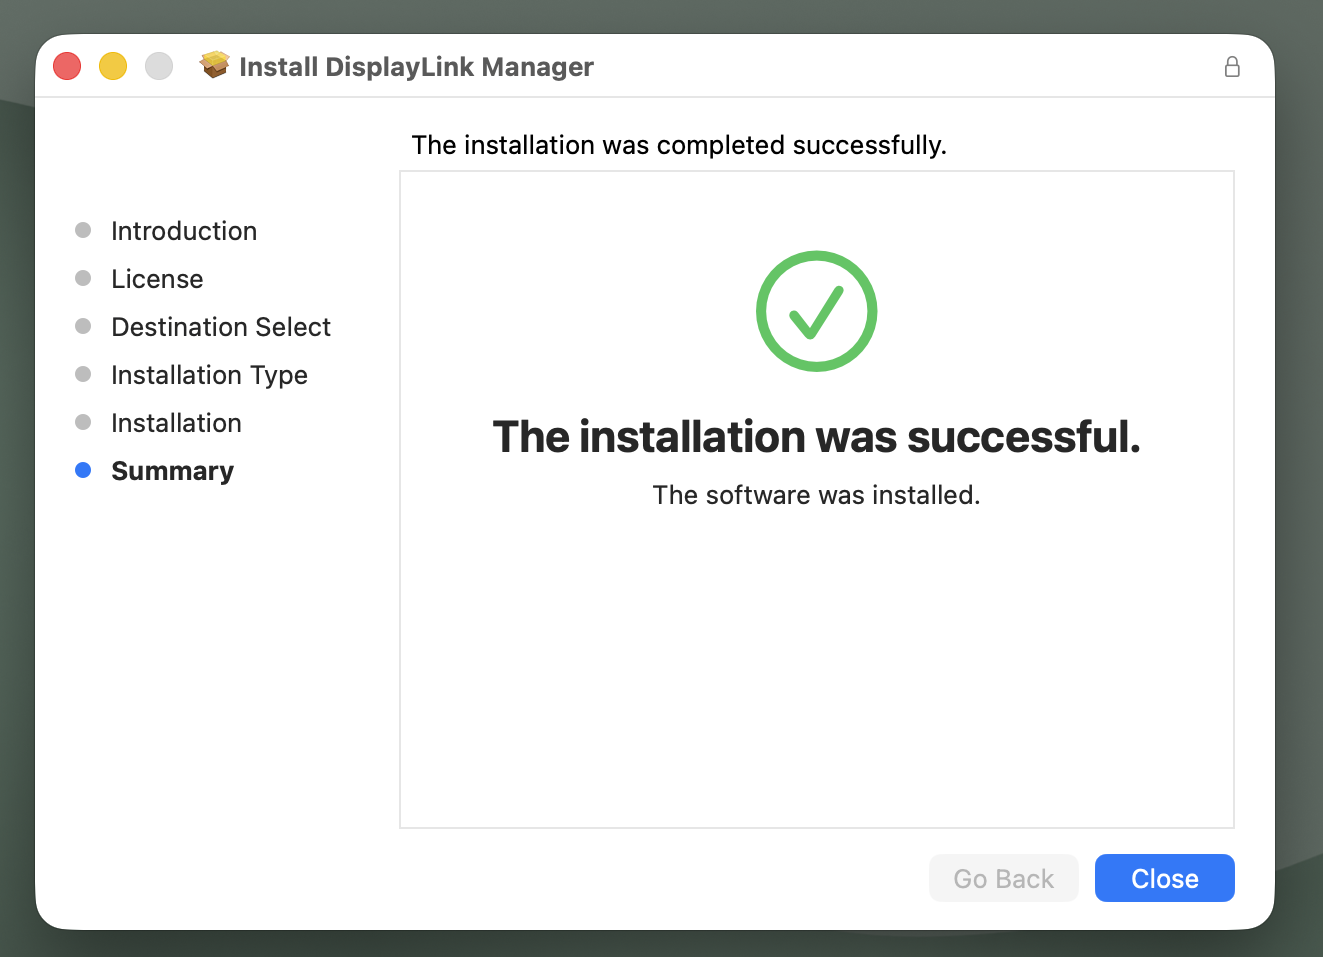
IMPORTANT NOTE - If the installation process does not complete successfully, please see this knowledge base article --> https://kb.plugable.com/question/1807081 for a list of potential causes and possible solutions.
9. Once the initial installation process has been completed, you should see a request from the DisplayLink Manager Application to allow the application to display notifications, when necessary. Click on the ‘Options’ button within the request and click the ‘Allow’ option
Note, we have more information in regard to notifications while using DisplayLink on macOS here → https://kb.plugable.com/question/3137440

10. You should also see two Login Item notifications from macOS:

Both notifications are intended to inform that the DisplayLink Manager Application can run in the background once you have logged in to the host Mac.
These notifications are informational only, and can be freely dismissed.
IMPORTANT NOTE - The DisplayLink Manager Application must be running in order for any monitors powered by DisplayLink technology to function.
11. Starting with DisplayLink Manager version 16.0 and later versions, a DisplayLink Installation Wizard will now appear and the DisplayLink Installation Wizard is composed of three steps.
The first step of the Wizard is to ensure that the required Background Activity permissions are in place (as described in step #10) and this step should be completed automatically.

12. The second step of the Wizard is to connect your DisplayLink device to the host Mac. On portable Mac computers (such as laptops), depending on how macOS is configured you may see a prompt to allow the accessory to connect. If prompted, please click ‘Allow’.

13. Once the DisplayLink device is connected, the third step of the Wizard is to grant permission to the DisplayLink Manager application to record your screen within the macOS System Settings. Click the ‘Open System Settings’ button at the top of the DisplayLink Installation Wizard in order to open the System Settings application.
IMPORTANT NOTE - The DisplayLink Manager Application does NOT in fact record, store or transmit any information. This permission must be granted in order for the DisplayLink Application to access the information it needs in order to generate the image shown on the DisplayLink-connected displays.

14. After clicking on the ‘Open System Settings’ button, the macOS System Settings application will open, with the ‘Screen & System Audio Recording’ section opened by default:

15. Click the toggle switch next to the ‘DisplayLink Manager’ entry in order to grant the required permission. When doing so, you will be prompted to enter your password. Enter your password and click the ‘Modify Settings’ button to continue:

16. You will be prompted to ‘Quit and Reopen’ the DisplayLink Manager application in order for the change to take effect. Please do so:
17. As a result of quitting the DisplayLink Manager Application, the DisplayLink Installation Wizard will disappear momentarily. The DisplayLink Installation Wizard will reappear once the DisplayLink Manager Application has been reopened.
18. You will receive a notification from macOS to allow the DisplayLink Manager application to access your screen and audio. Please click the ‘Allow’ button to continue:

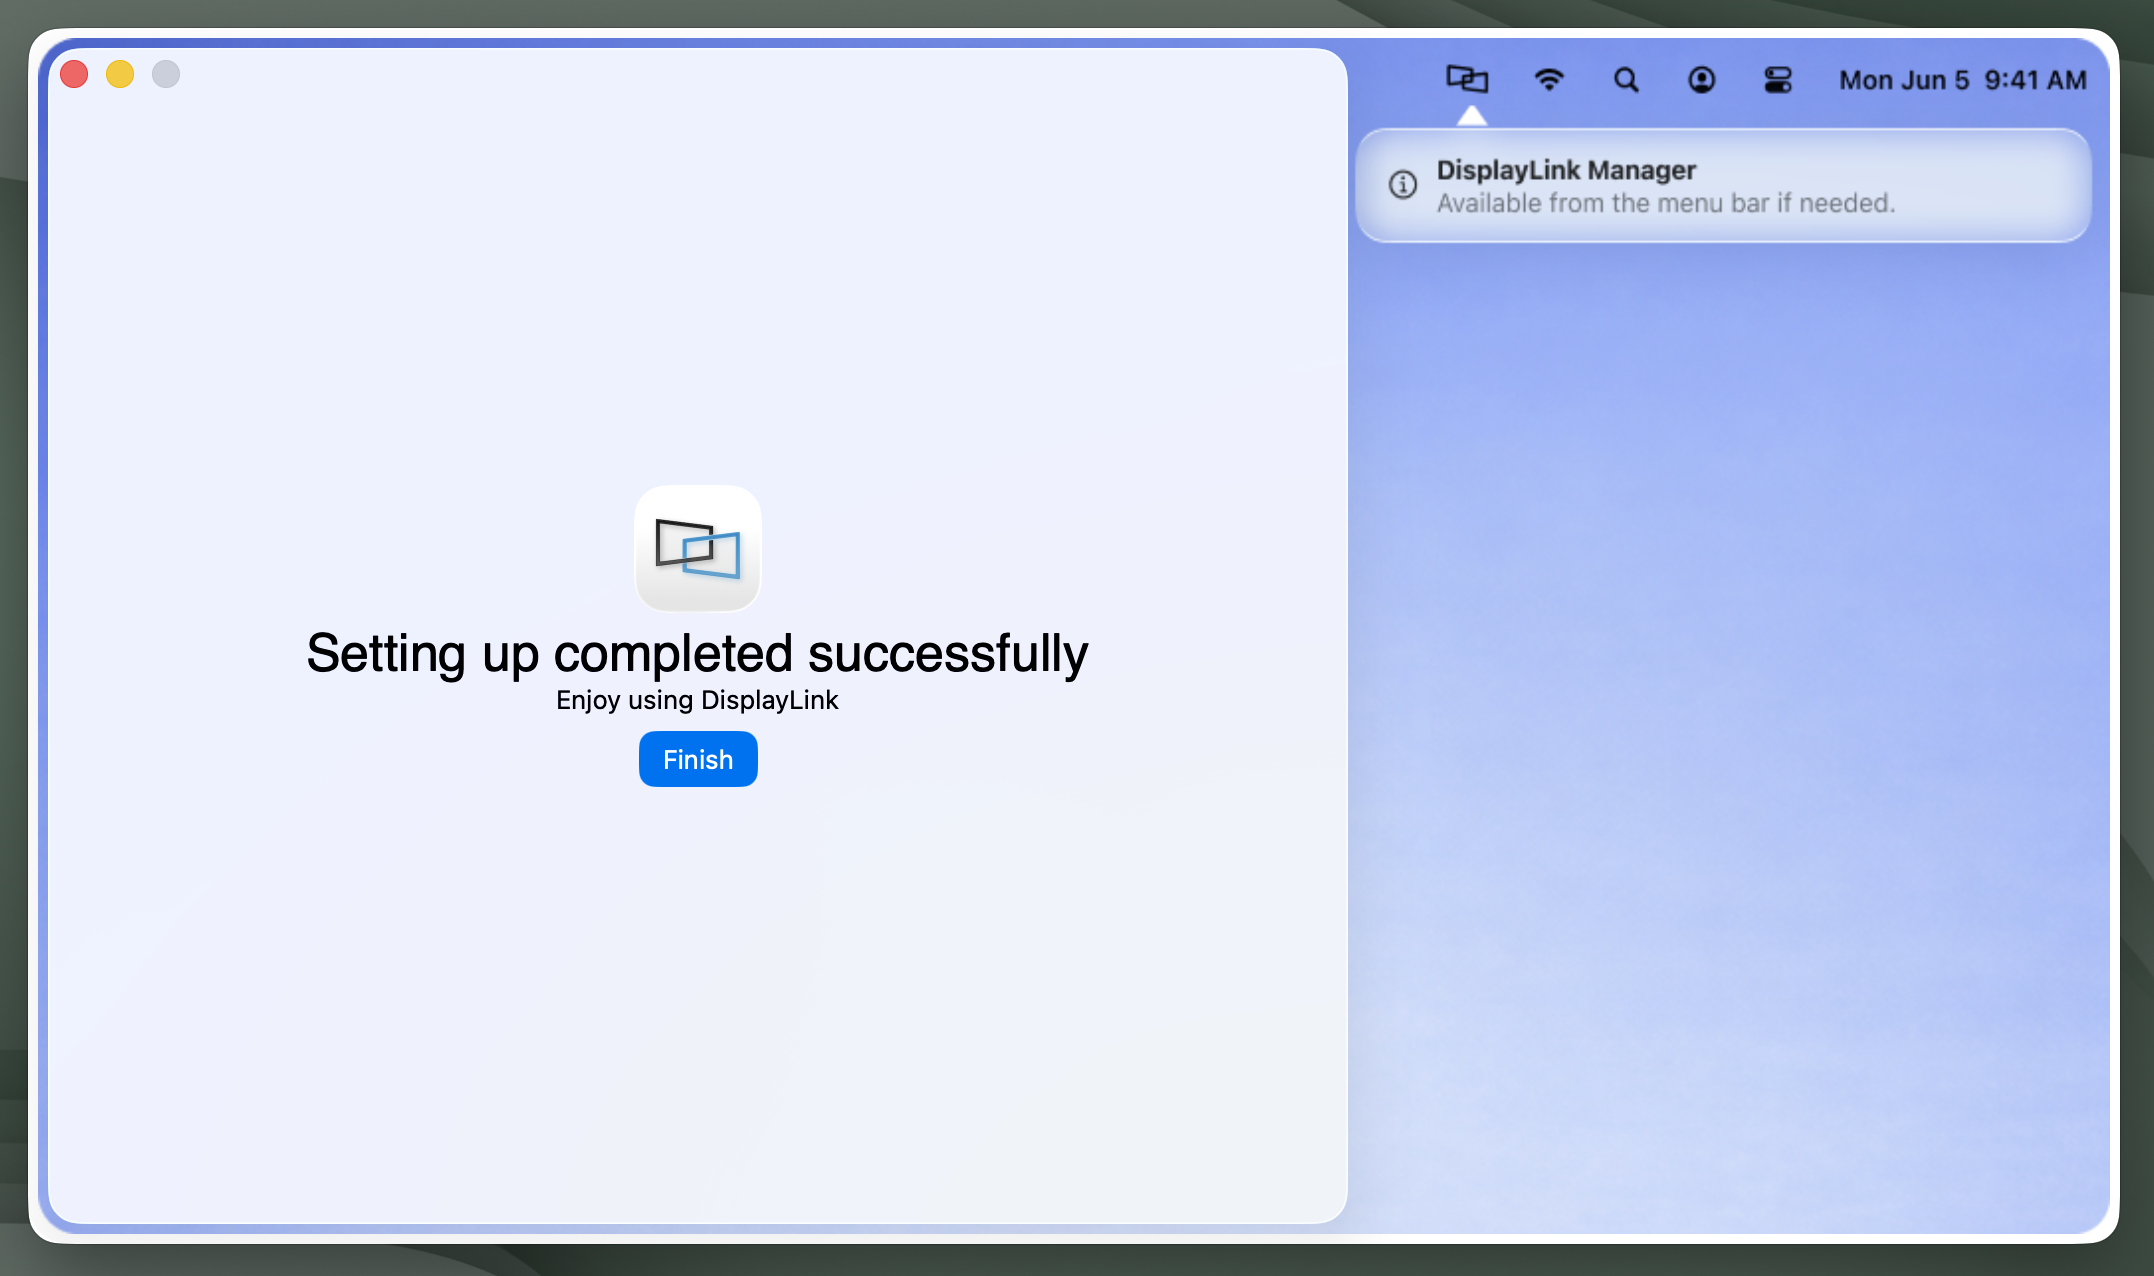
19. When the DisplayLink Installation Wizard reappears, it should indicate that setup has completed successfully. Click the ‘Finish’ button to close the DisplayLink Installation Wizard.
20. Once the DisplayLink Installation Wizard has been completed, the macOS System Settings application window as shown in step #14 may still be visible. If still visible, please close the application window.
21. Once the System Settings application has been closed, a macOS prompt to open the System Settings application window may be visible. If visible, the prompt can be dismissed by clicking on the ‘Deny’ button. No changes will in fact be made, as the necessary changes will have already been completed as of step #15.

IMPORTANT NOTE - In macOS 26 Tahoe, macOS 15 Sequoia and macOS 14 Sonoma, whenever the DisplayLink Manager Application is running and a DisplayLink device is connected to your computer you will see a notification within the Apple Menu bar that the DisplayLink Manager Application is capturing your screen. This is both normal and expected behavior.
22. Now that the DisplayLink Manager Application is installed and running, a DisplayLink Manager icon will appear within the Apple menu bar at the top of your screen. Click on the DisplayLink Manager icon in order to open the application status window.
23. The first tab of the DisplayLink Manager Application status window is the ‘Displays’ tab. As the name implies, all of the DisplayLink driven displays that are connected to your Mac will be displayed here, similar to the example below:

IMPORTANT NOTE - only displays driven by DisplayLink technology will be shown here. Displays driven by other methods (such as USB Type-C or Thunderbolt) will NOT be displayed.
Next to each display is a small toggle switch that will allow you to selectively toggle a display off or on as desired.
Below each display name will be two sliders that allow you to control the brightness or contrast of that display, according to your preference.
If multiple displays with identical names are present, you can differentiate between each display by hovering the mouse pointer over each display name. When doing so, a red identification box will appear on-screen within the selected display.
24. The second tab of the DisplayLink Manager Application status window is the ‘Settings’ tab.
The items listed will vary depending upon which version of the DisplayLink Manager Application that is installed and the type of processor within the host Mac (Intel processor or Apple processor).
An example of the ‘Settings’ tab from DisplayLink Manager version 16.1 running on a Mac with an Apple processor is provided below:

The following list describes the features present within the ‘Settings’ tab while using DisplayLink Manager version 16.1 with a Mac with an Apple processor:
Automatic app startup
As the name suggests, toggling on the ‘Automatic app startup’ option allows the DisplayLink Manager Application to start automatically each time you log on to your Mac. This option should be enabled by default during a standard installation. If not already enabled, we recommend doing so in the interest of efficiency.
Additional HiDPI modes
In brief, HiDPI mode is a feature of macOS that can make images within a display appear sharper. In some cases, the host Mac will not enable HiDPI mode for the displays connected to a DisplayLink-based product.
Clicking the toggle to enable the ‘Additional HiDPI modes’ option will create new resolution choices for the DisplayLink-connected displays within the ‘Displays’ section of the macOS ‘System Settings’ application that may help improve the sharpness of the image.
Synaptics (the creators of DisplayLink technology) have more information on this feature here → https://support.displaylink.com/knowledgebase/articles/1993915-displaylink-manager-app-experimental-hidpi-modes
System sleep in display-closed mode
Mac laptops running macOS 26 Tahoe, macOS 15 Sequoia, macOS 14 Sonoma can be used in one of two ways when used in conjunction with a DisplayLink-based product.
The first way is with the laptop lid open, with the laptop's built-in internal display enabled.
The second way is with the laptop lid closed, with the laptop's built-in internal display disabled. This is known as closed display mode or 'clamshell' mode.
In order to enter closed display mode while connected to a DisplayLink-based product, the host Mac must have an external power source connected and an external keyboard and mouse connected.
Clicking the toggle to enable the 'System sleep in display-closed mode’ option changes this behavior, in that closing the laptop lid will cause the host Mac to go to sleep.
This feature is of course optional, and its use is a matter of personal preference.
Enhance video conferencing apps
The ‘Enhance video conferencing apps’ option, which is enabled by default, helps ensure that screen sharing or content controls while using the Microsoft Teams application appear as expected.
DisplayLink has more information about this feature here → https://support.displaylink.com/knowledgebase/articles/2022489-how-to-fix-missing-screen-sharing-controls-in-micr
