
The Windows Firewall may block some networking features when the local network is not set to Private. This article will describe the process for setting the local network, either wired Ethernet or Wi-Fi to be a Private network.
Windows 11
1 - Connect the computer to the network, either wired or wireless
2 - Open the Windows Settings: right-click on the Start Menu and select Settings from the pop-up menu
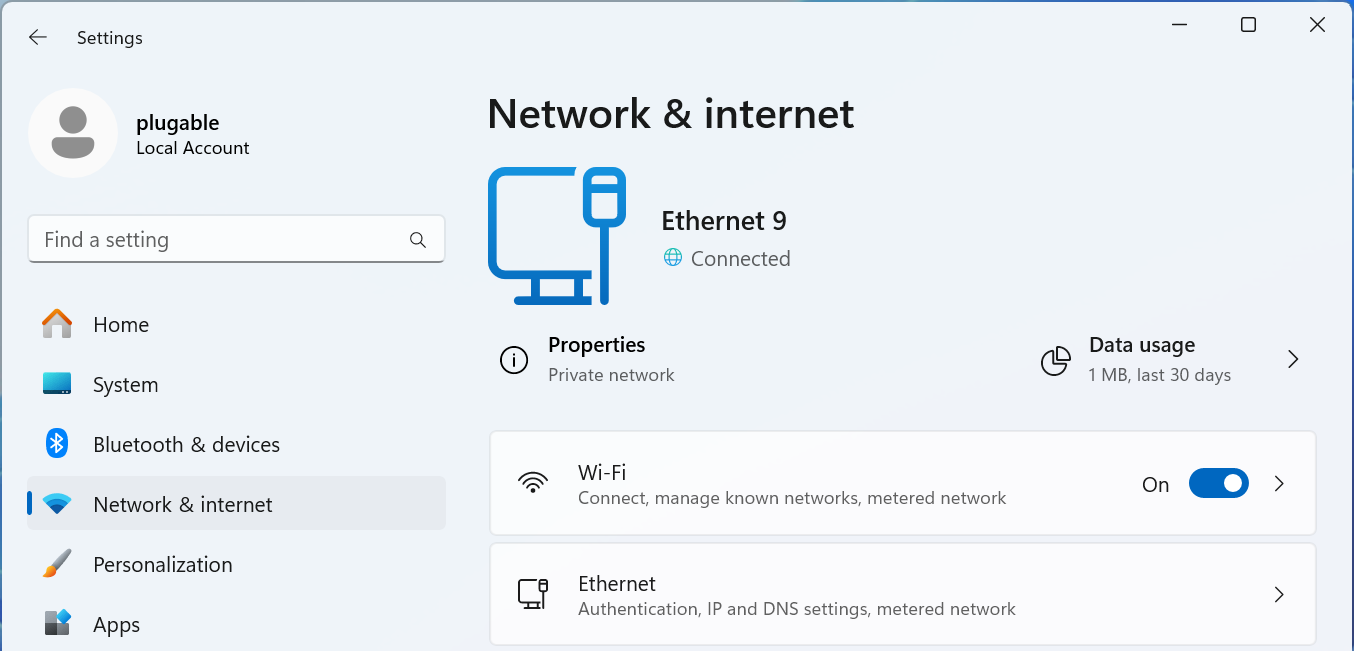
3 - On the left column select Network & internet
For Wired Networks
4 - Select the Ethernet option
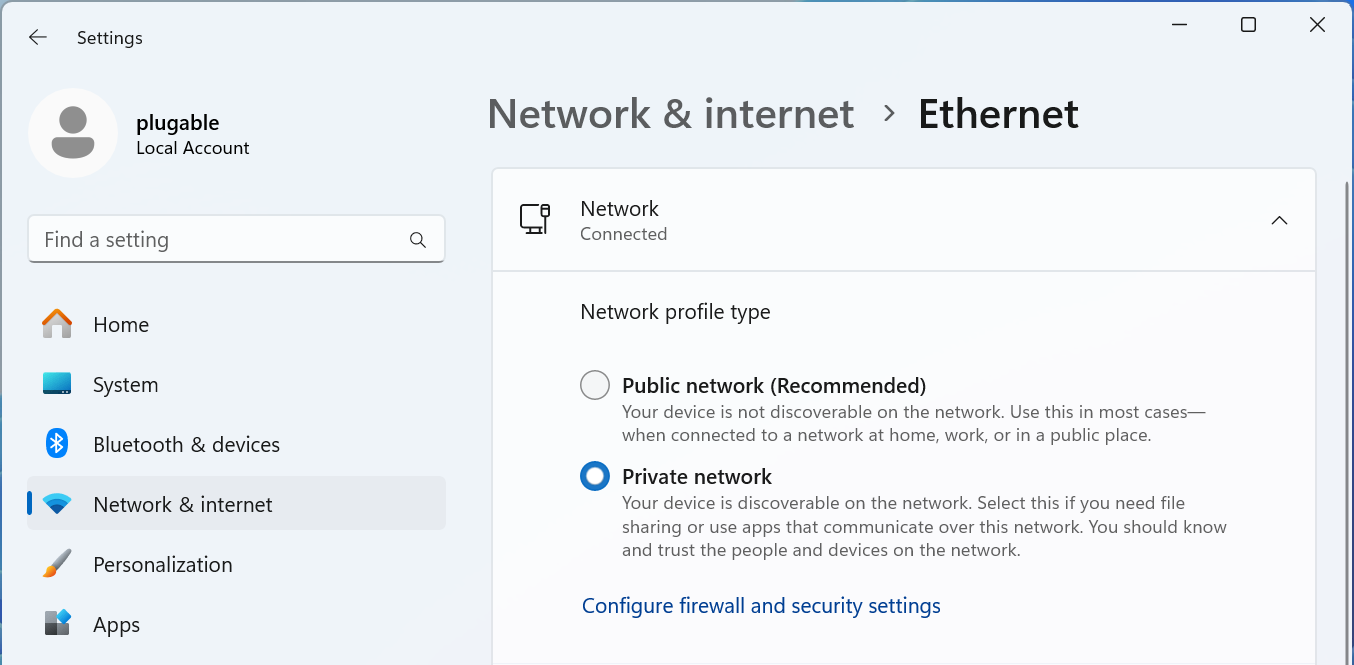
5 - The connected network should be expanded, if not click on Network Connected to expand the section
6 - Select the Network profile type either Public network or Private network to suite your needs
For Wi-Fi Networks
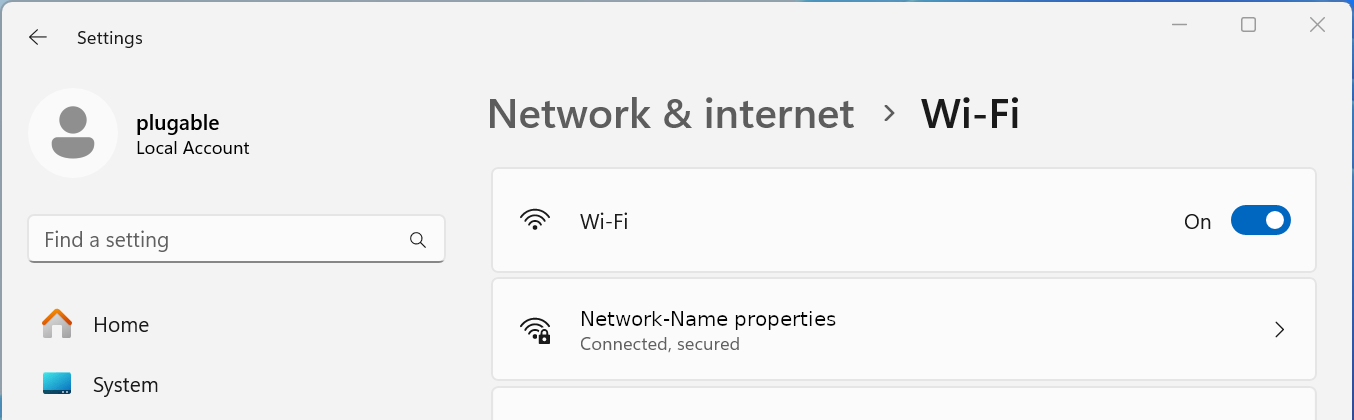
4 - Select the Wi-Fi option
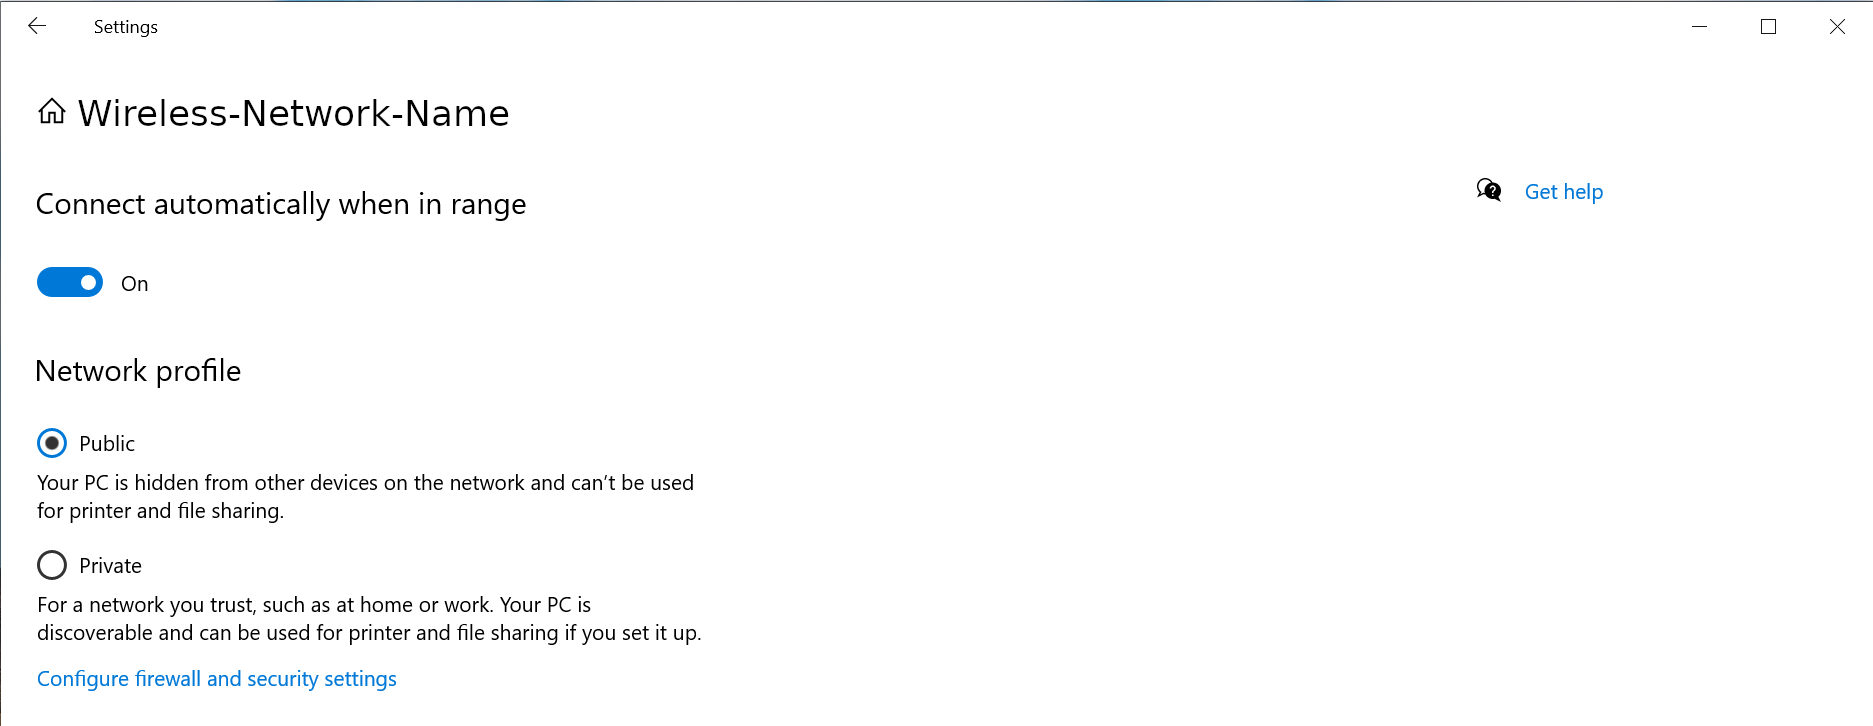
5 - Select your Wi-Fi network name properties
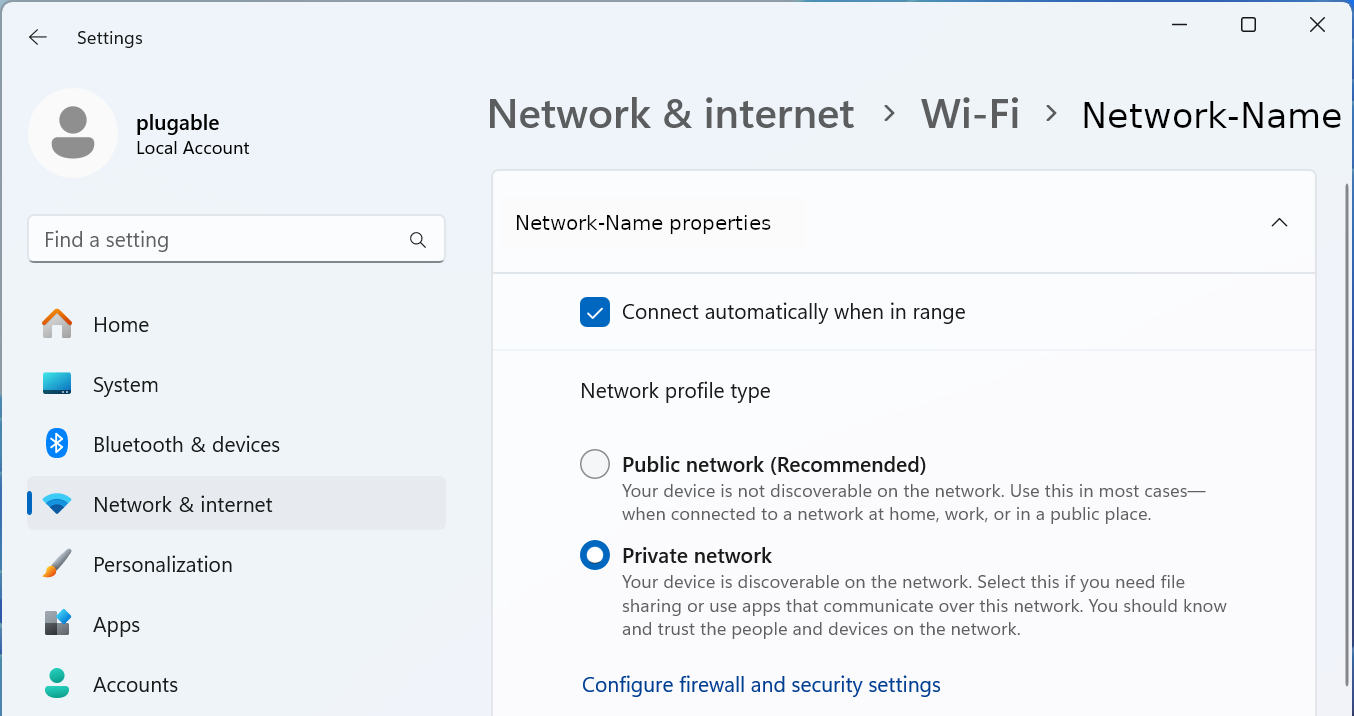
6 - Select the Network profile type either Public network or Private network to suite your needs
Windows 10
1 - Connect the computer to the network, either wired or wireless
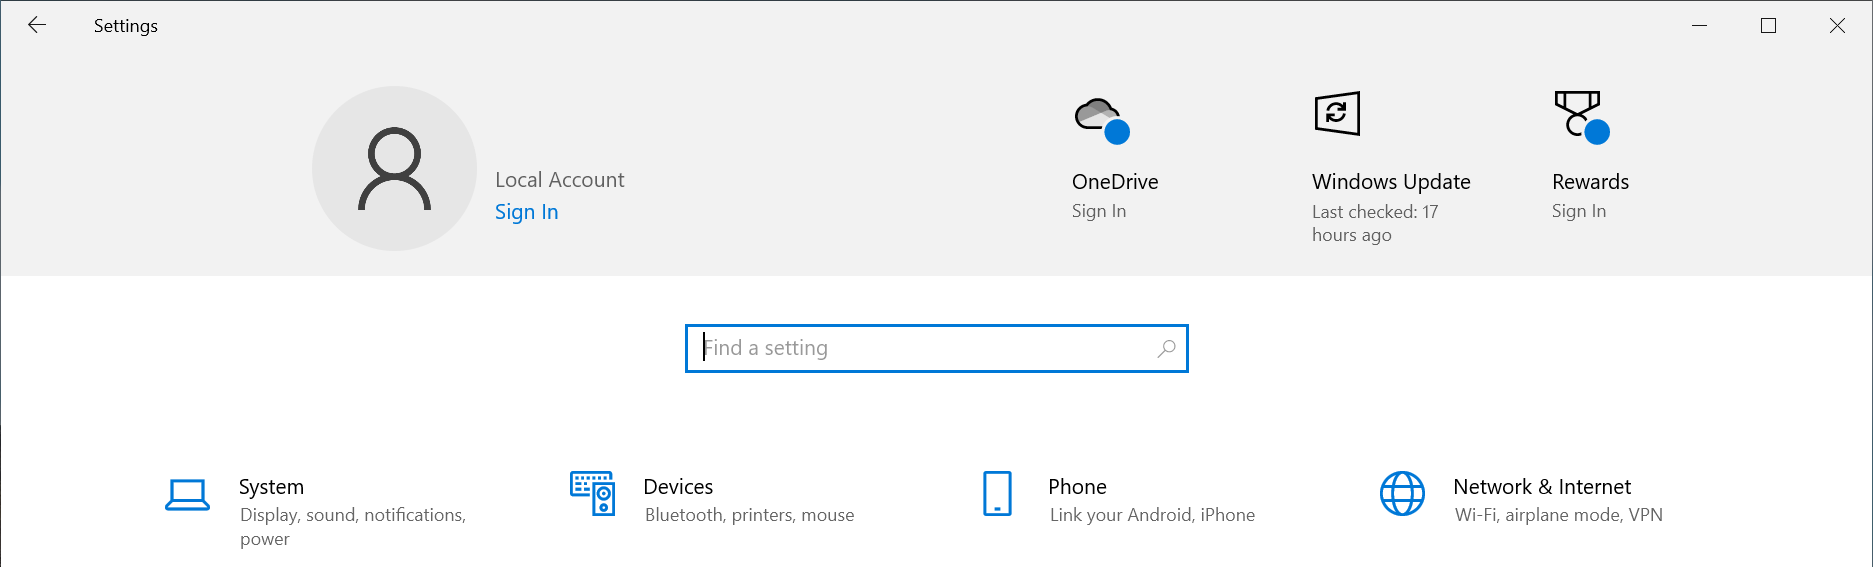
2 - Open the Windows Settings - right-click on the Start Menu and select Settings from the pop-up menu
3 - Select Network & Internet fro the bottom section
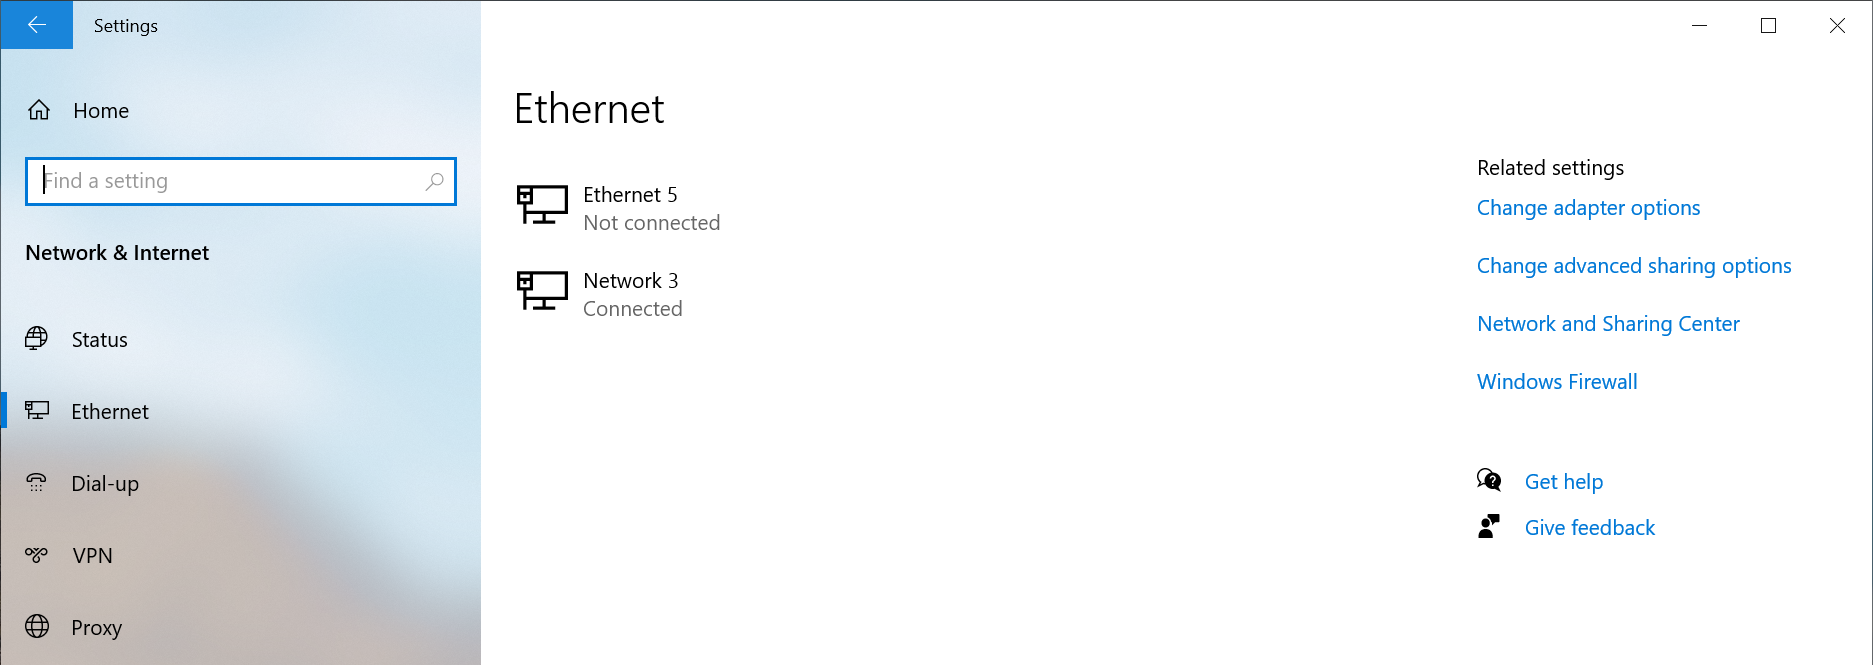
4 - Select the Ethernet option from the left pane
5 - Select the Connected network from the right pane
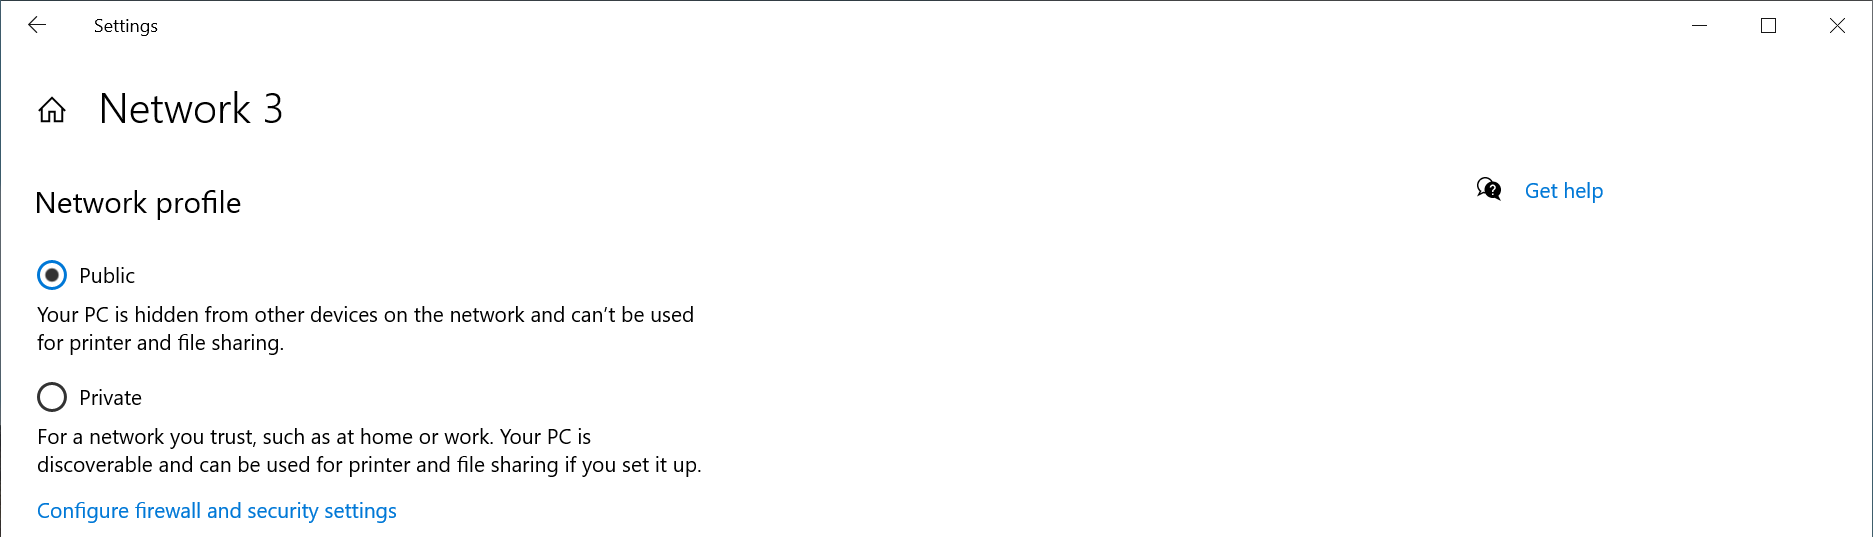
6 - Select the Network profile type either Public network or Private network to suite your needs
Windows PowerShell
If the option does not show up in the Windows Settings GUI, for example if the network is not connected to the internet, or if you prefer to use the terminal.
1 - Open a new terminal: Right-click on the Start Menu and select Terminal
2 - Run the following command to list the available networks
Get-NetConnectionProfile
PS C:\Users\plugable> Get-NetConnectionProfile
Name                     : Network
InterfaceAlias           : Ethernet Instance 0
InterfaceIndex           : 7
NetworkCategory          : Private
DomainAuthenticationKind : None
IPv4Connectivity         : Internet
IPv6Connectivity         : NoTraffic
3 - Run the following command to set the network to Private
Set-NetConnectionProfile -Name Network -NetworkCategory Private
Where Network is the network name from step #2 and Private can be either Public or Private
If you have any questions please feel free to contact us at support@plugable.com and we'll be happy to help!
