Unsure which version of macOS you have installed? Click on the ‘Apple’ icon in the menu bar on your desktop and select ‘About this Mac’. A new window will open and display the system’s macOS version.
How to install the DisplayLink Manager application
1. Download the DisplayLink Manager from our drivers page here: https://plugable.com/pages/displaylink#macos
2. Open the DisplayLink Manager Graphics Connectivity 1.x.pkg
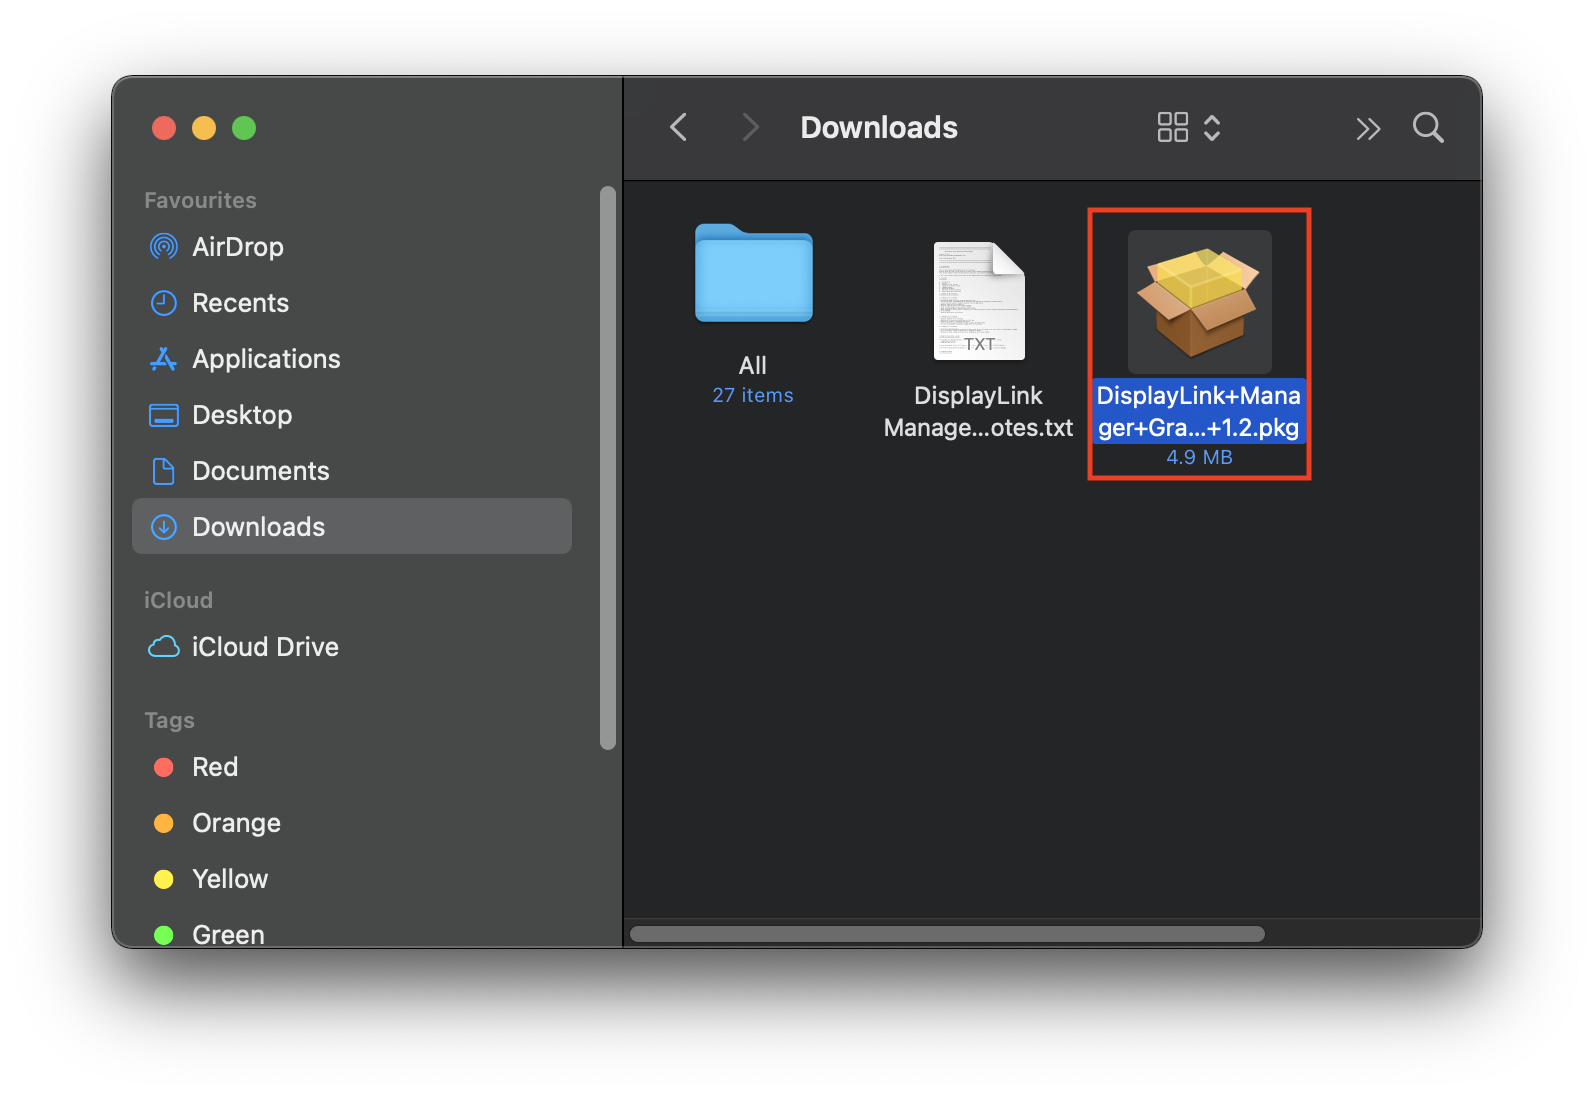
3. Click ‘Continue’ on ‘Introduction’ page
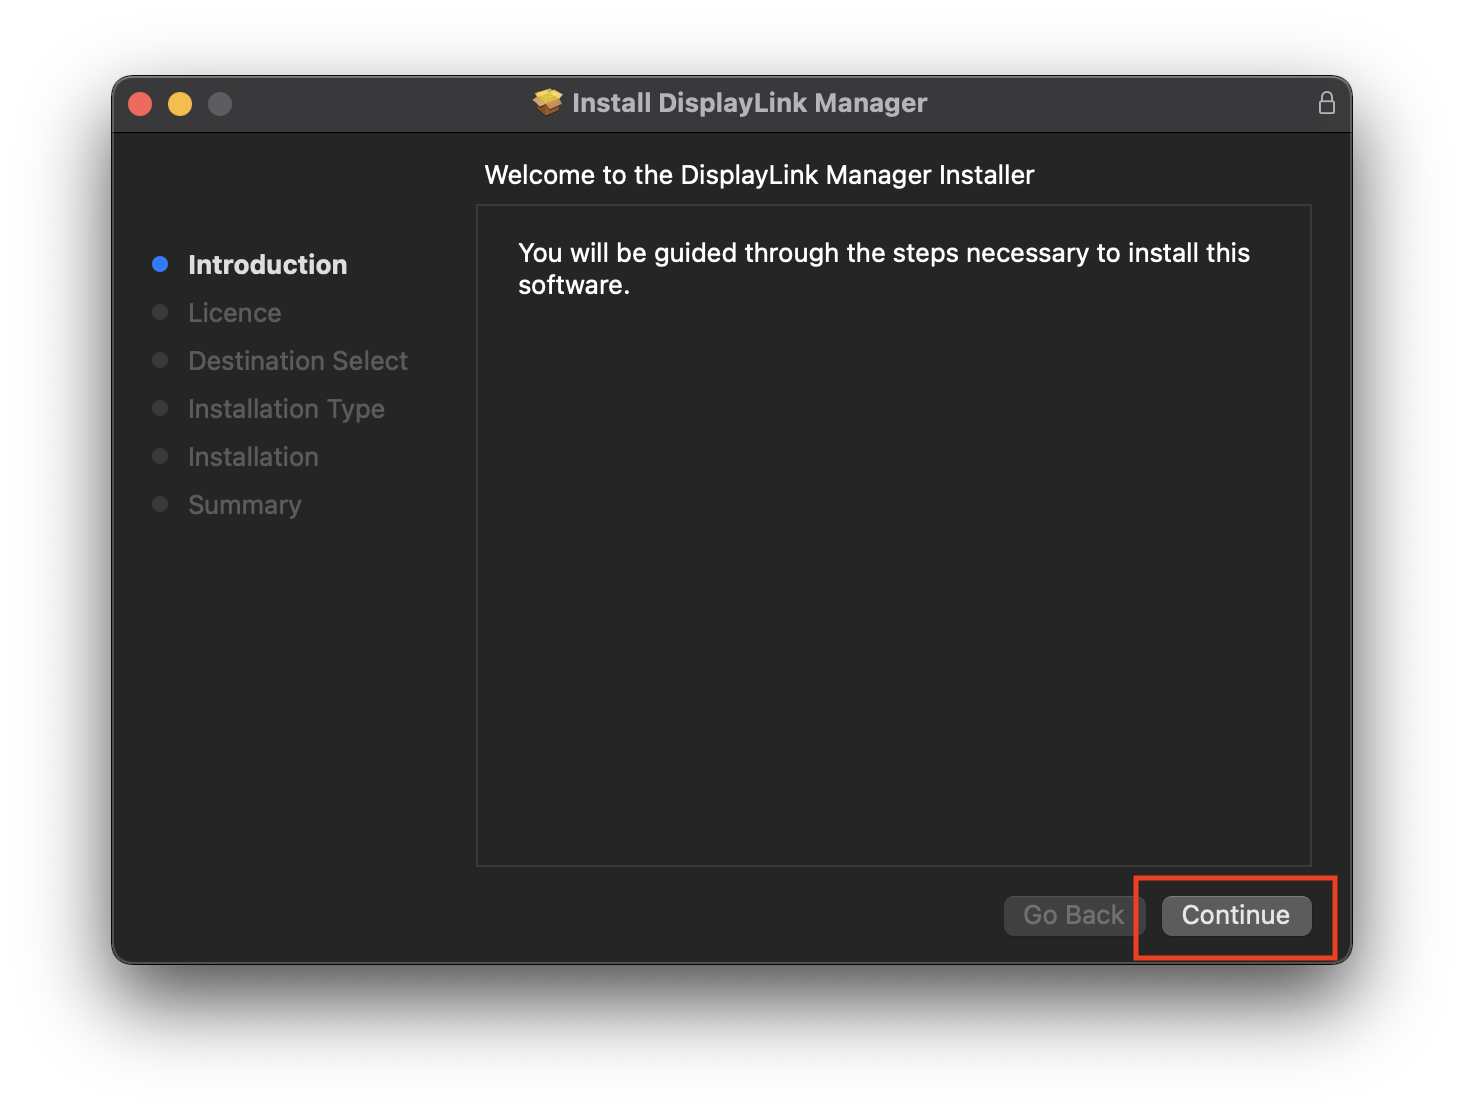
4. Click ‘Continue’ on ‘Licence’ page
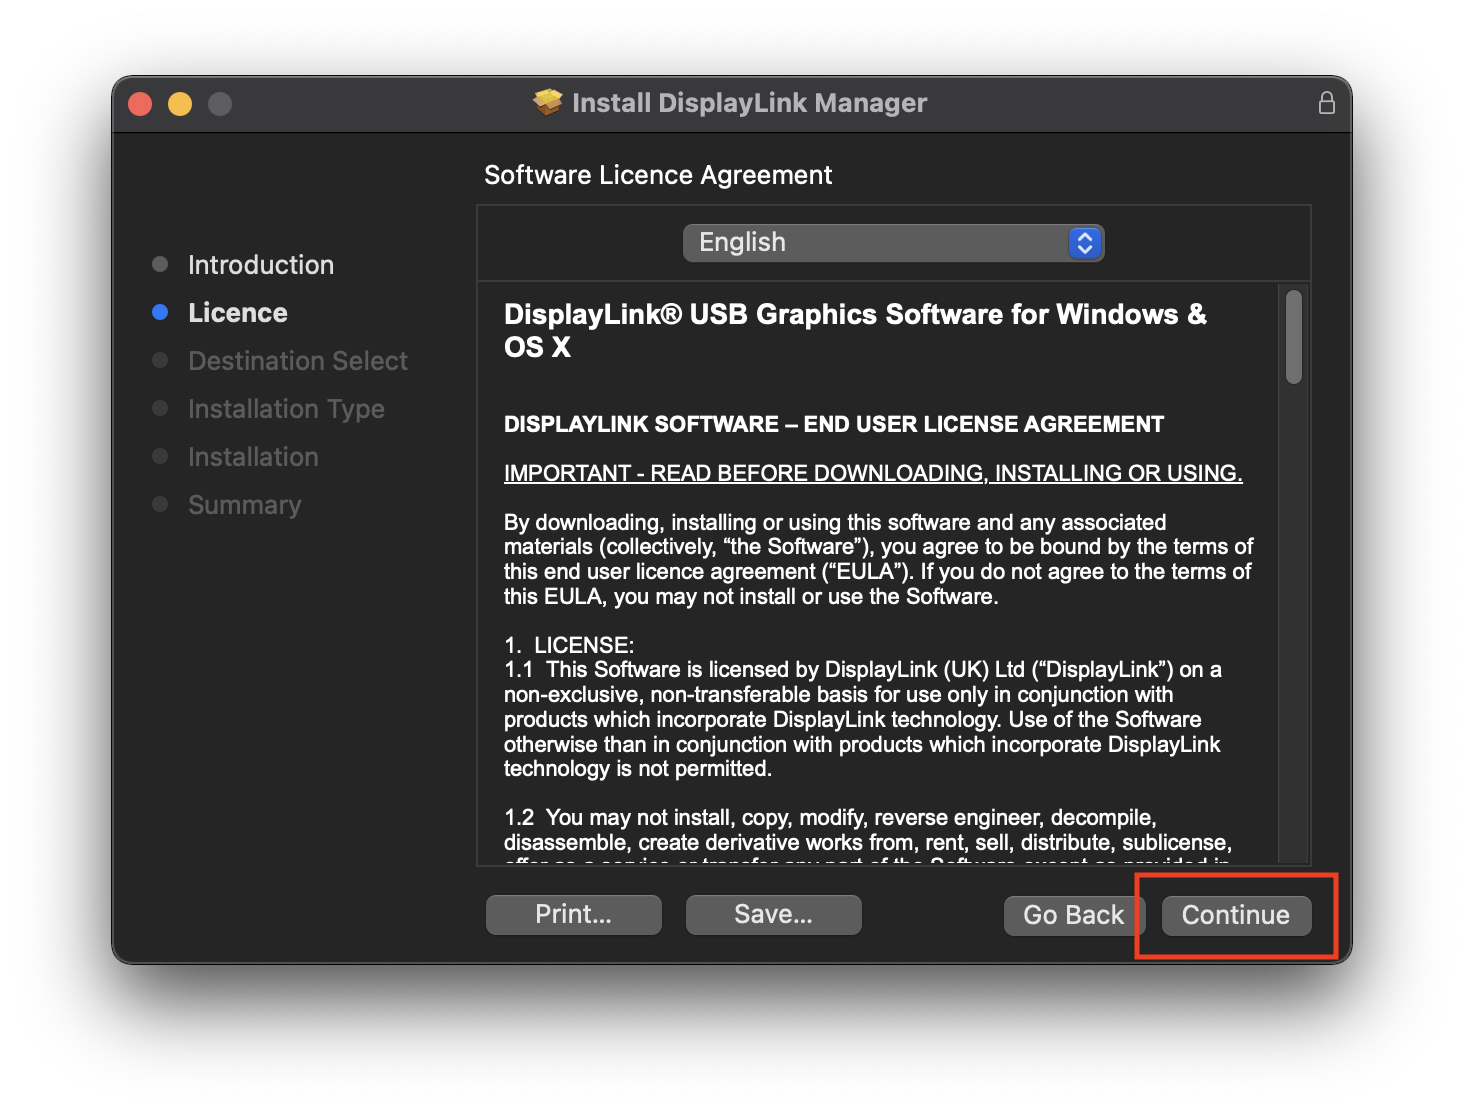
5. Click ‘Agree’ when prompted
6. Click ‘Install’ on ‘Installation Type’ page
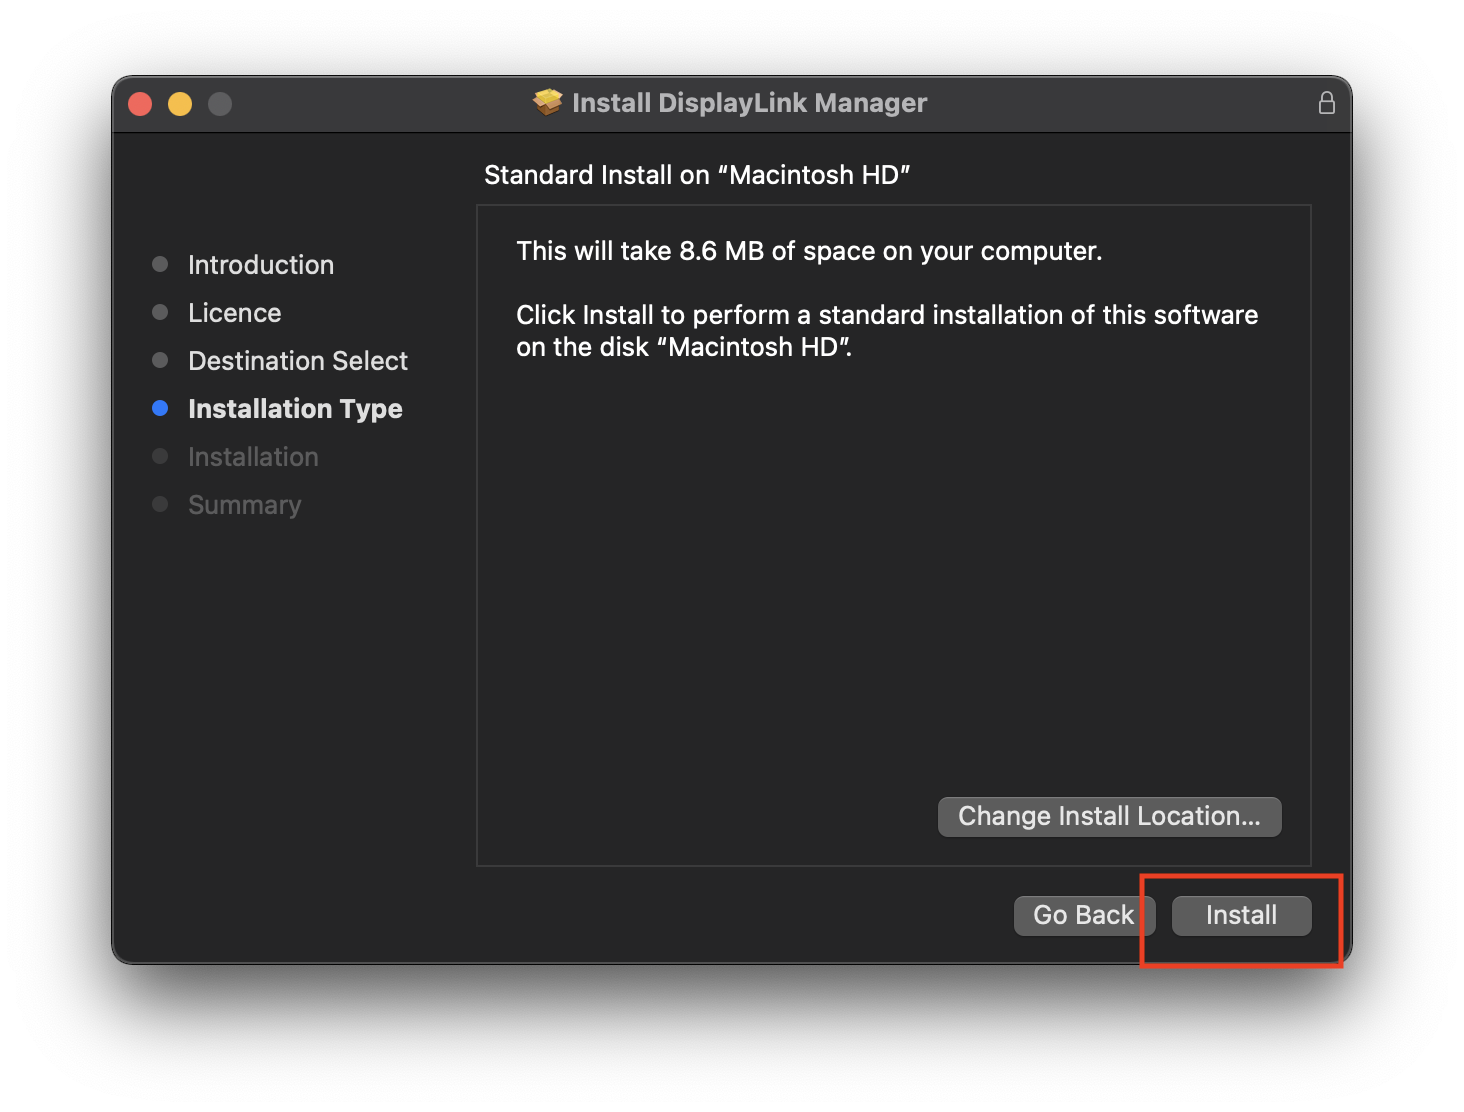
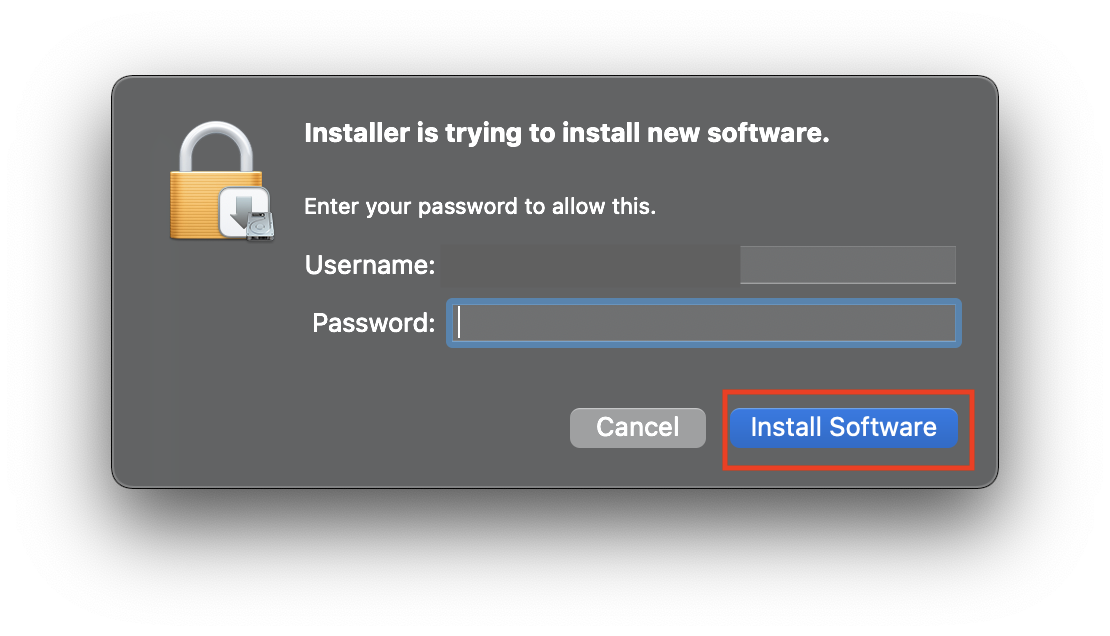
7. Input your password when prompted
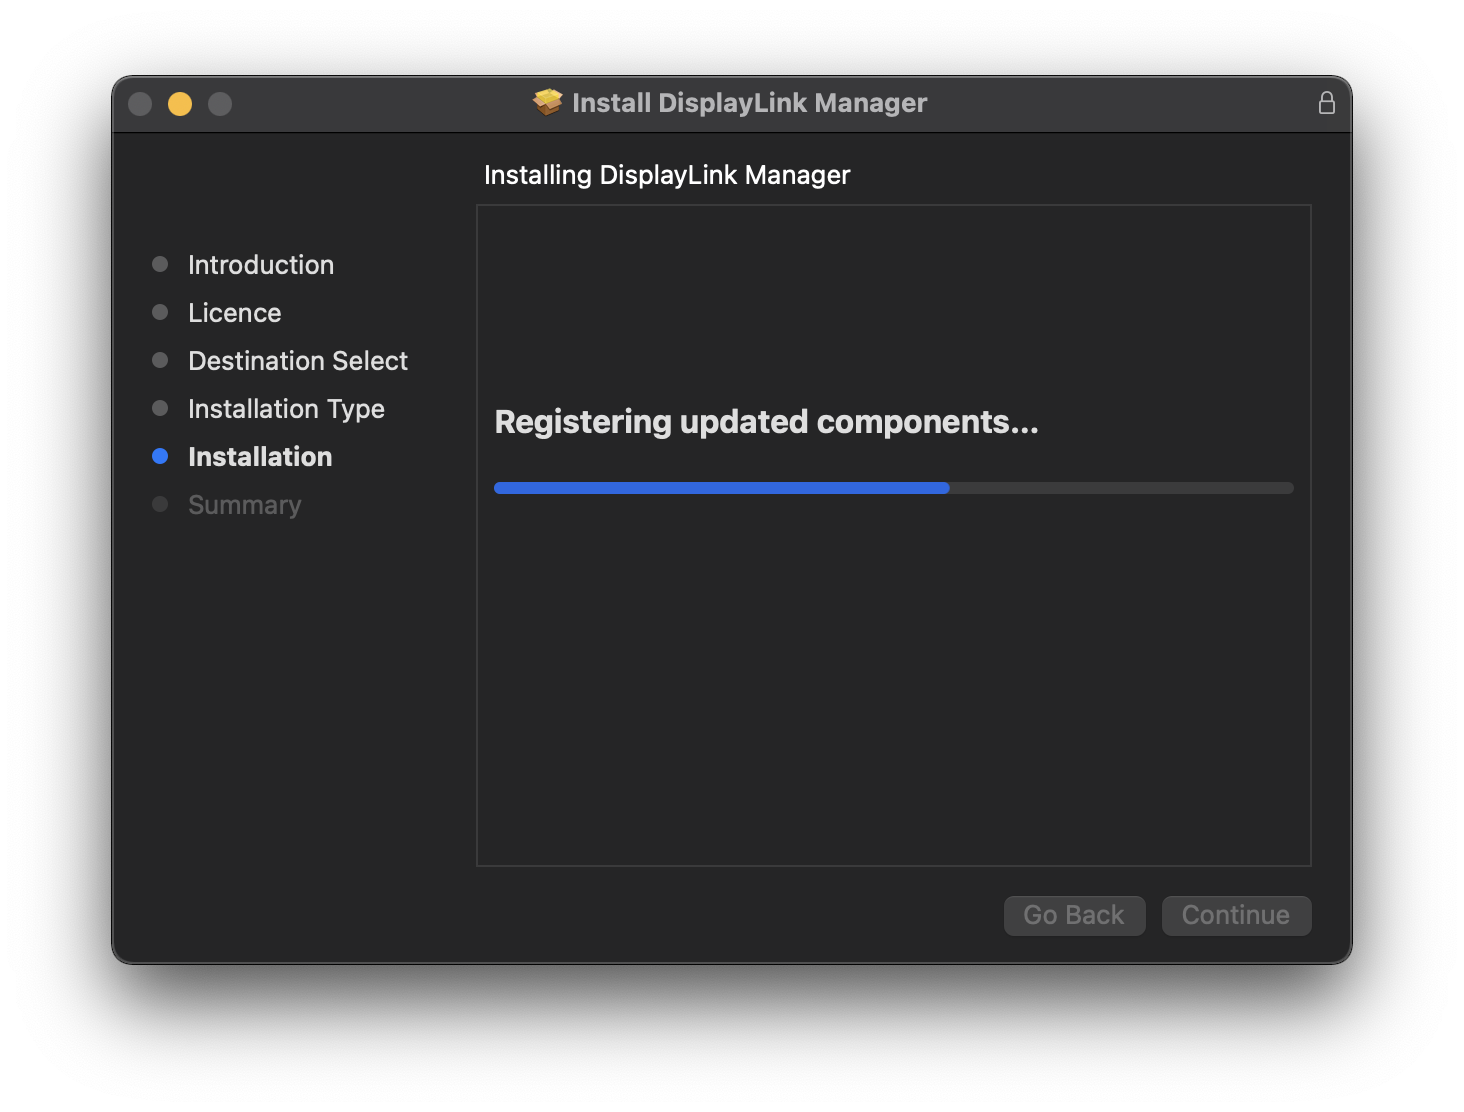
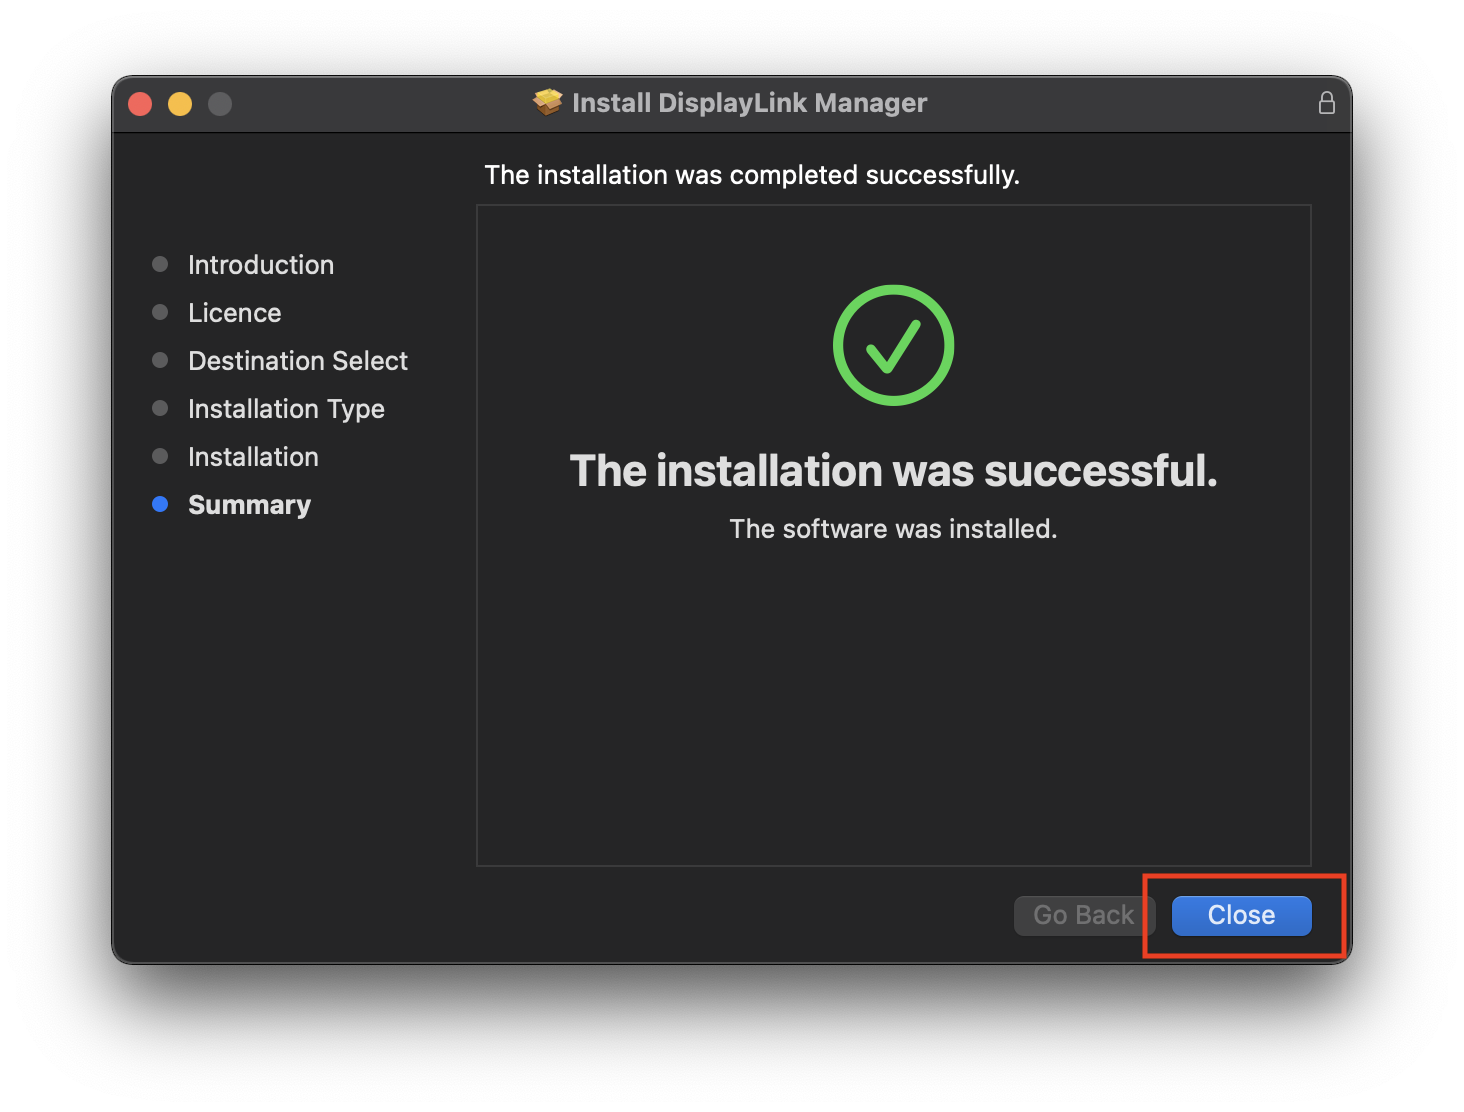
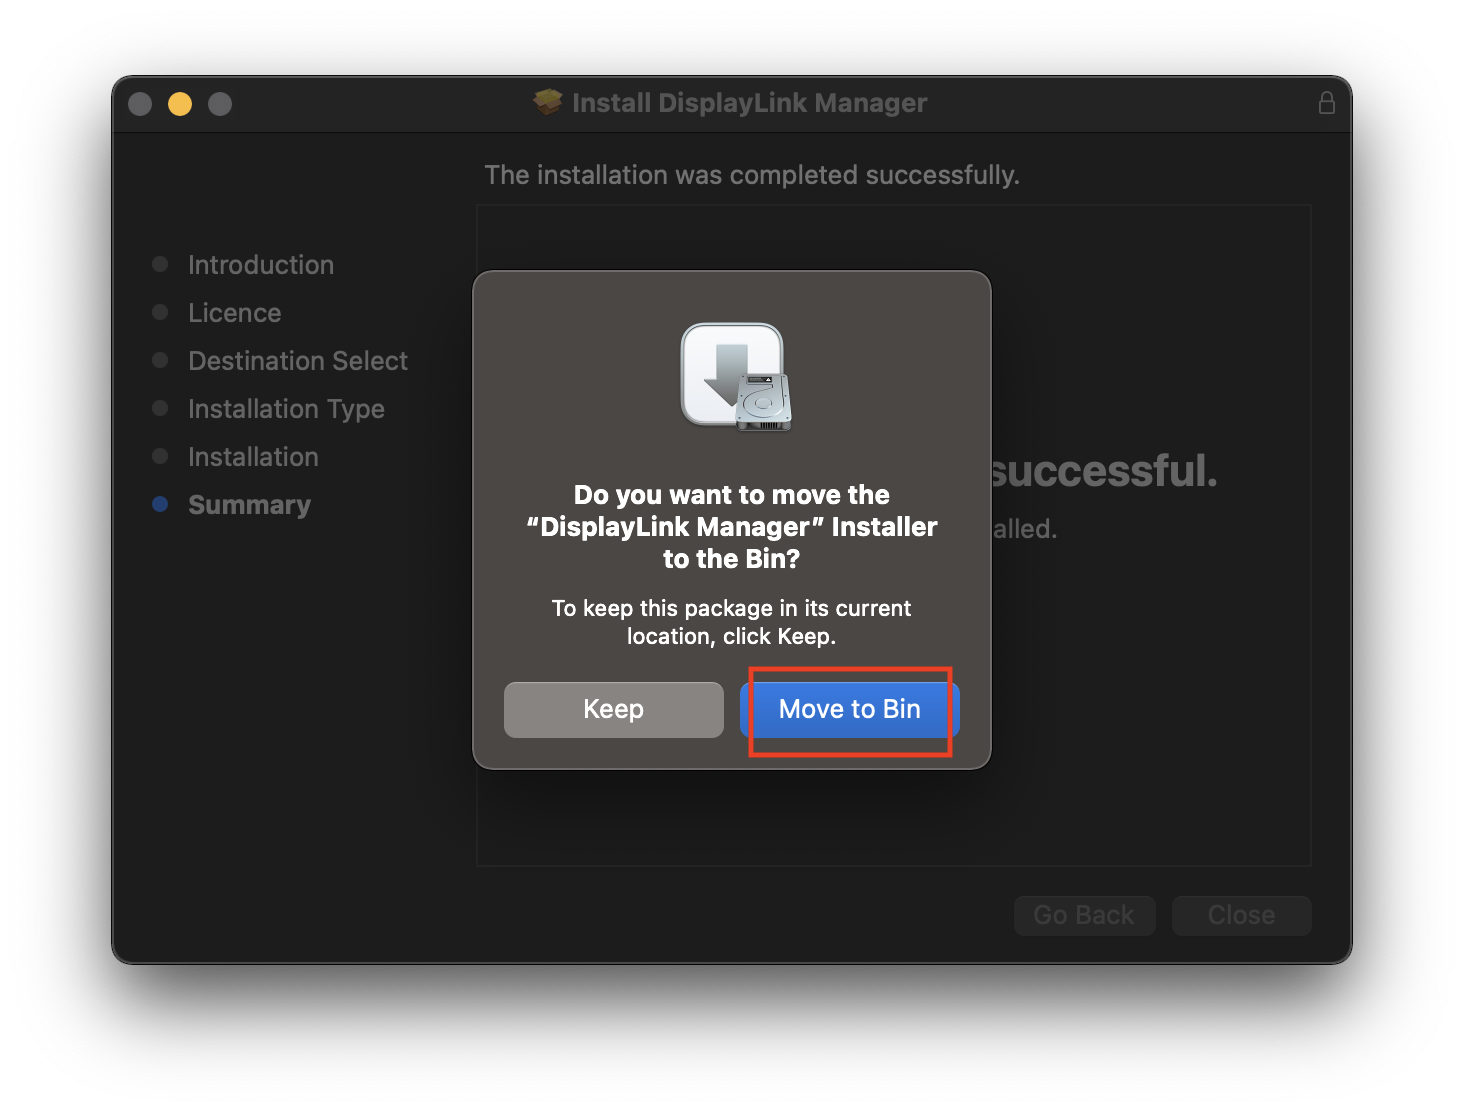
8. When installation finishes click ‘Close’ on ‘Summary’ page
9. Click’ Move to bin’ when prompted
How to use DisplayLink Manager?
The following steps are to be followed once after installing the app.
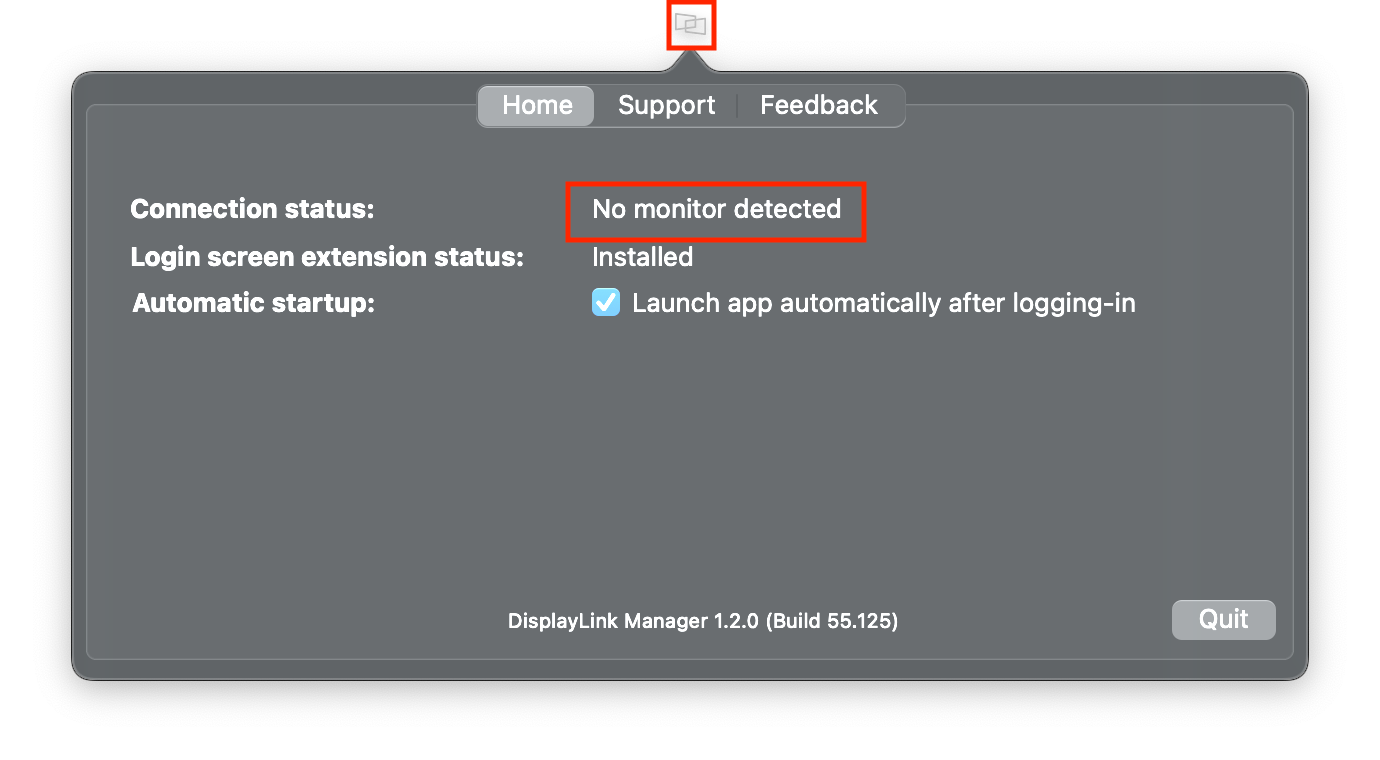
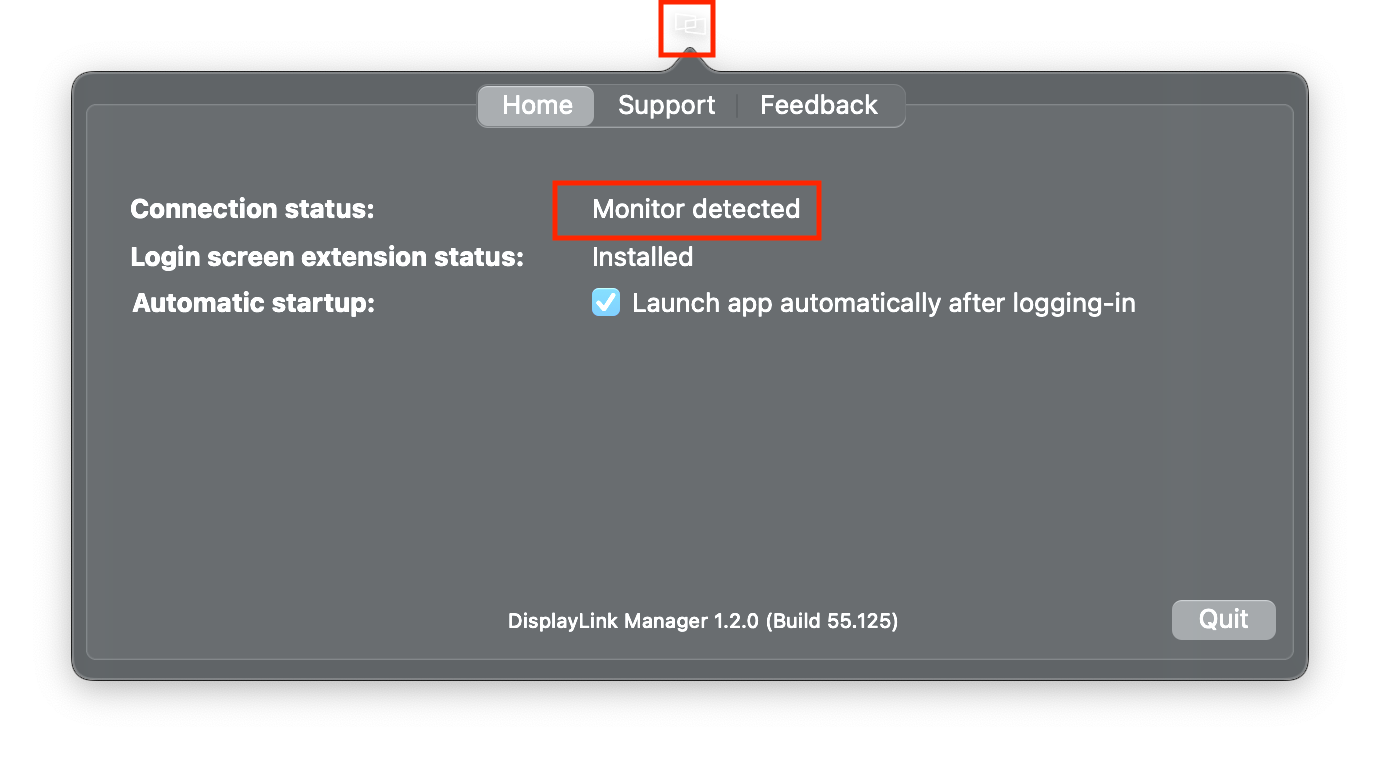
1. After installation, the DisplayLink Manager app will start automatically and the DisplayLink Manager logo will show in the Menu Bar. It will be grey when the dock is disconnected (Connection status will show: No monitor detected) and white when connected (Connection status will show: Monitor detected).
NOTE: The DisplayLink Manager app will only start on its own once after the initial installation. Step 5 shows how to setup the app to always start after logging-in (recommended). Otherwise the app has to be started manually each time (see step 2).
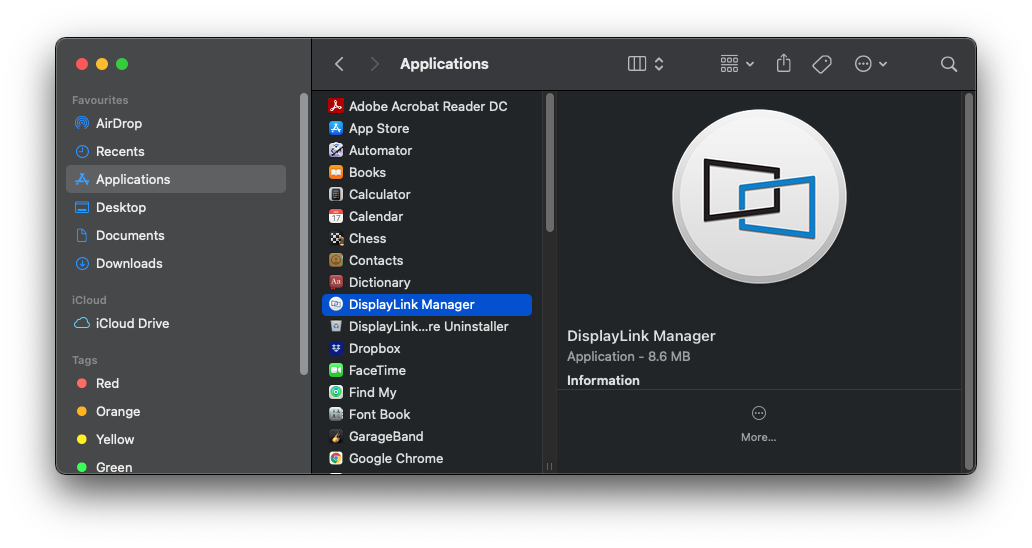
2. In case the app does not show in your Menu Bar, to start it manually, please press ‘command’ + ’space’ and type in DisplayLink Manager, click on the application to open it
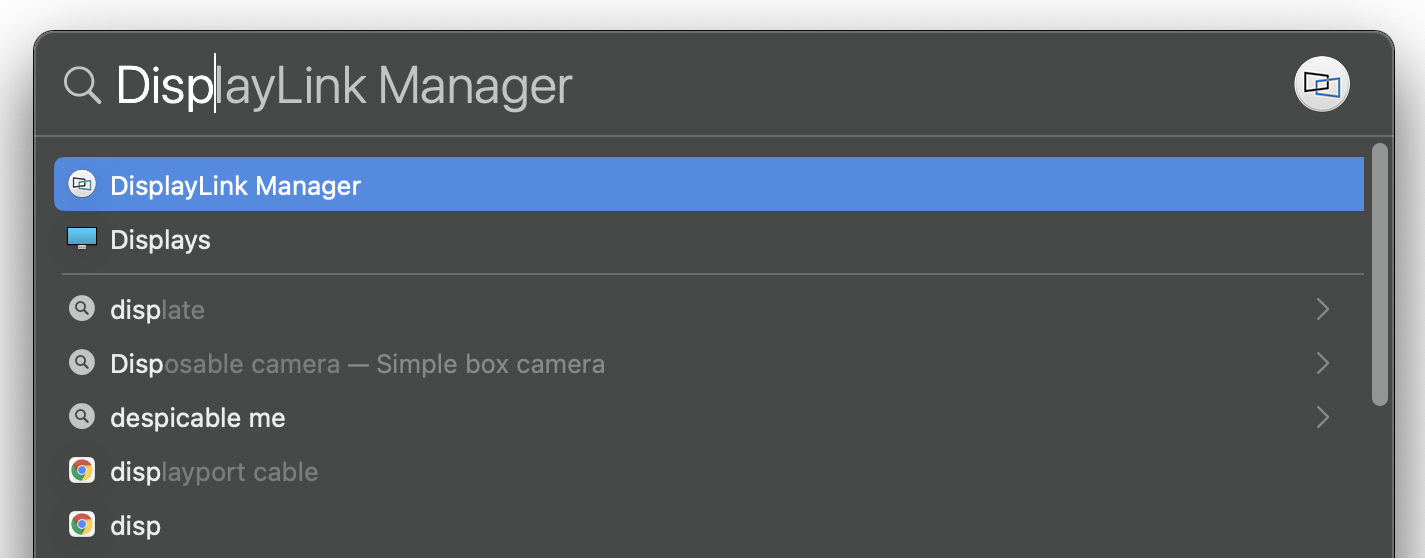
a. Alternatively you can go to the Applications folder in Finder and click on the DisplayLink Manager there
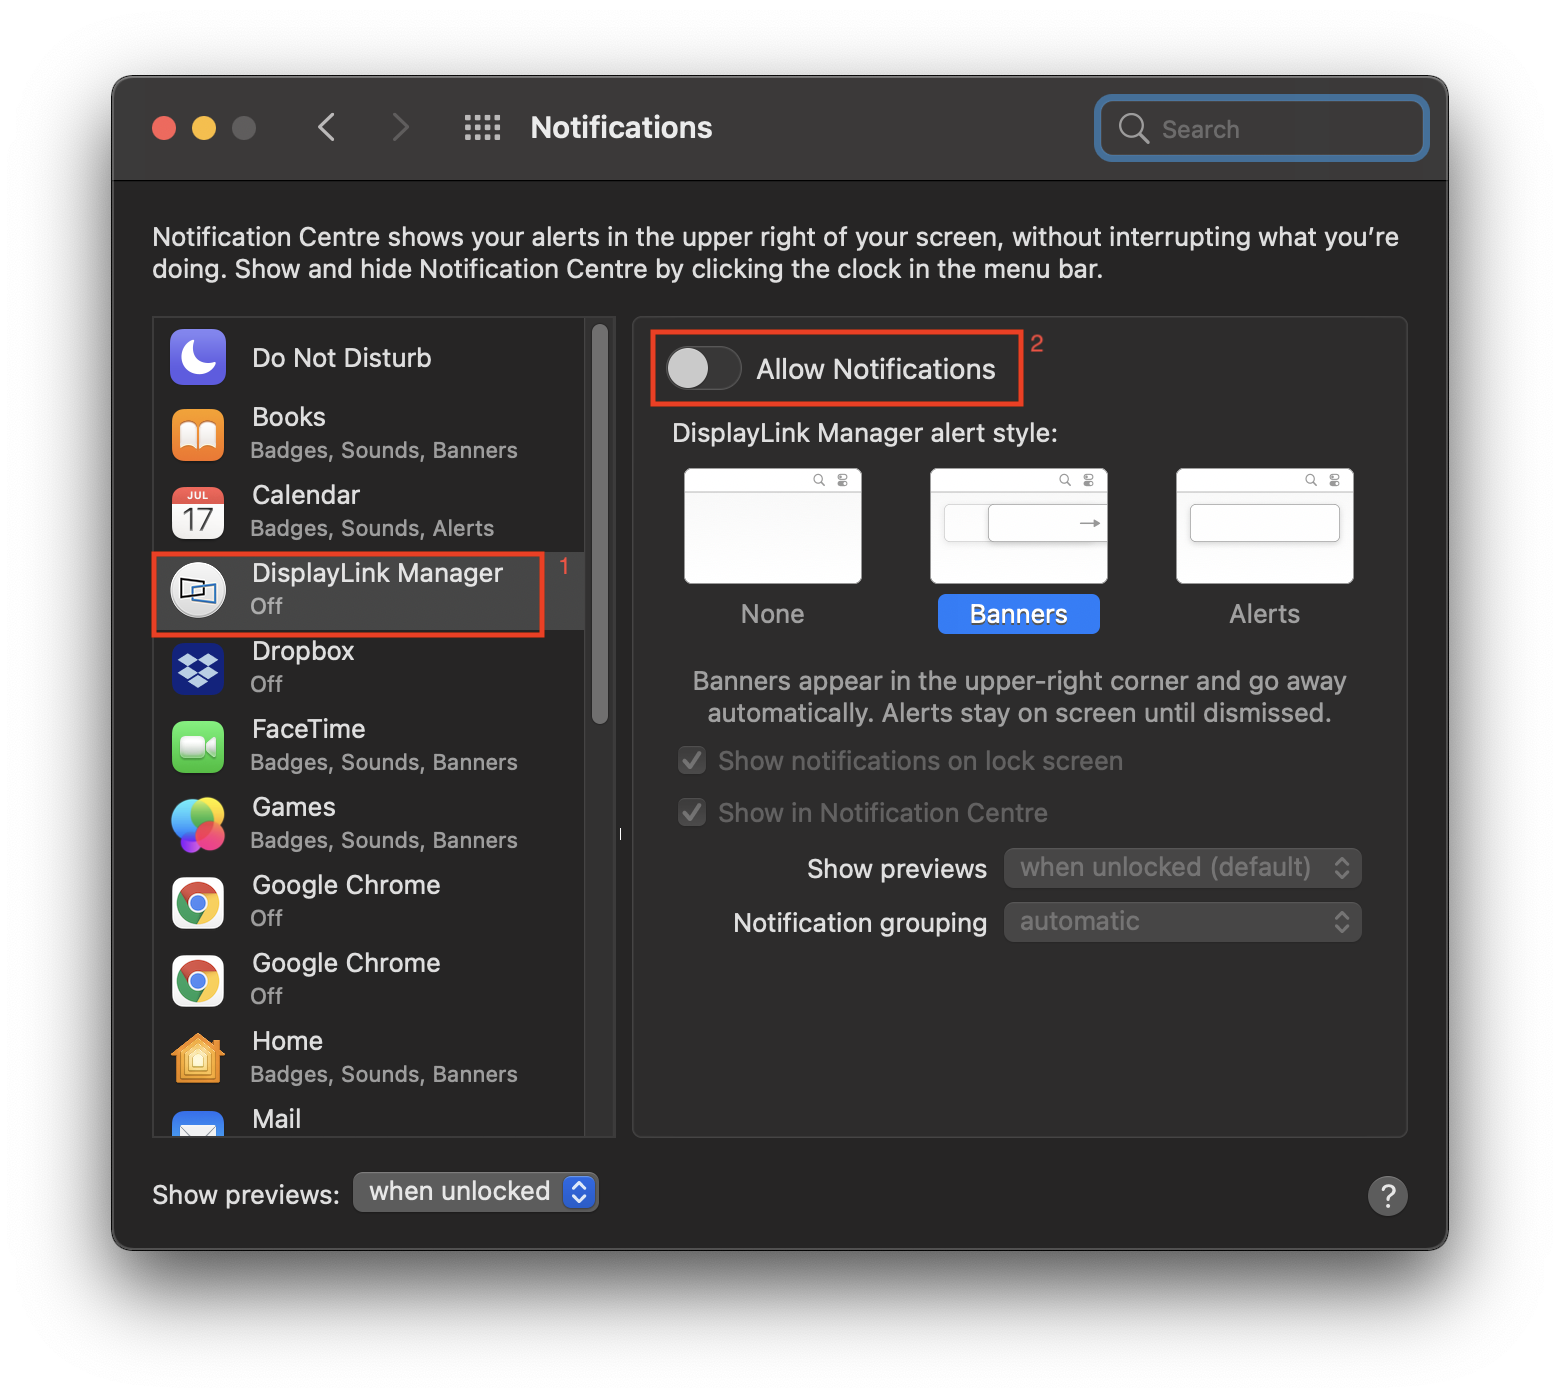
3. When first opened, DisplayLink Manager will ask you to turn on notifications for the app. Click on the notification below when it shows up. It will open a Notifications window.

4. Turn on ‘Allow Notifications’ for DisplayLink Manager
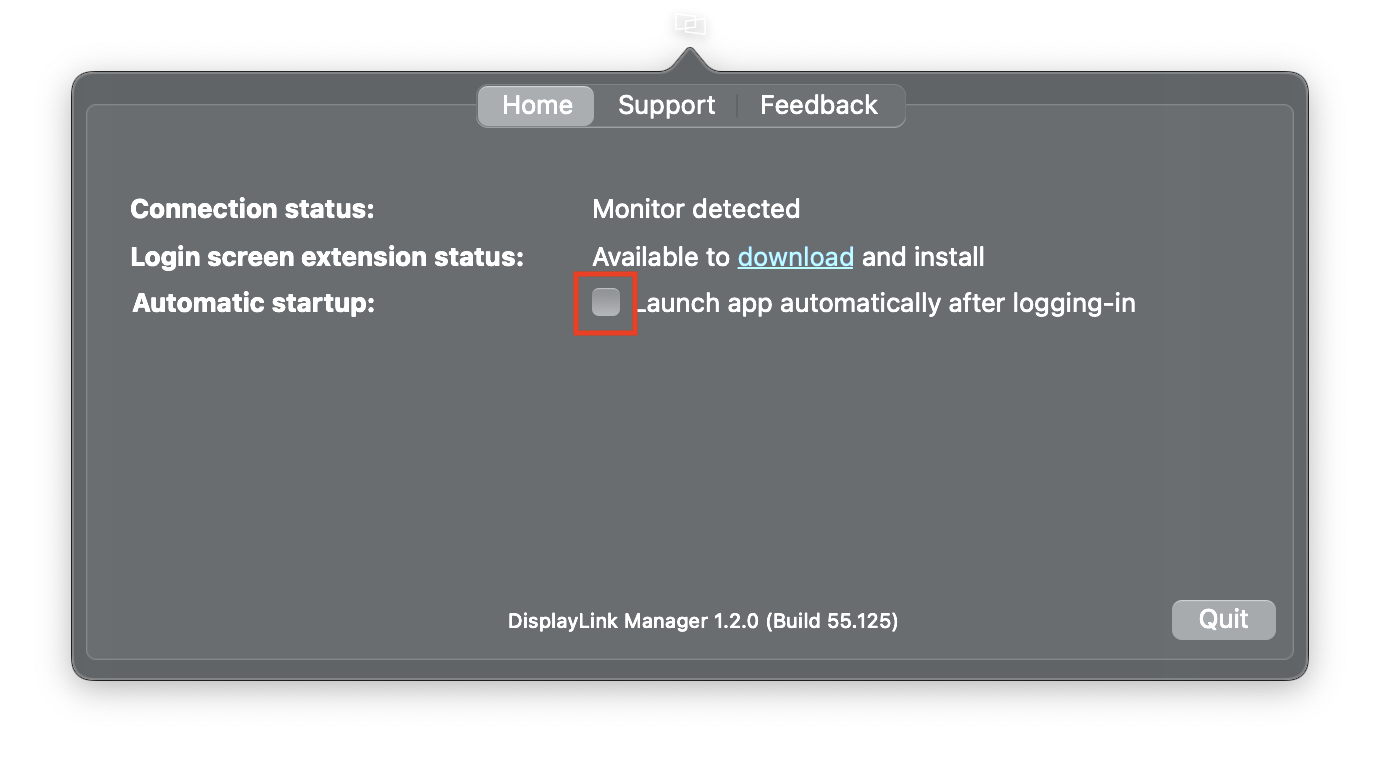
5. Select “Launch automatically after logging-in” for the software to start automatically every time you log-in.
6. Screen Recording
NOTE: From macOS Catalina 10.15, the operating system requires the user to permit "Screen Recording" in order for DisplayLink based devices (like Plugable UD-3900) to work properly. The message is generated by the OS and the screen is not actually being recorded by DisplayLink. Approving it enables the DisplayLink driver to access the pixels it needs to render a mirrored or extended screen and send the pixels over USB from your computer to the DisplayLink display. DisplayLink Manager does not store or record any screen content.
a. If you enabled notifications in step 3 you will see the below message if Screen Recording is switched off

b. This message will also show in the DisplayLink Manager app window and there will be an exclamation mark ‘!’ next to the DisplayLink Manager icon.
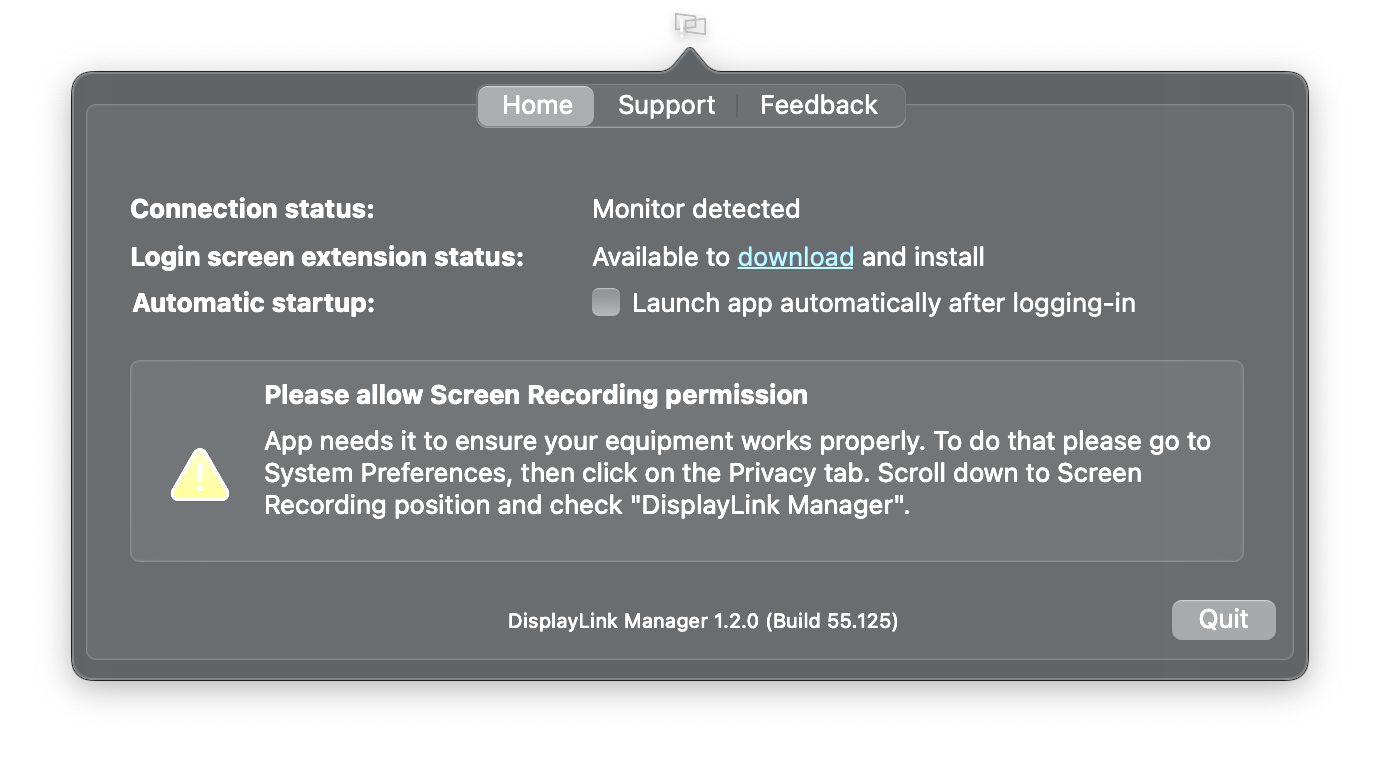
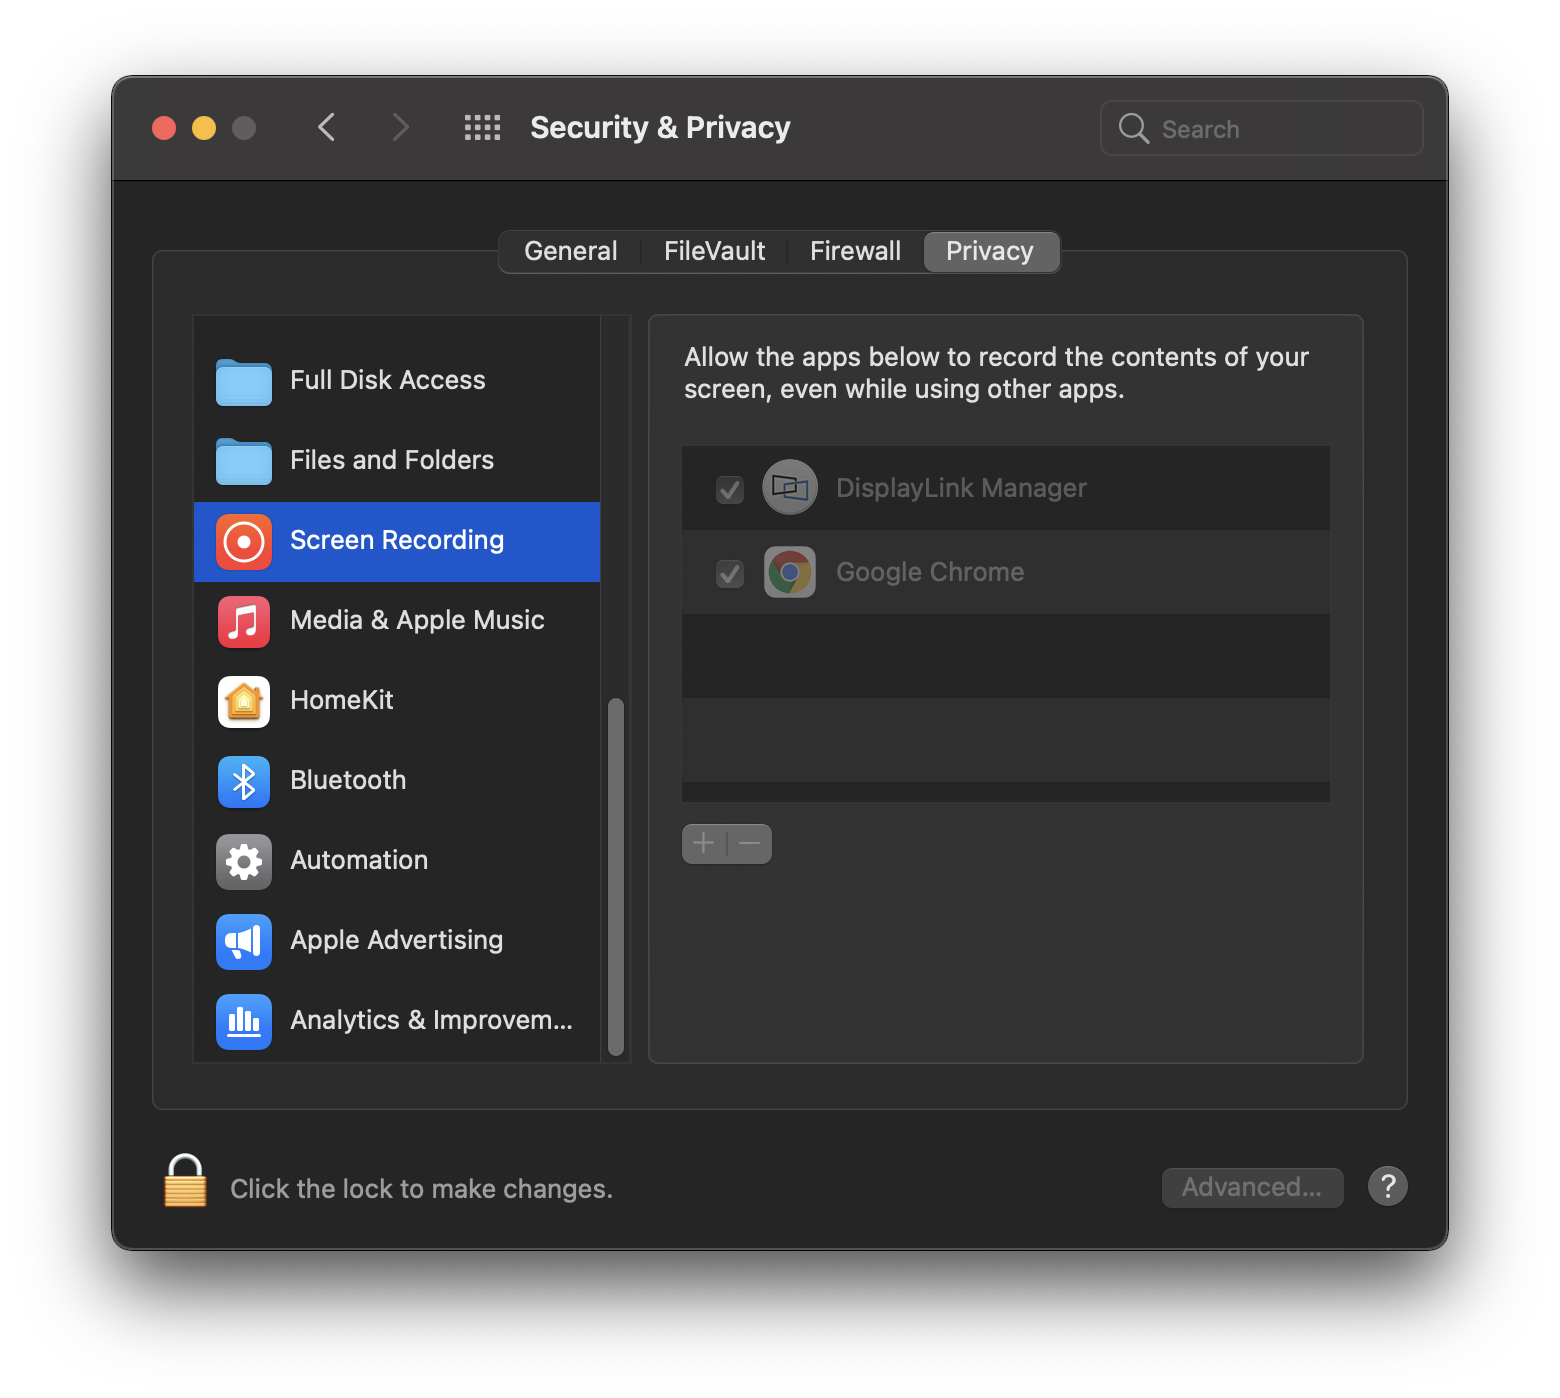
7. To enable “Screen Recording”
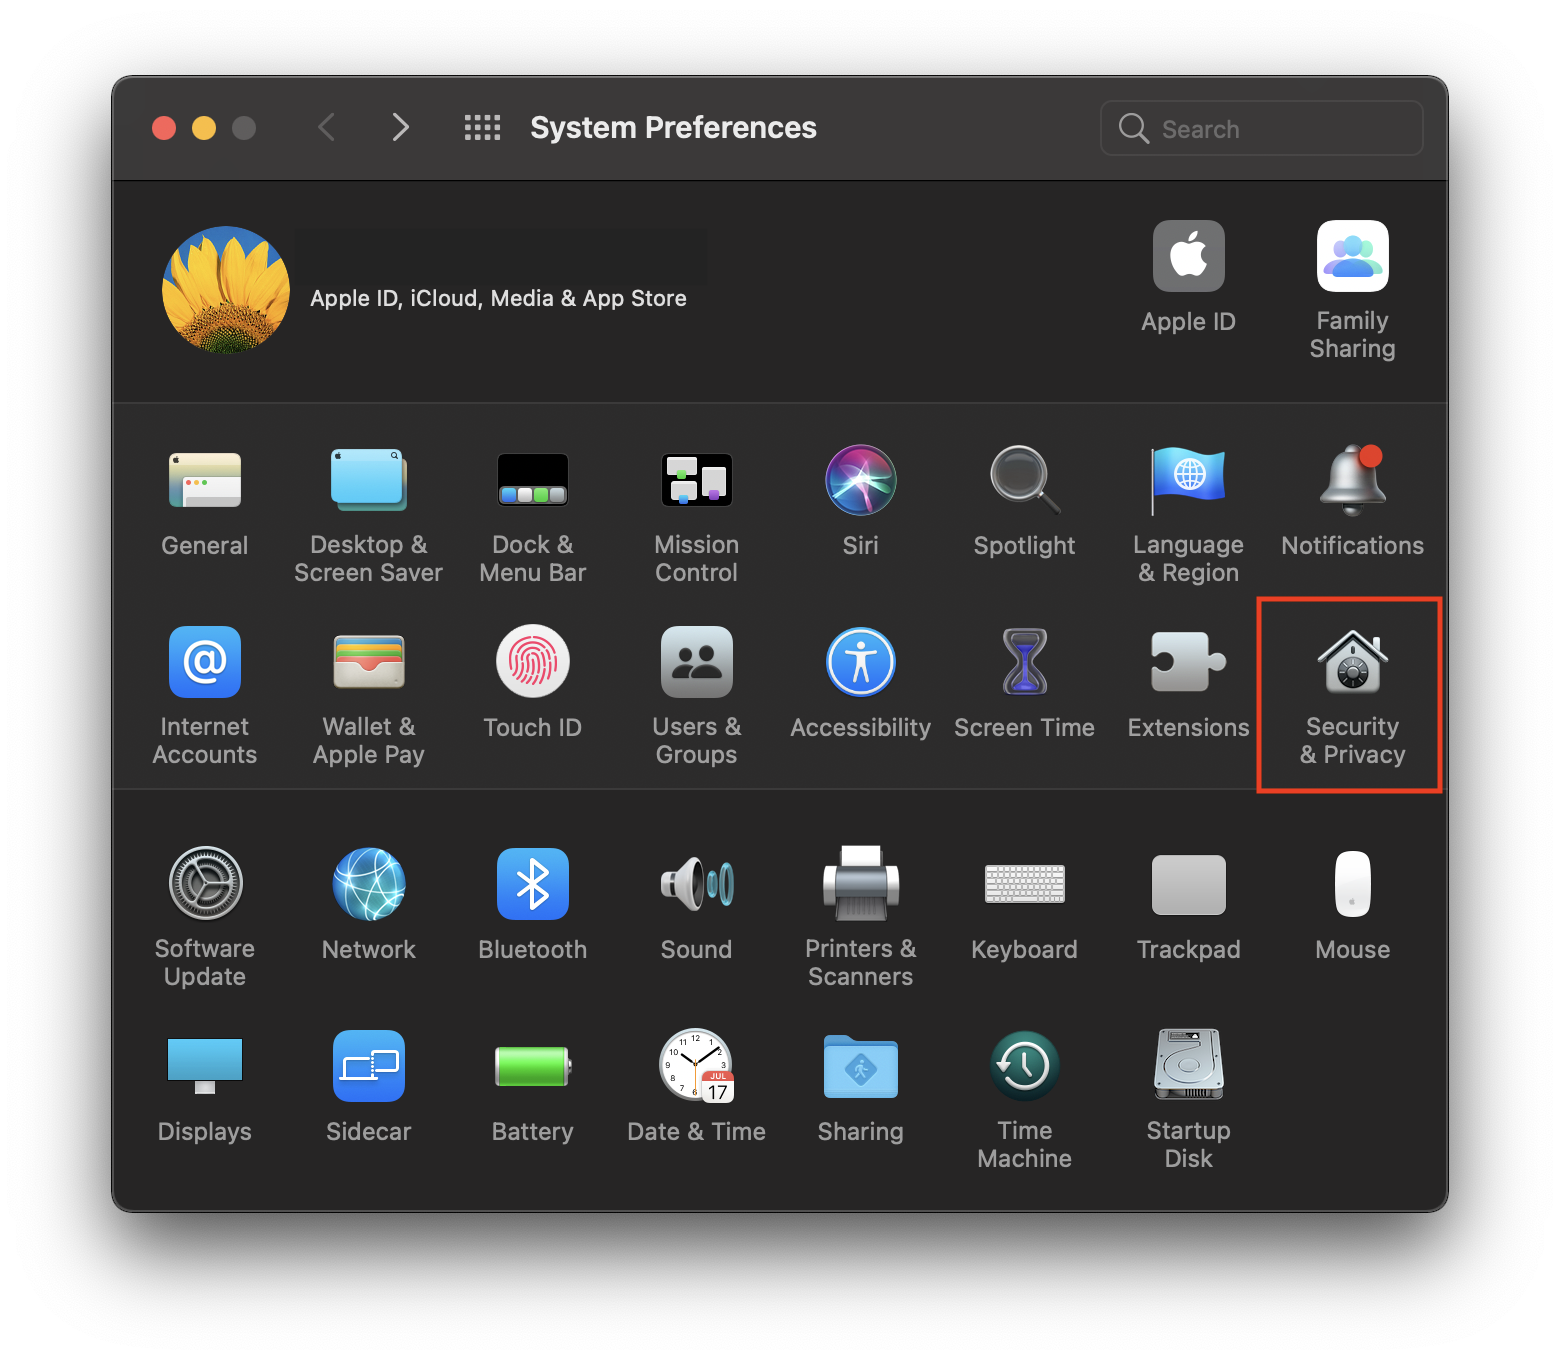
a. Go to System Preferences and click on Security & Privacy
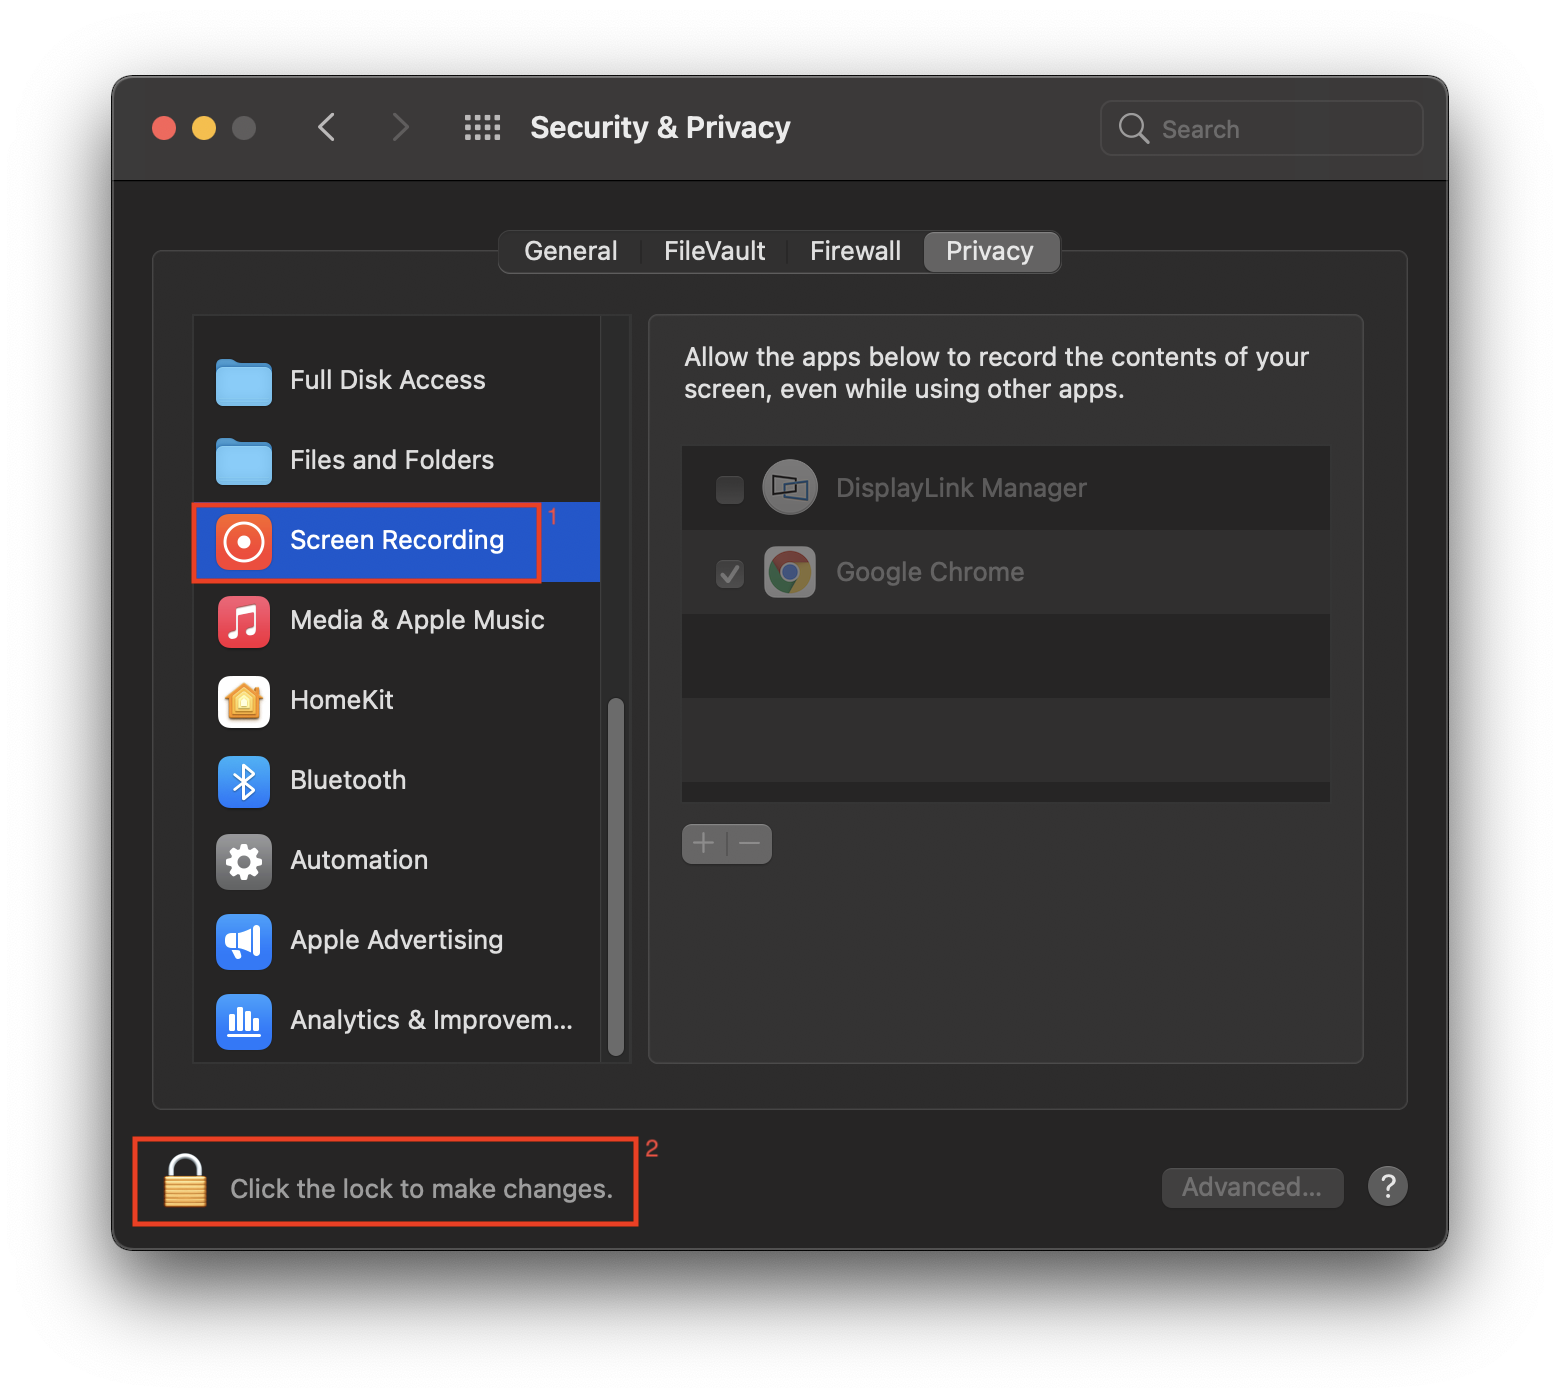
b. In the ‘Privacy’ tab scroll down to ‘Screen Recording’ and click on the padlock to make changes
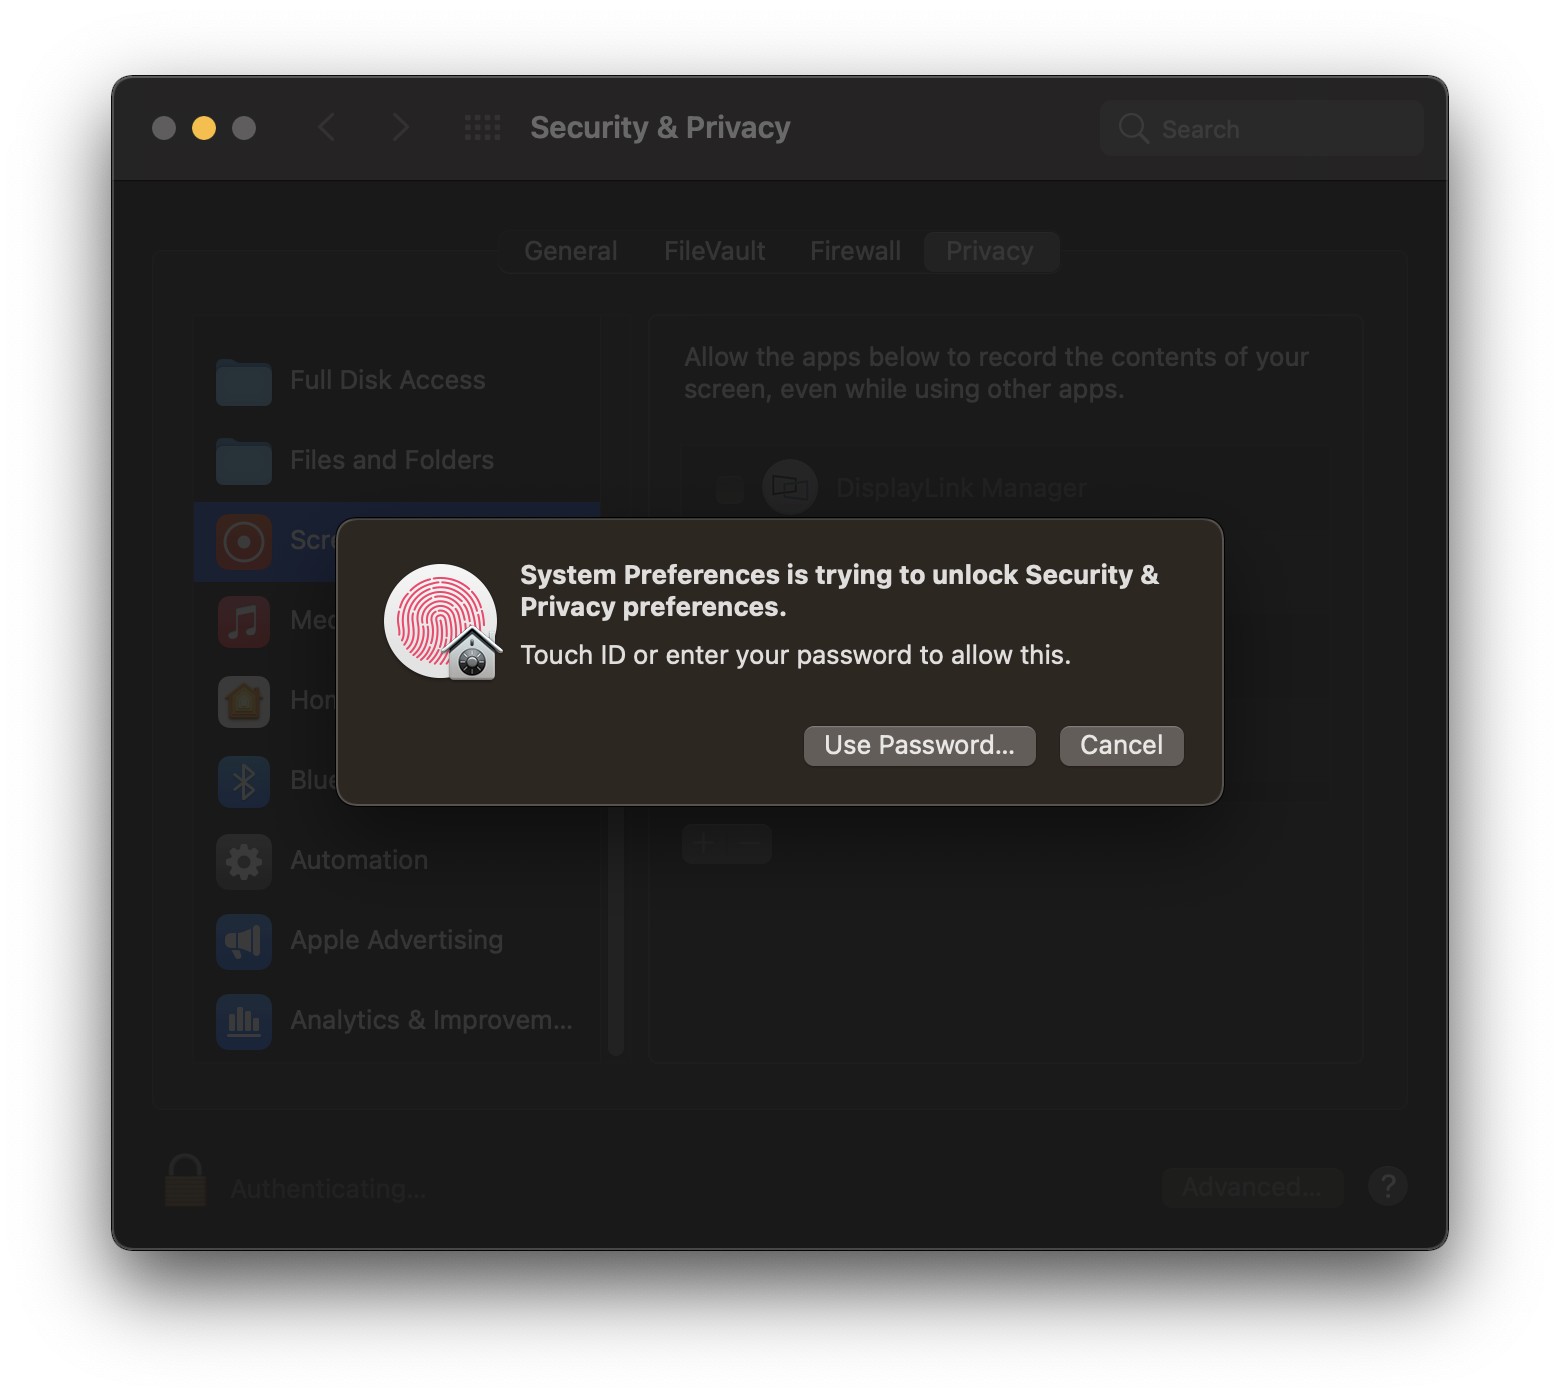
c. Enter password to allow the system to make changes
d. Tick the box next to ‘DisplayLink Manager’ and click ‘Quit and reopen’ when prompted.
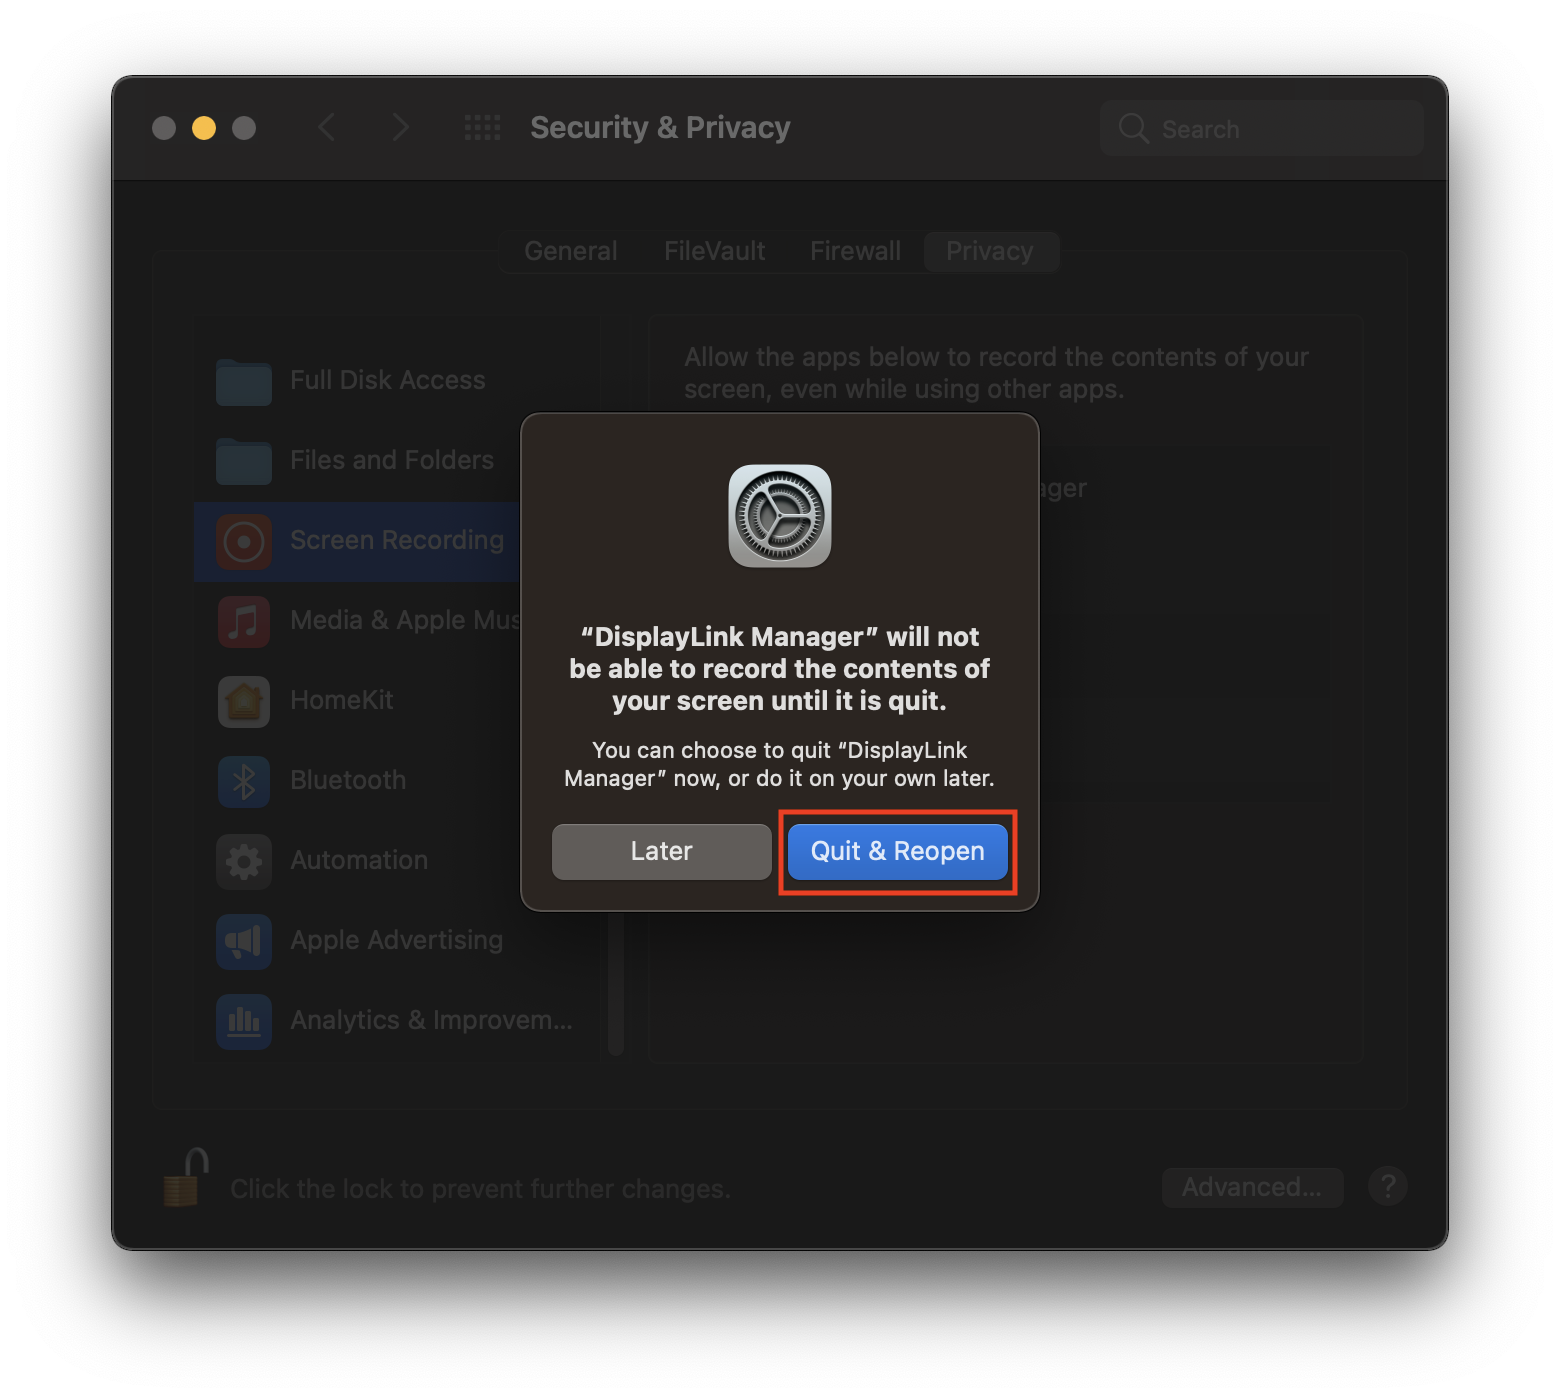
e. Click on a padlock to save the changes.
Other functions of the DisplayLink Manager
Login screen extension (Optional)
This enables the external screens to be available on the login screen prior to the app loading after logging into your account.
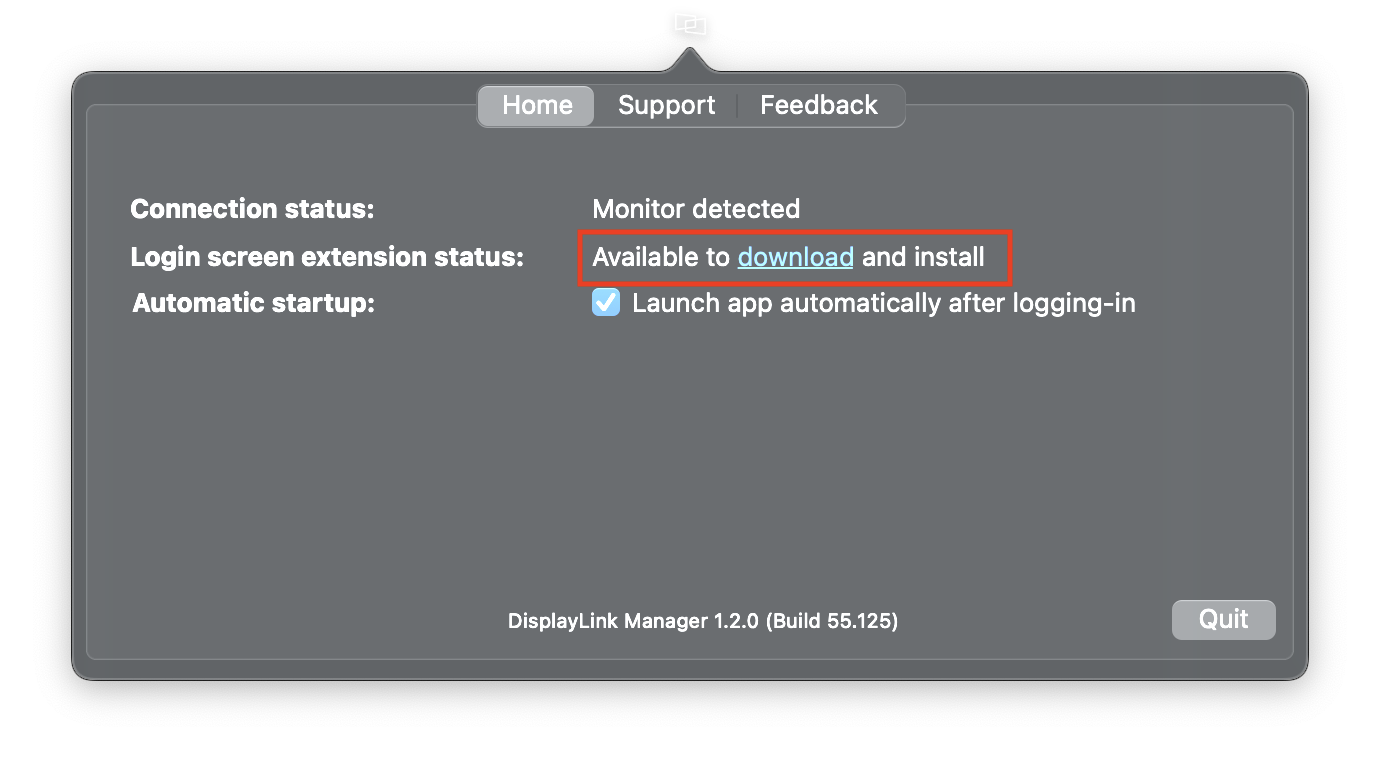
1. Download the Login Screen Extension from the link available on the front page of the DisplayLink Manager.
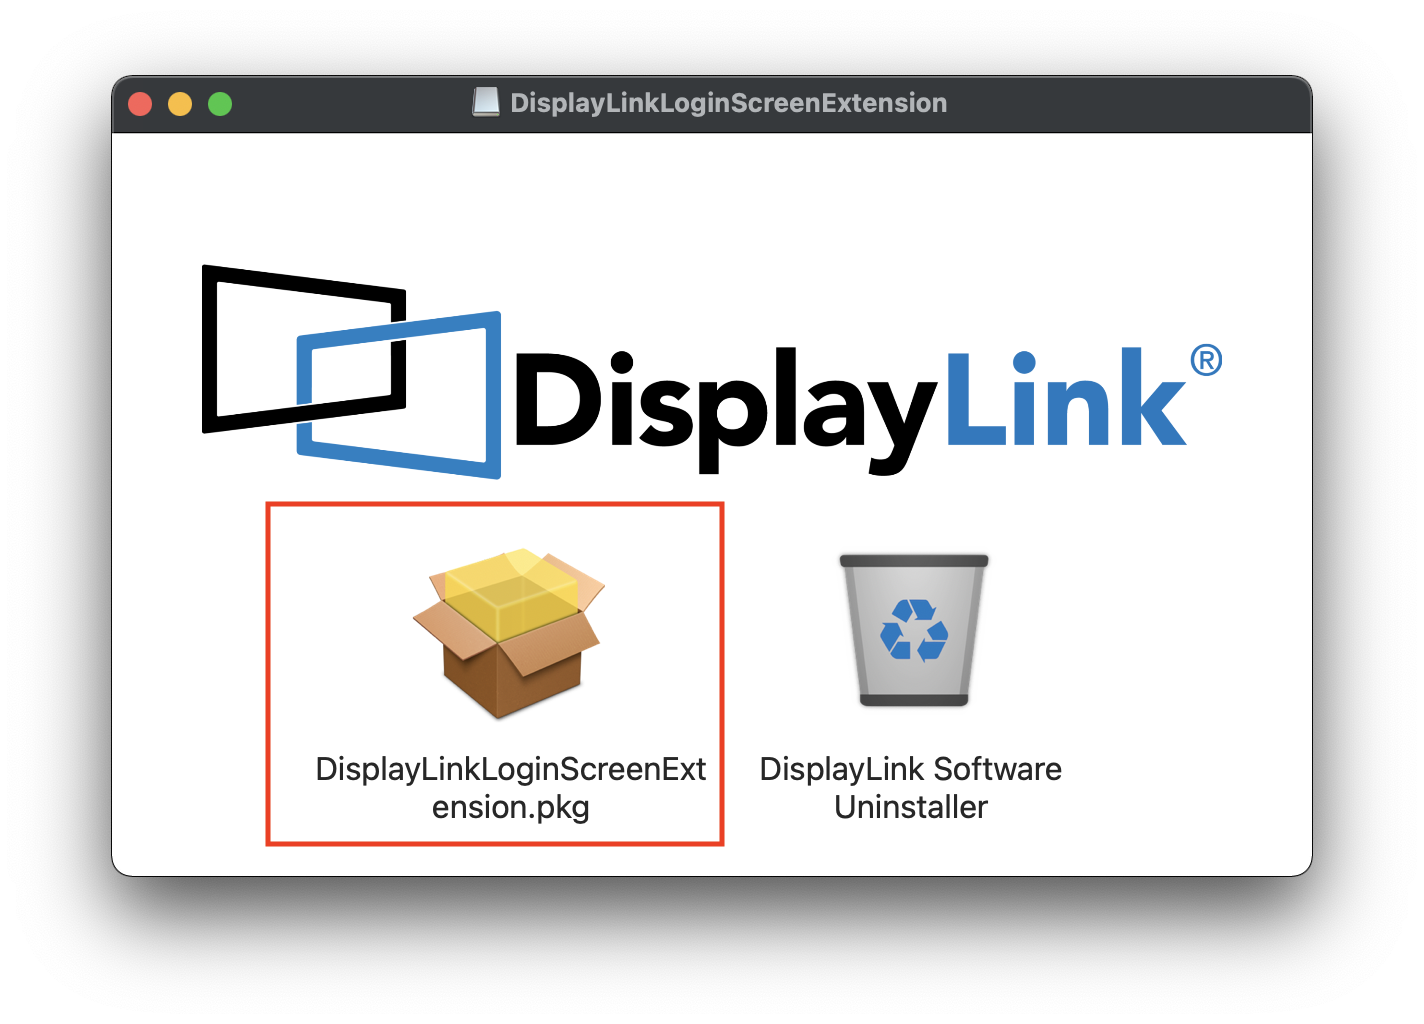
2. Install the extension.
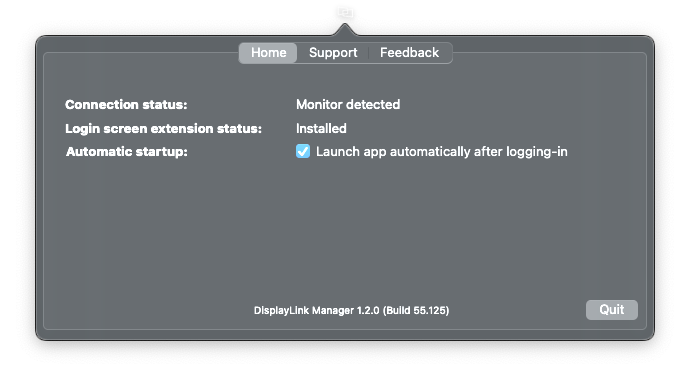
3. Once the installation is complete the extension will show as ‘Installed’
Support
NOTE: Opening a ticket through the Support tab will contact the DisplayLink engineering team in Europe. We recommend contacting support@plugable.com if you have any questions or issues.

