
Unsure which version of macOS you have installed? Click on the ‘Apple’ icon in the menu bar on your desktop and select ‘About this Mac’. A new window will open and display the system’s macOS version.
'Legacy' DisplayLink Driver installation for macOS 10.15 Catalina
We also have a video that demonstrates this process here –> https://youtu.be/ixWKrd5SLKs
Before you begin
If have installed a previous version of the DisplayLink driver, please uninstall it and then reboot your system before proceeding.
1. Download the latest driver for macOS 10.15 Catalina from here -> Link
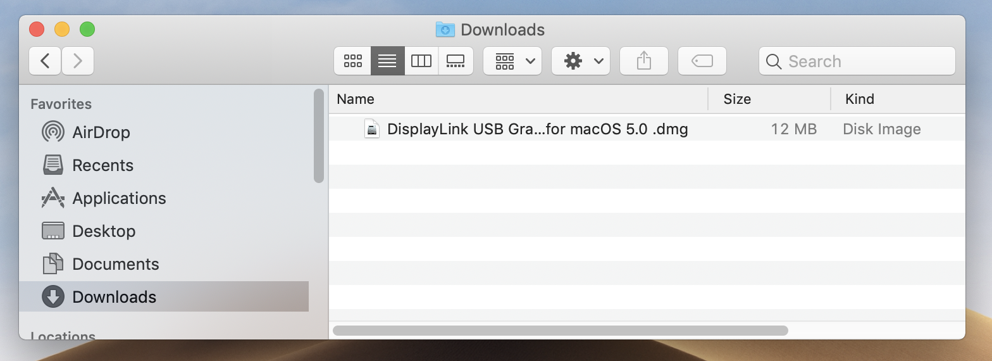
2. Navigate to your Downloads folder and double-click on the DisplayLink driver download
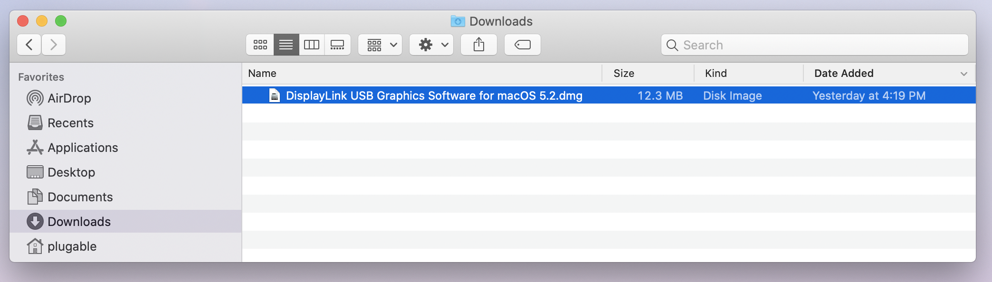
3, The disk image of the driver will mount, and automatically open the DisplayLink Installer main landing page.
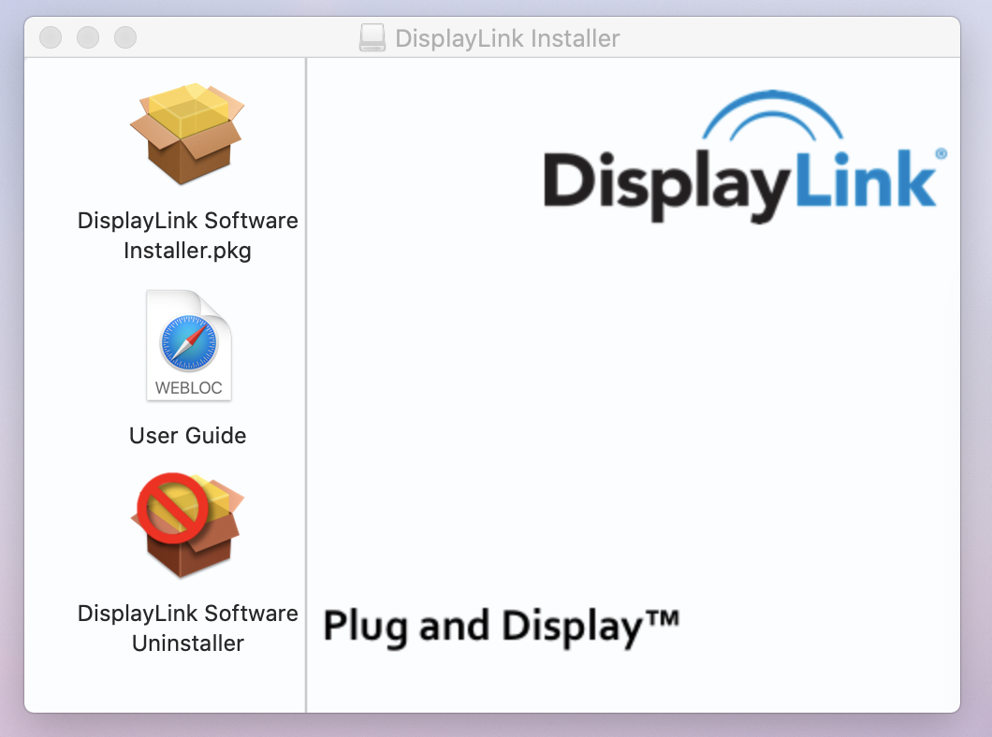
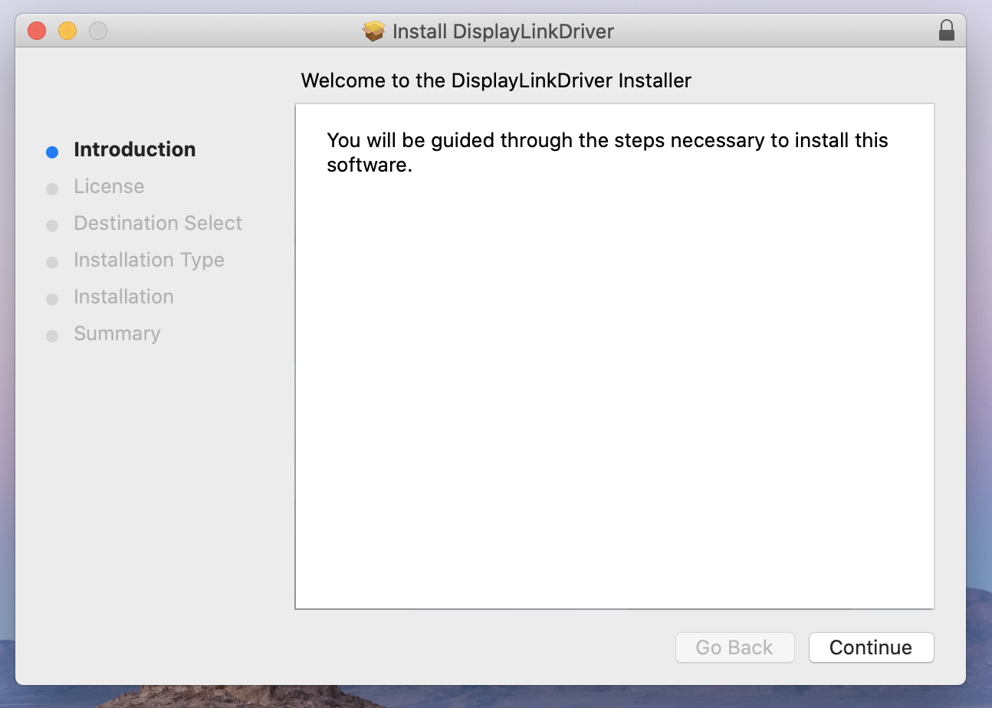
4. Double-click on the ‘DisplayLink Software Installer.pkg’ file. The Install DisplayLink Driver page will open.
*** Depending on your system’s security settings, the installer may not open and instead present you with a warning ***
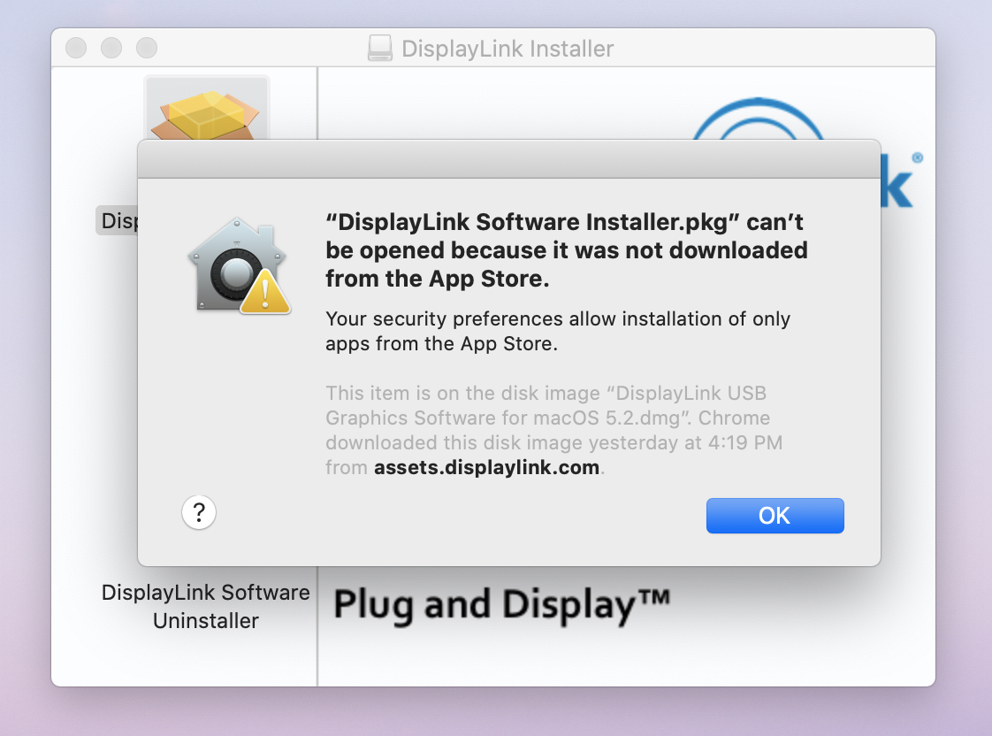
Click on the ‘OK’ button to dismiss the warning, and then open ‘System Preferences’ (gear icon) and then open the ‘Security & Privacy’ application.
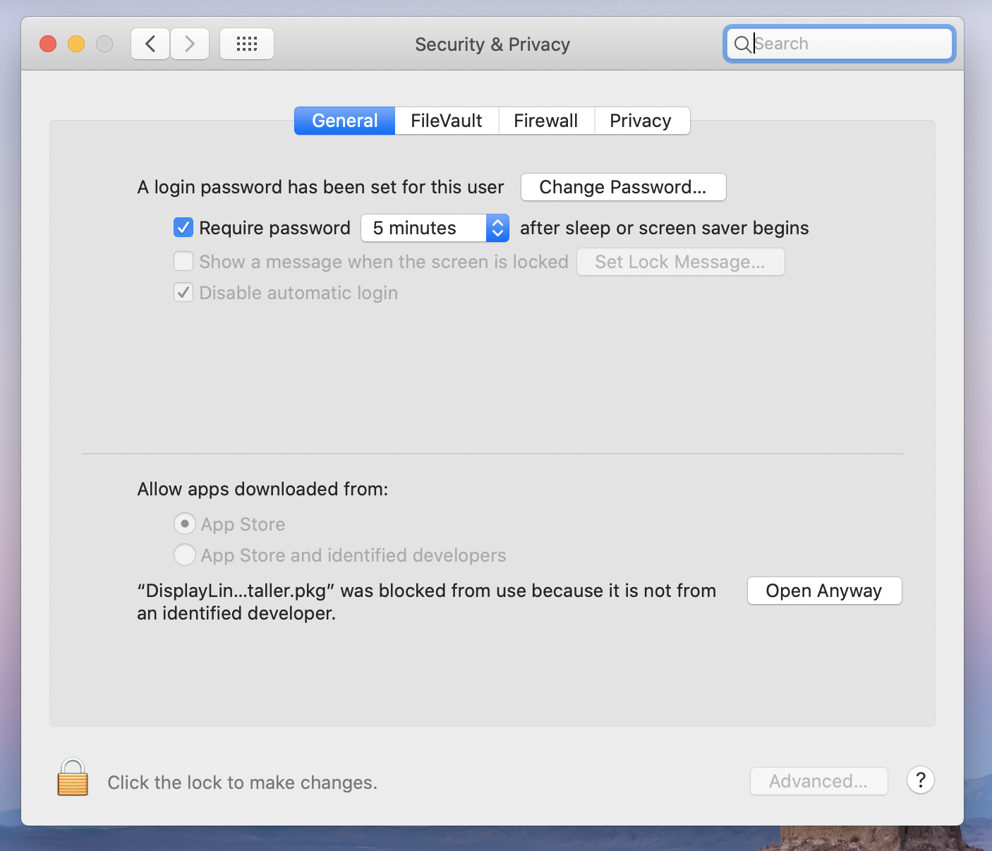
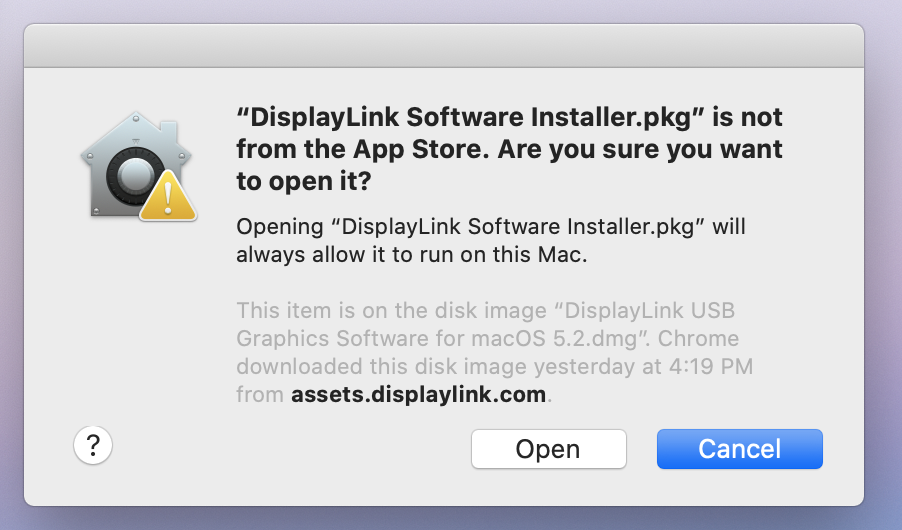
Click on the ‘Open Anyway’ button in the lower right-hand portion of the application window. Then click the ‘Open’ button within the next prompt.
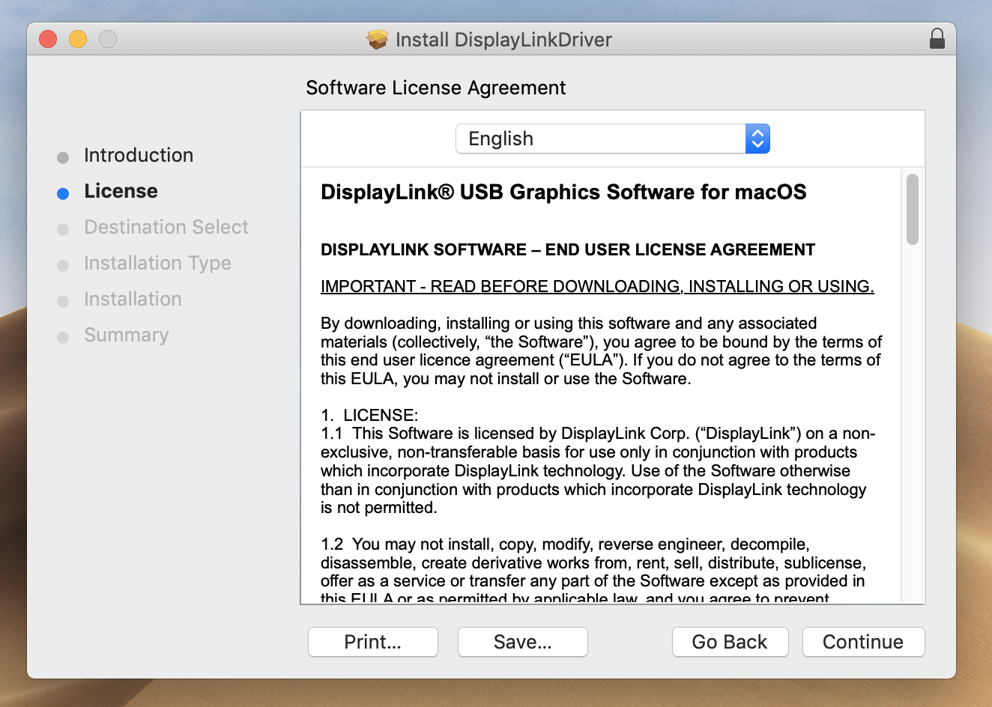
5. Click the ‘Continue’ button shown within the installer’s ‘Introduction’ screen.
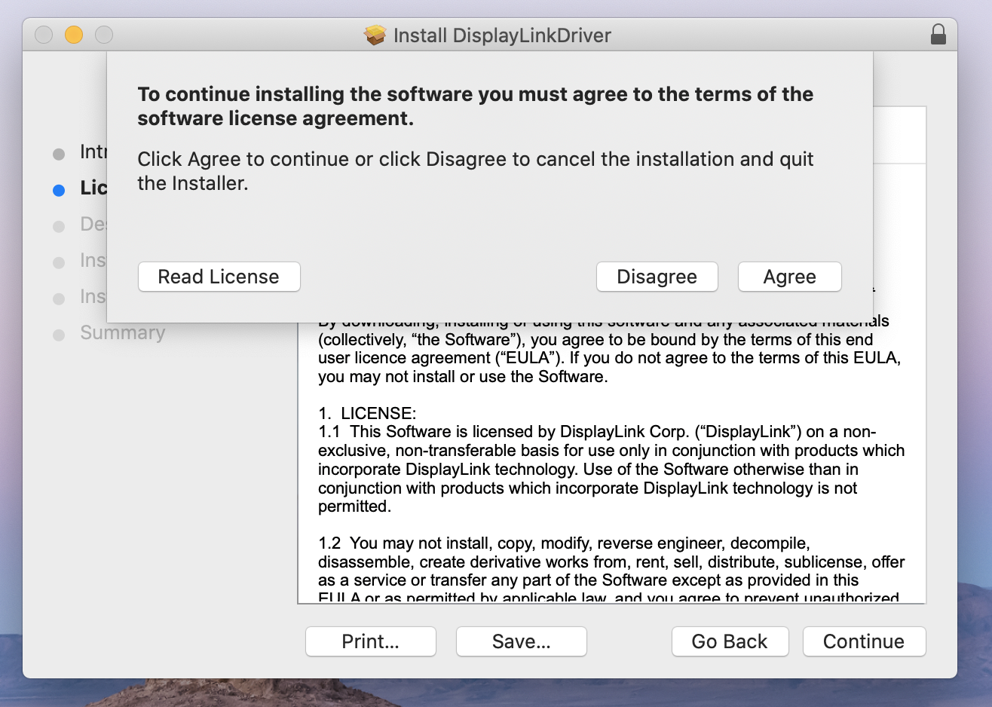
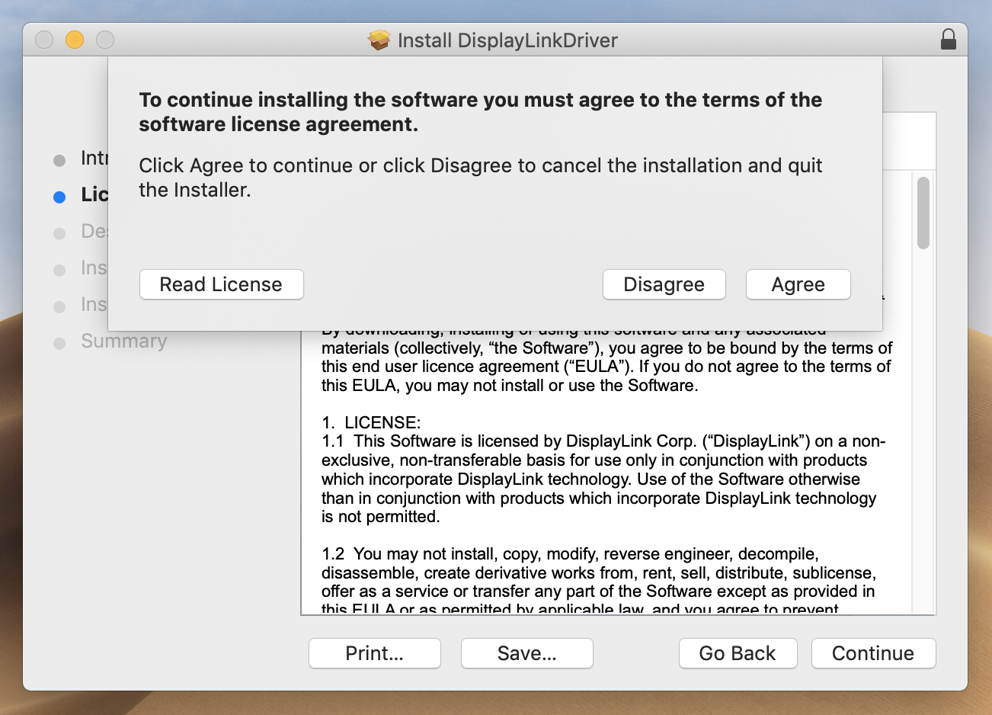
6. Click the ‘Agree’ button to accept the license.
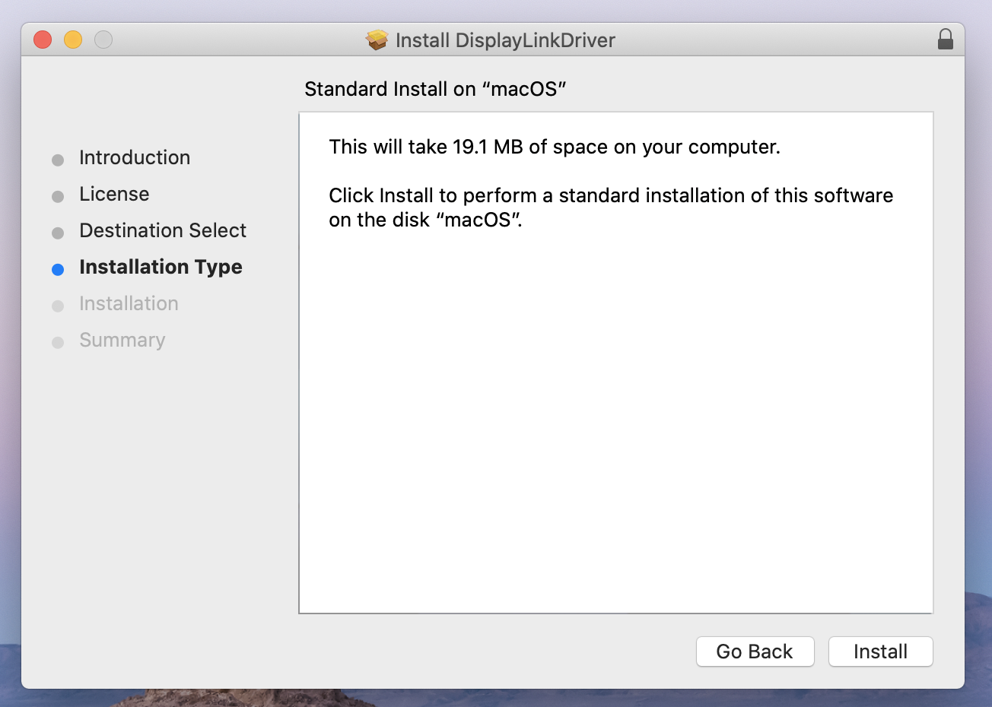
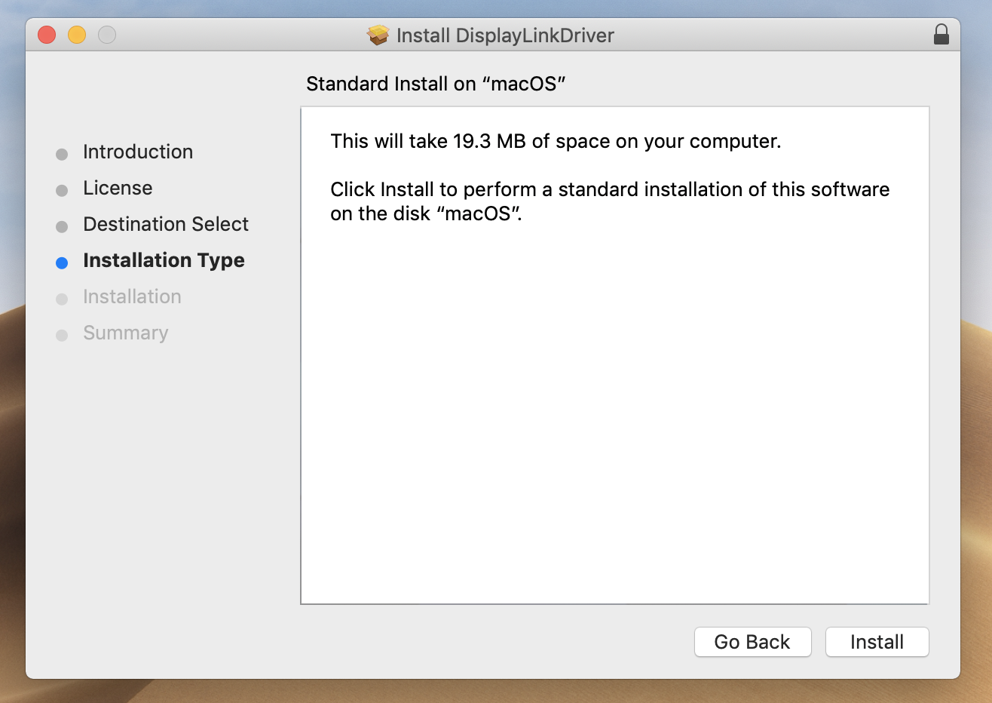
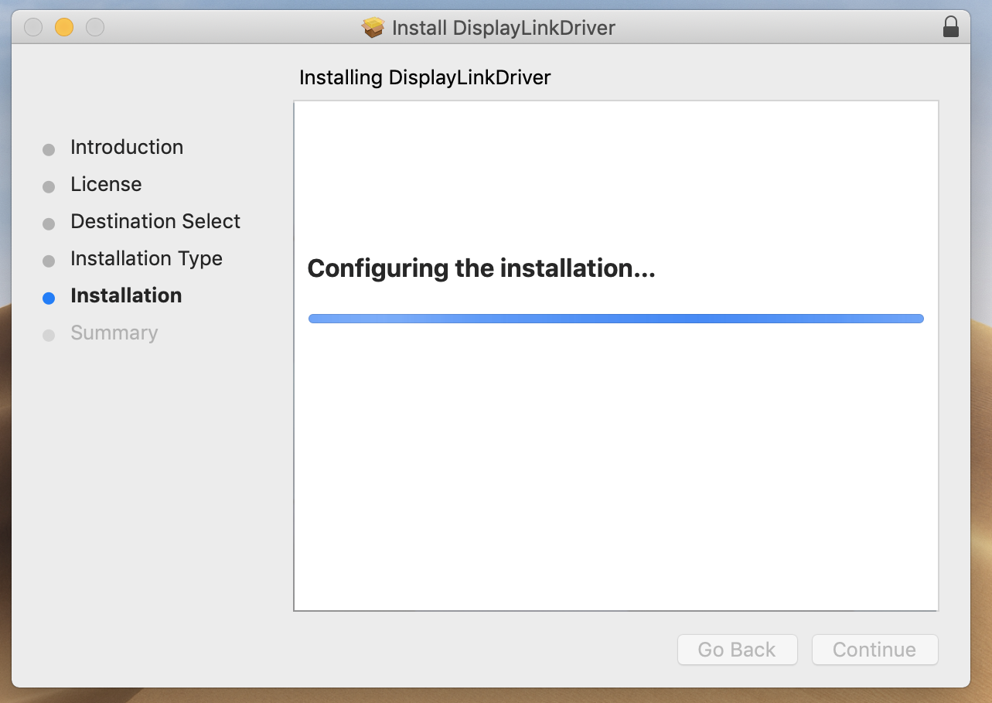
7. Click the ‘Install’ button.
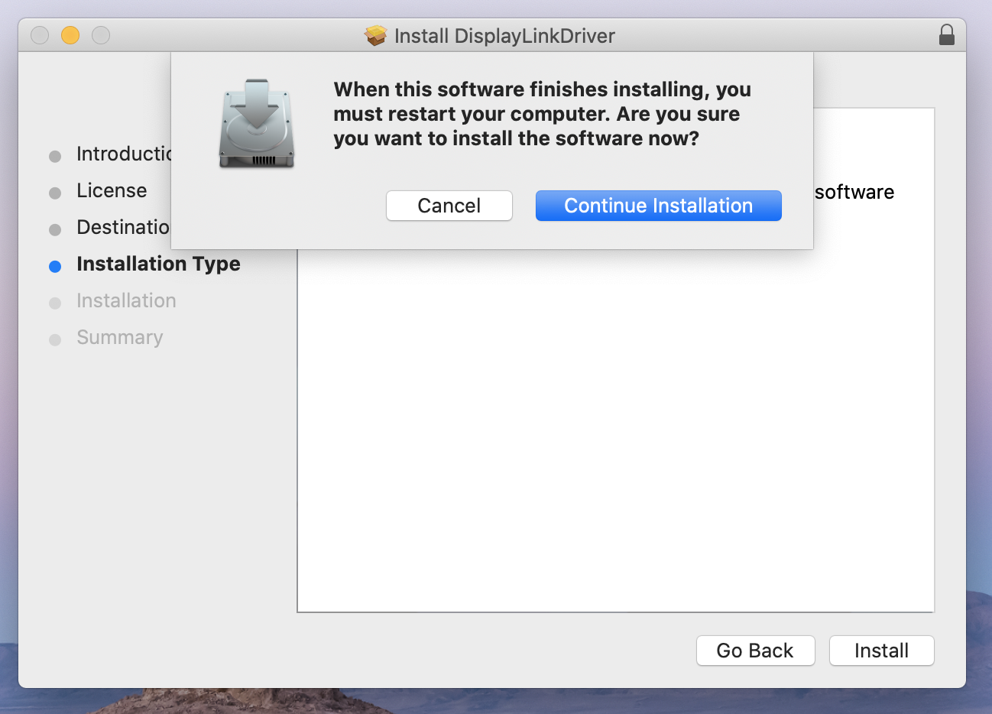
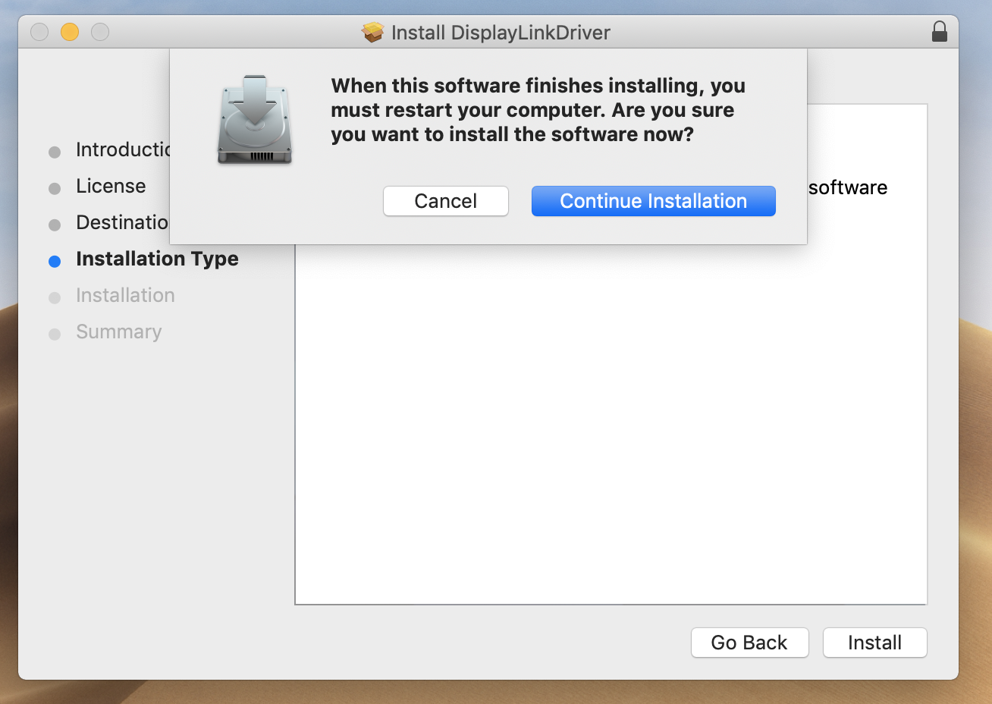
8. Click the ‘Continue Installation’ button. The system will need to be restarted when the installation is complete.
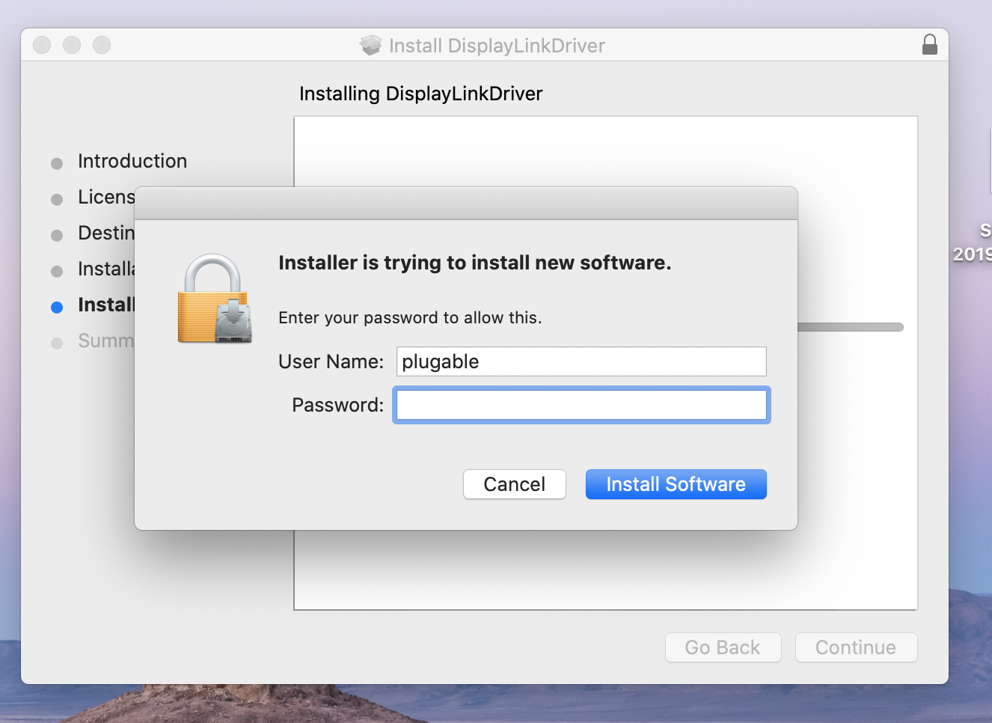
9. Enter your system password and click the ‘Install Software’ button.
10. After a few moments, the installer should report a successful installation.

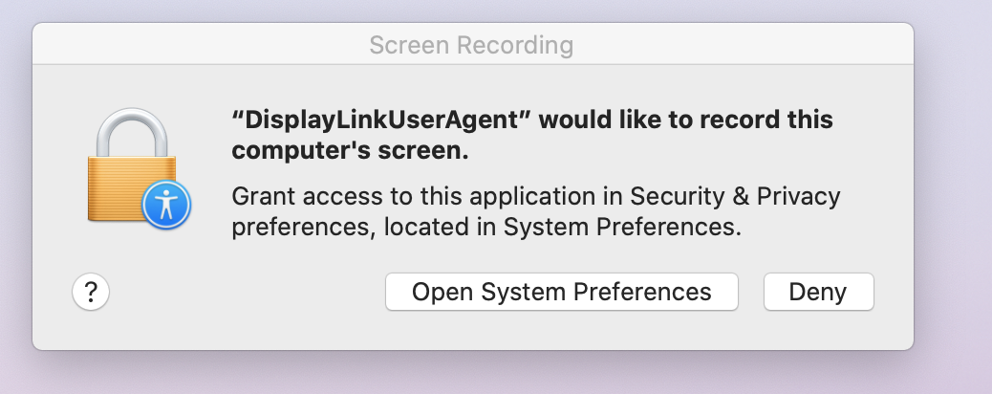
11. The system should also prompt you to access the System Preferences to grant necessary permissions to the DisplayLink driver. Click on the ‘Open System Preferences’ button.
*** If the prompt described above did not appear automatically, manually open the ‘System Preferences’ application (gear icon in the macOS dock at the bottom of the screen) and select the ‘Security & Privacy’ application. Within the ‘Security & Privacy’ application click on the ‘Privacy’ tab. Scroll down in the list of items on the left-hand side of the application window and click to select ‘Screen Recording’. The proceed to the next step ***
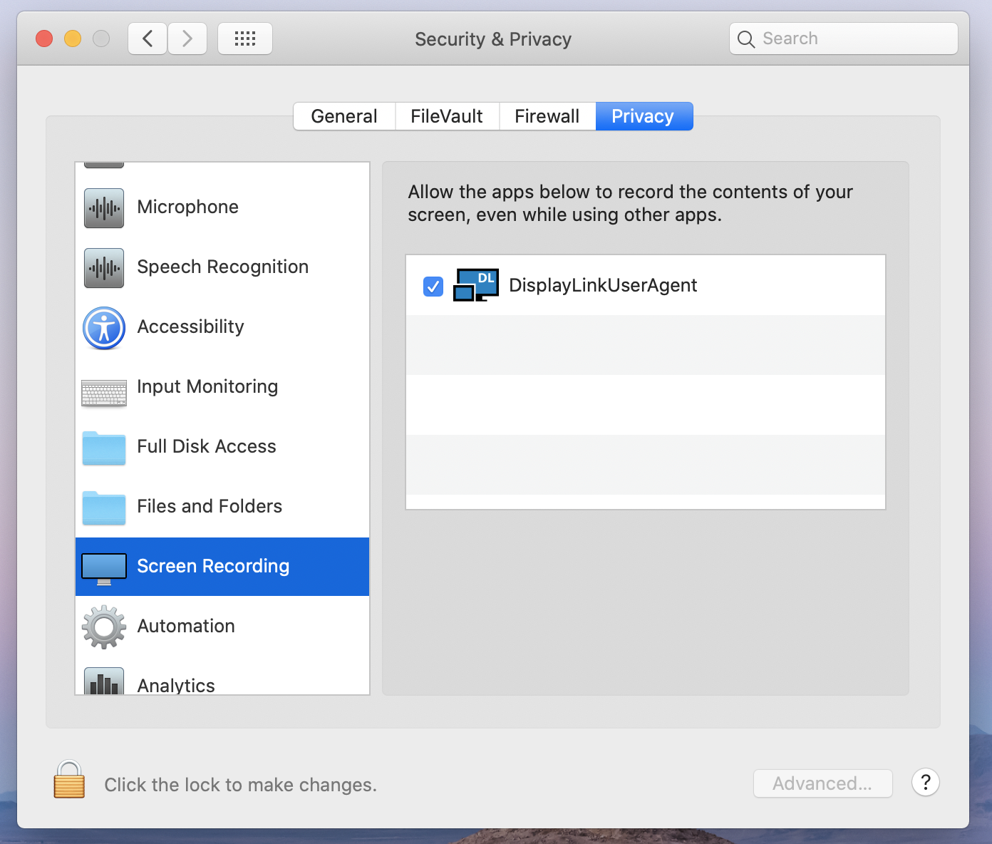
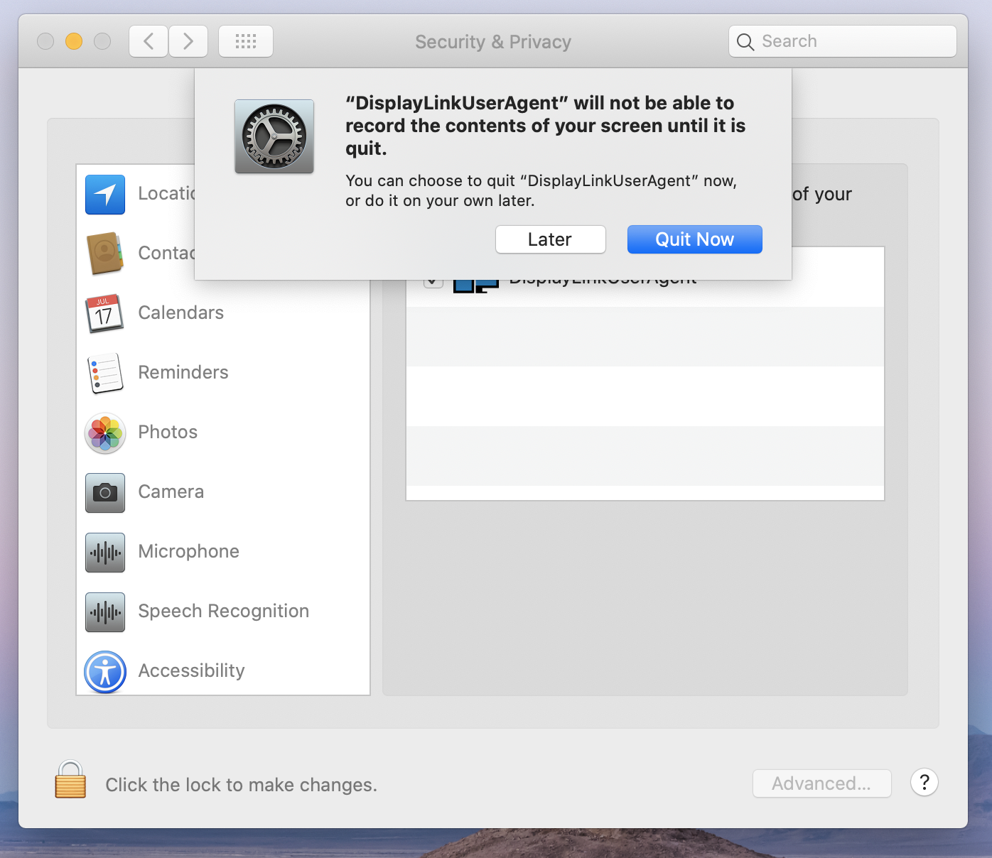
12. The ‘Security & Privacy’ application should open and default to showing the ‘Privacy’ tab. On the right-hand side of the application window there should be a single entry entitled, ‘DisplayLinkUserAgent’. Click to place a checkmark next to this entry.
*** Important note – the contents of your screens (displays) are not being recorded. This setting just enables the DisplayLink driver to access the information generated by the system’s built-in graphics adapter to generate the image shown on the DisplayLink-connected displays. ***
13. After having placed a checkmark next to the ‘DisplayLinkUserAgent’ entry, click the ‘Quit Now’ button in the prompt that appears.
14. Close the ‘Security & Privacy’ application, and then restart your system. The DisplayLink device should start working after the restart is complete.
'Legacy' DisplayLink Driver installation for macOS 10.14 Mojave
** Before you begin **
If have installed a previous version of the DisplayLink driver, please uninstall it and then reboot your system before proceeding.
1. Download the latest driver for macOS 10.14 Mojave from here -> Link
2. Navigate to your Downloads folder and double-click on the DisplayLink driver download
3. The disk image of the driver will mount, and automatically open the DisplayLink Installer main landing page
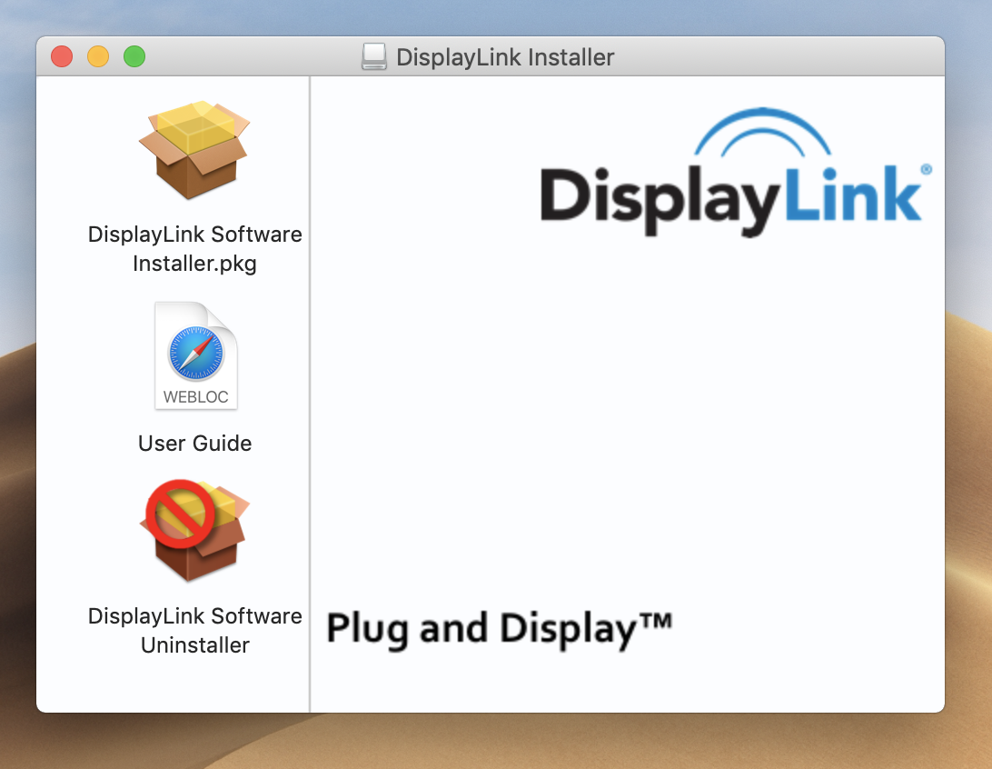
4. Double-click on the ‘DisplayLink Software Installer.pkg’ file. The Install DisplayLink Driver page will open
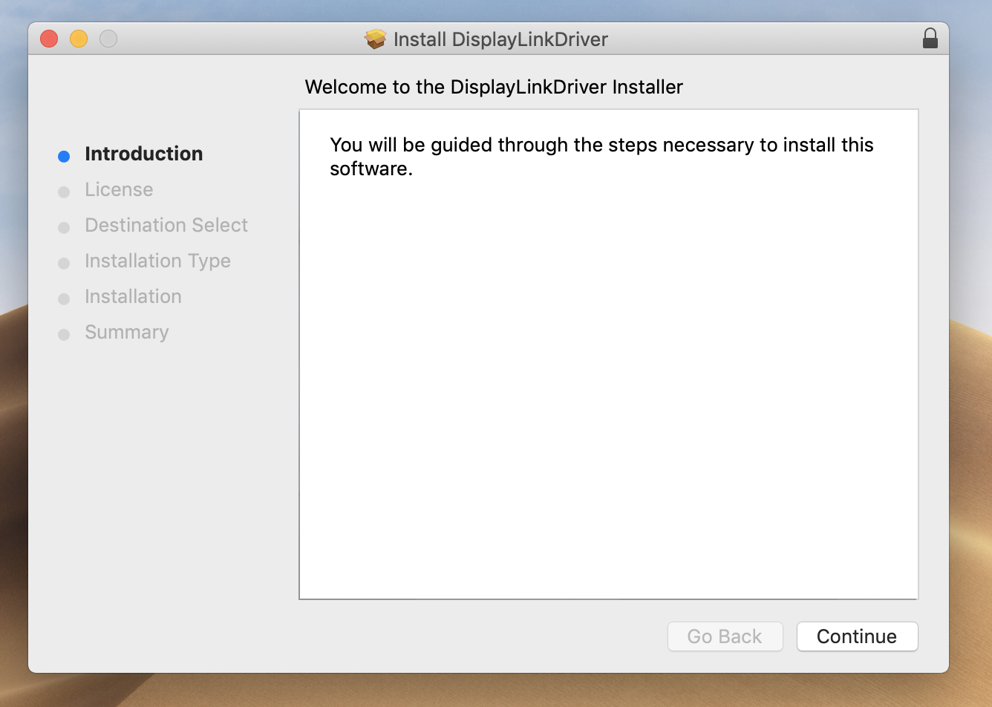
5. Click ‘Continue’
6. Click the ‘Agree’ button
7. Click ‘Install’
8. Click ‘Continue Installation’ The system will need to be restarted when the installation is complete
9. Enter your system password and click the ‘Install Software’ button

10. There is a chance that the security settings in macOS may block the installation of the DisplayLink extension
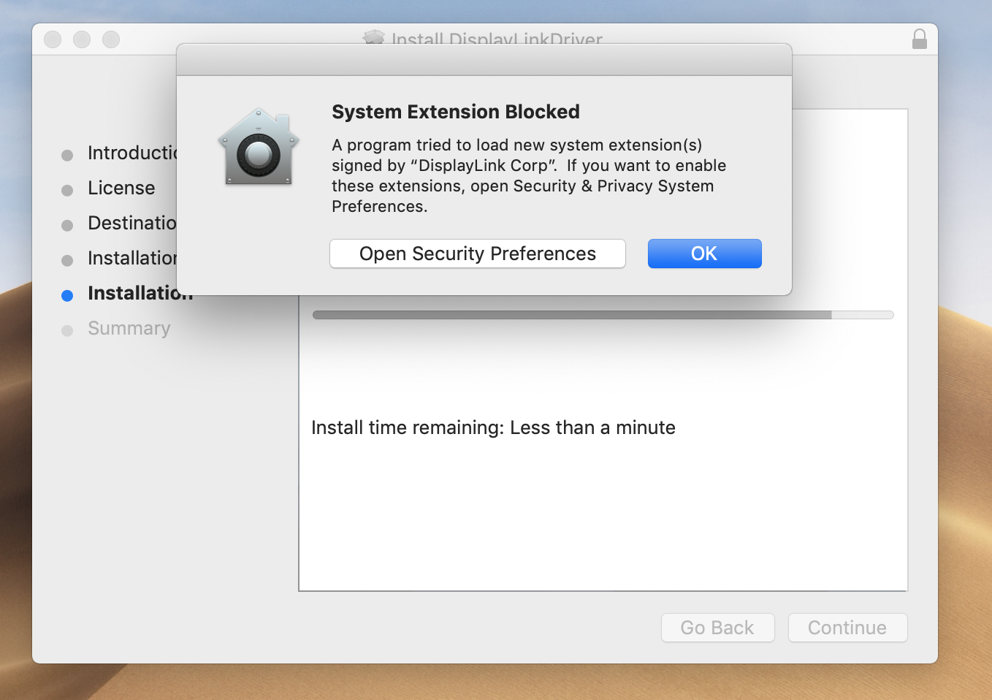
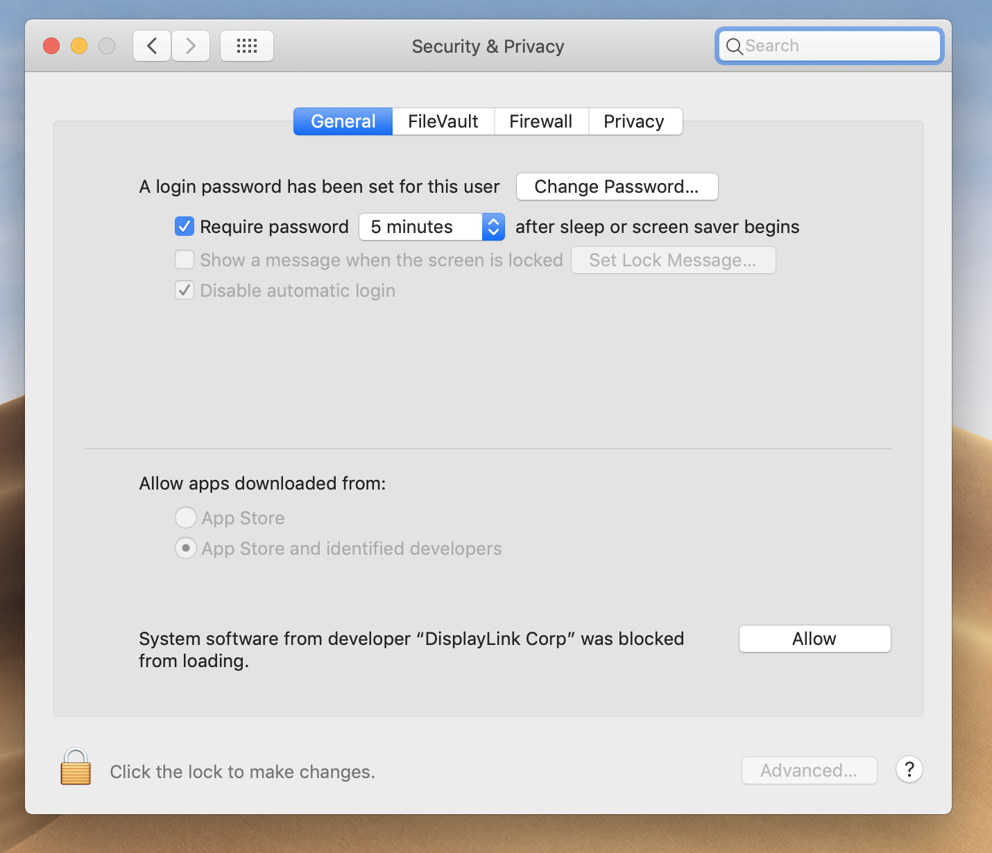
11. If that occurs, click on the ‘Open Security Preferences’ button and click the ‘Allow’ button at the bottom of the window to grant permission for the extension to be loaded. ** Important note – this approval must be granted within 30 minutes of the driver installation or the process will not work. A fresh installation must be performed to reset this timer. **
There is also a chance that the warning message about the blocked System Extension will not appear, but macOS may still block the extension. After the driver installation completes, please double-check that the necessary approval was granted by clicking the ‘System Preferences’ icon (the gear) and then clicking on the ‘Security & Privacy’ icon. From the window that appears please ensure the DisplayLink driver is Approved by clicking the ‘Allow’ button.
12. Close the ‘Security and Privacy’ window. The DisplayLink installation should now complete
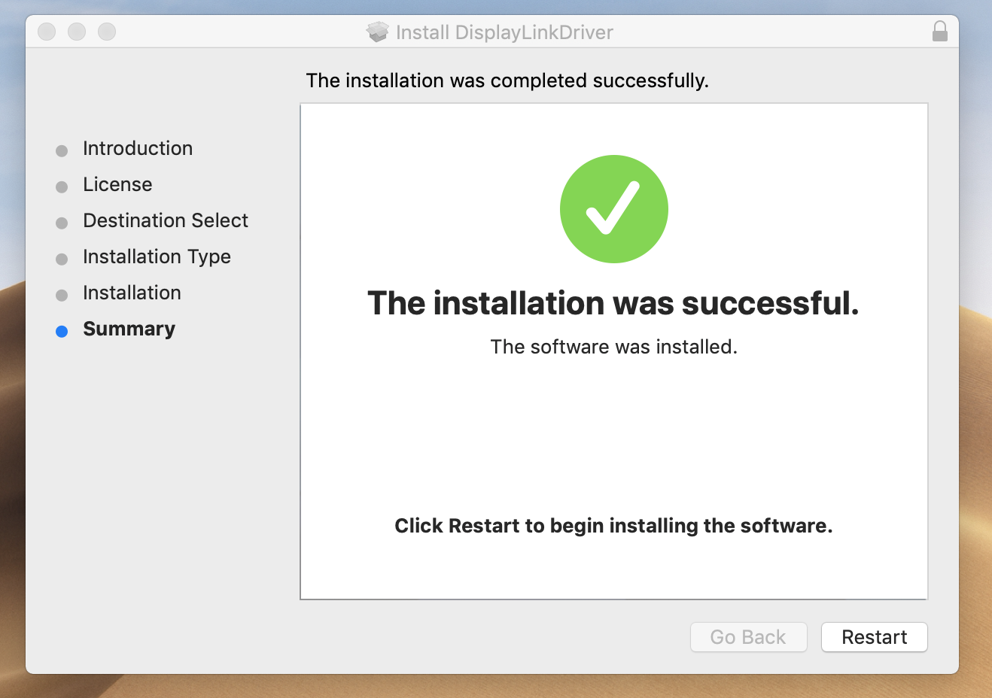
13. Click on the ‘Restart’ button to restart your system. The DisplayLink device should start working after the restart is complete.
'Legacy' DisplayLink Driver removal for macOS 10.14 Mojave and 10.15 Catalina
We also have a video that demonstrates this process here –> https://youtu.be/VRRLJf6D7vc
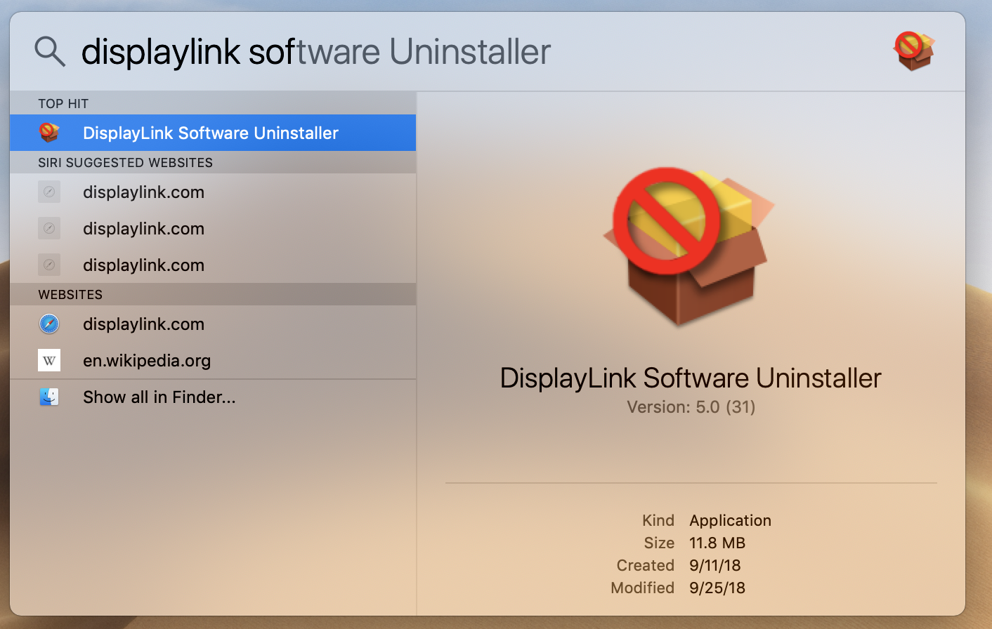
1. Click the Spotlight magnifying glass icon in the Apple Menu, and search for ‘DisplayLink Software Uninstaller’. Double-click on the result
2. The uninstall window will appear
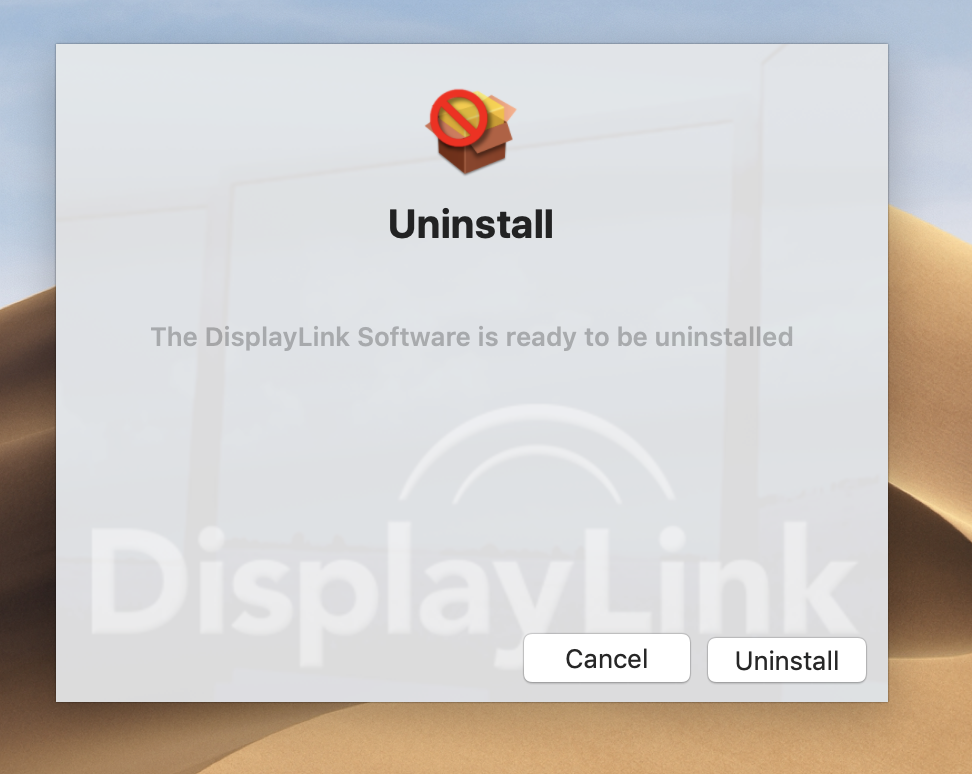
3. Click the ‘Uninstall’ button
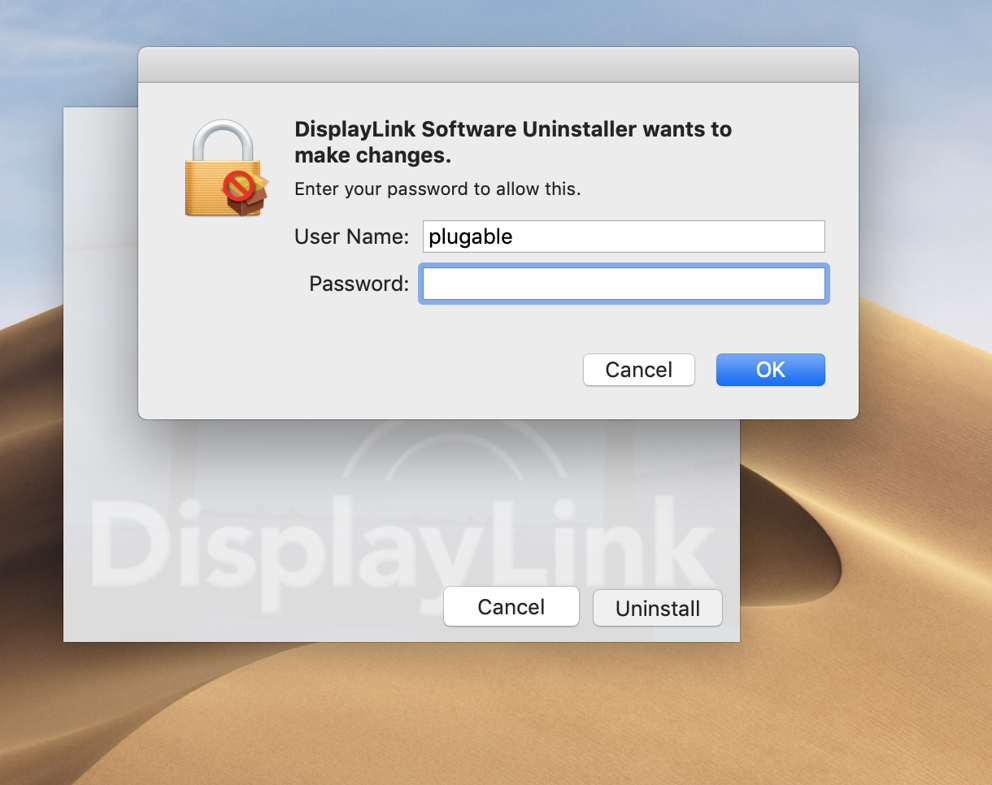
4. Enter your account password and click ‘OK’
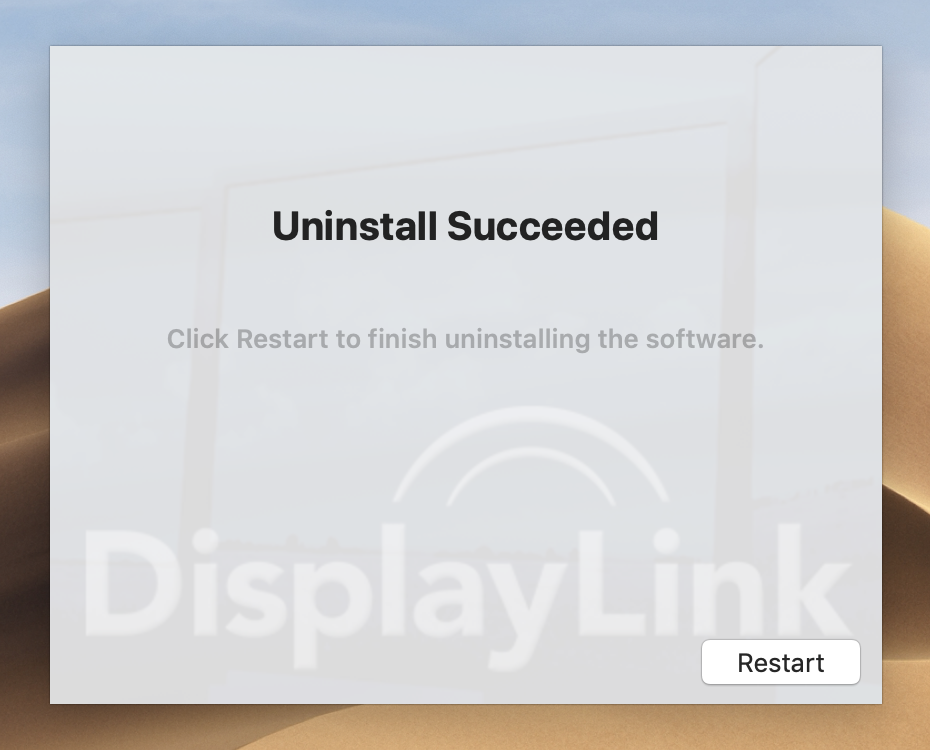
5. After a few moments the process will complete. Click the ‘Restart’ button to complete the removal process.
