This article applies to:
- Operating systems: Windows 10, Windows 11
- Products: DisplayLink based docking stations and graphics adapters
This article briefly demonstrates creating and using Windows Restore Points to revert changes to the system. For example if a driver installation cause unexpected behavior it may be reverted using Windows System Restore.
Windows system restore may modify data in the user account folder, for example it will remove executable files created after the restore point is created and we also recommend maintaining an external backup of all important user data.
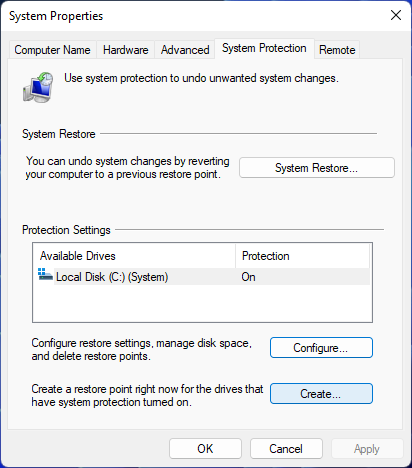
Creating a new restore point
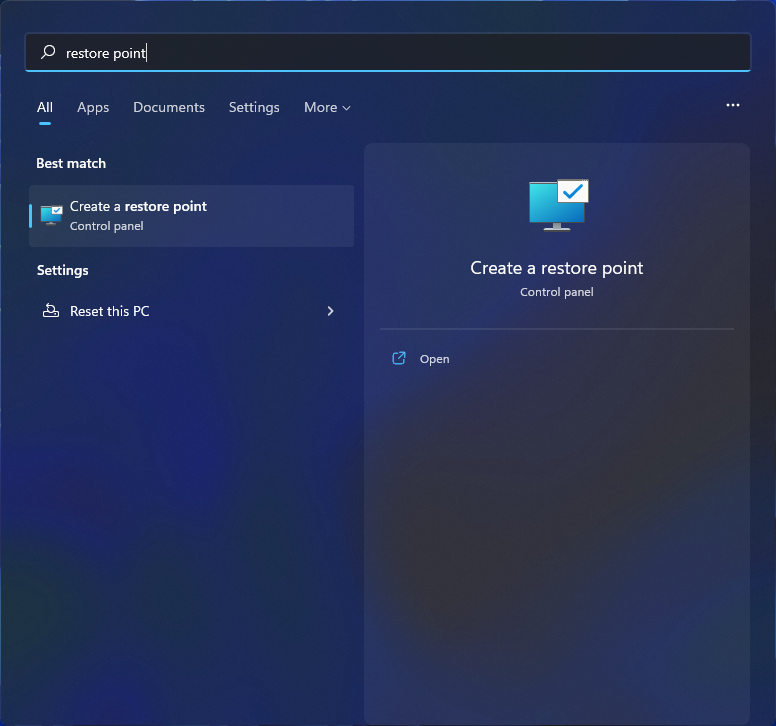
- Open the Start Menu and search for "restore point"
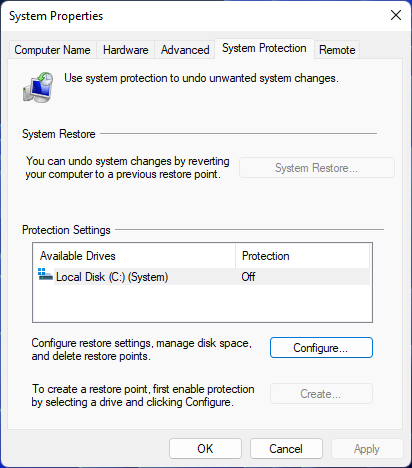
- System restore works on a per-drive basis, if "Protection" is turned off for the C: drive, then click on the Configure...button to enable system restore, if it is already enabled please skip to step #4
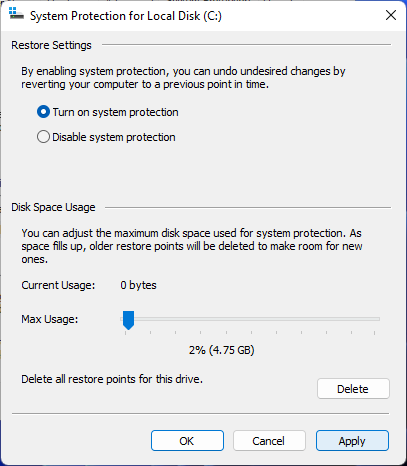
- In the "System Protection for Local Disk (C:)" window, select the radio button to "Turn on system protection" then click OKto save and apply these settings.
- Select the Create...button to create a new restore point
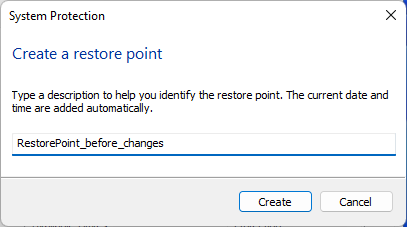
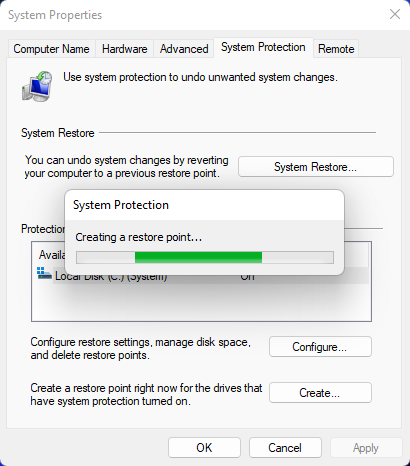
- At the pop-up dialog, type in a unique name for the restore point, this can be named to reflect the driver or software being installed for ease of restoring to this point later. Click Createto continue.
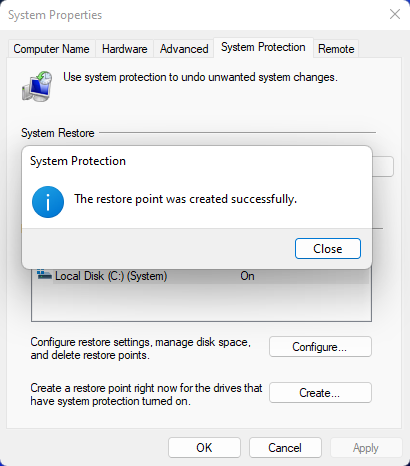
- When the restore point has been created there will be a message stating "The restore point was created successfully.", click Closeto continue.
Restore the system
- Open the Start Menu and search for "restore point"
- Select the "System Restore..." button near the top of the window, this will be greyed out if there are no restore points
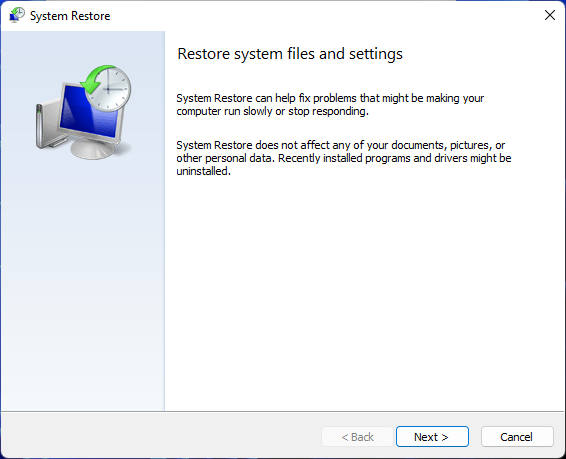
- In the "System Restore" dialog, select Next >button to continue
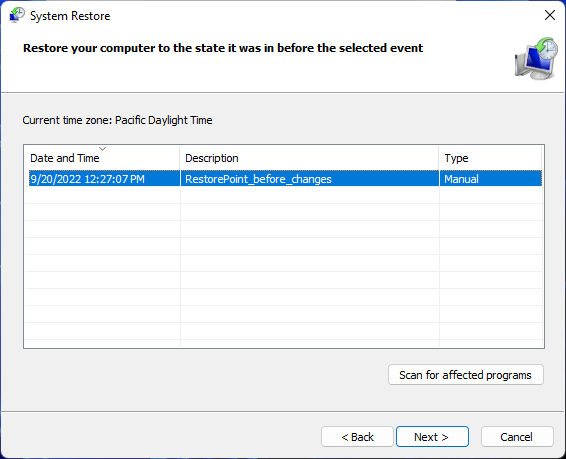
- From the list of restore points, select your preferred restore point, then select Next >button to continue
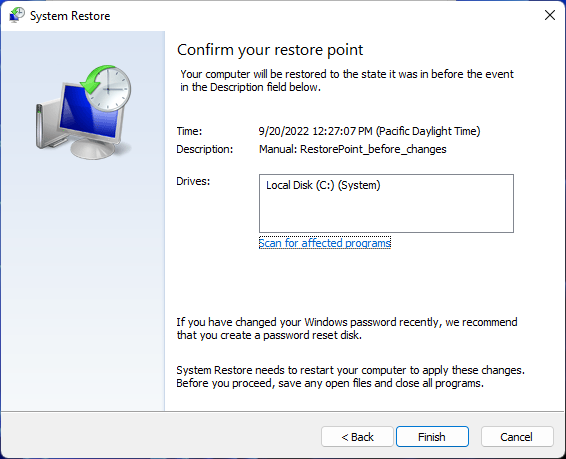
- On the "Confirm you restore point" page, verify the details are correct, then select Finishto start restoring the system