
If you find that your Plugable Ethernet adapter or docking station is not connecting to the internet or is experiencing slower than expected speeds on your Mac, it may be related the macOS Network Service Order. This is a list of the network connections available to the computer setting the priority for network connections.
macOS attempts to connect to the internet using the network service at the top of your list first. If a wireless network is listed above your Plugable Ethernet adapter, this often leads to users unknowingly using a slower wireless connection when they intended to use a wired one.
To ensure you are getting the full speed and stability of your wired connection, you must prioritize the Plugable Ethernet adapter above Wi-Fi. Normally wired network connections take priority, however if priority has been modified in the past it can affect newly connected devices.
Set the order of network services
Navigate through these steps to Set Service Order:
- Click the Apple Menu in the top-left corner of your screen and select System Settings.
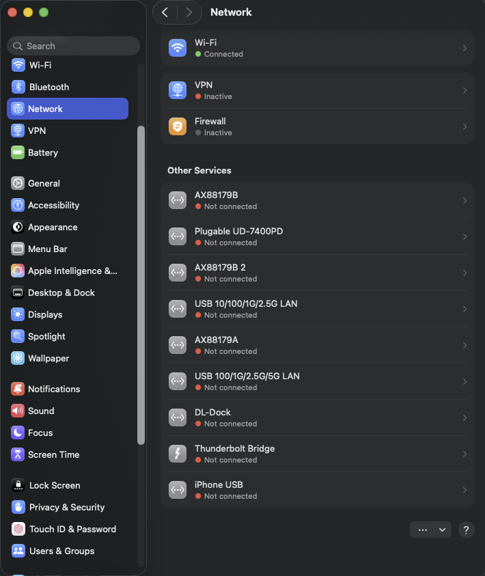
- In the sidebar, click Network.
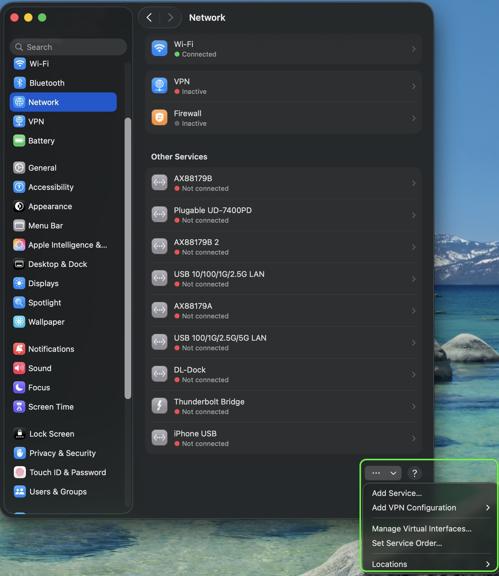
- Look for the Action Menu (a circle with three dots ...) located at the bottom right of the main window area.
- Click the three dots and select Set Service Order.…
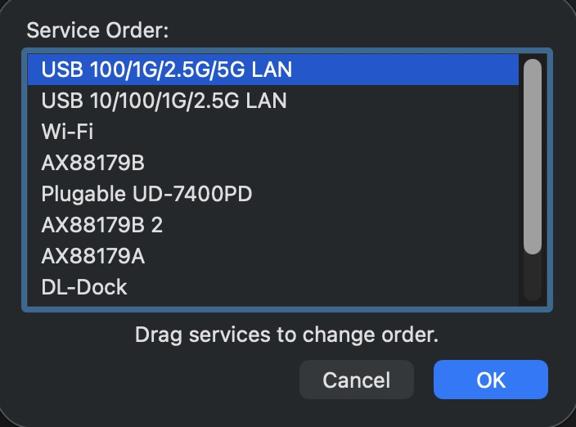
- A list will appear showing all your network interfaces. Click and drag your Ethernet Adapter (often named "USB 10/100/1G/2.5G LAN" or “Plugable Docking Station”) to the very top of the list, above Wi-Fi.
- Click OK to save your changes.
Your network traffic will now automatically prioritize the wired connection, ensuring you receive the best possible speeds and stability from your Plugable adapter.
If you have any questions please feel free to contact us at support@plugable.com and we'll be happy to help!
