Depending on what kind of processor your Mac uses, there's a different method to rotate the displays connected to a DisplayLink-based USB Docking Station or USB Graphics Adapter.
For Apple silicon-based Macs (M1, M1 Pro, M2, M3, etc.)
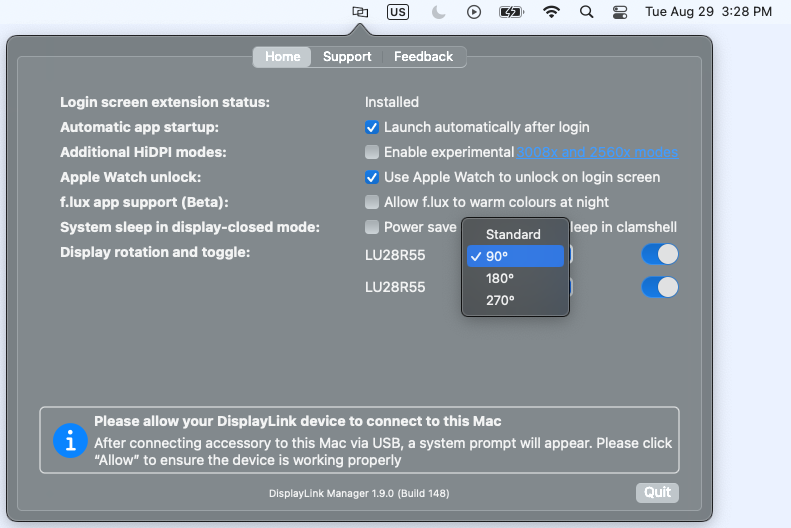
Starting in macOS 12 (Monterey), DisplayLink-connected displays can be rotated using the DisplayLink Manager application. Display rotation is supported by DisplayLink Manager 1.6 Beta and up.
- Click on the DisplayLink Manager icon in the macOS Menu bar to expand the DisplayLink Manager
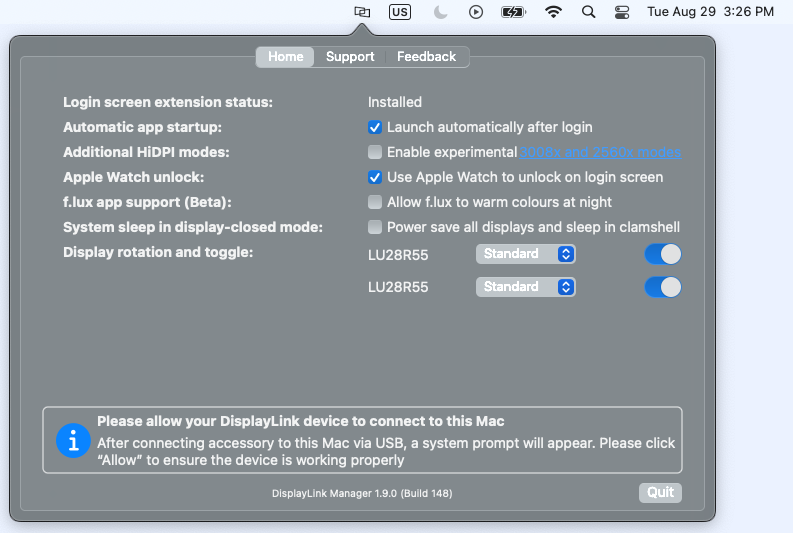
- Identify the display you wish to rotate
- If you're unsure which which display name corresponds with each physical monitor, you can identify the display by moving your cursor over the display's name in the DisplayLink Manager. A red border will be shown on the display when the cursor is over top of the corresponding display's name.
- Click the pop-up menu next to the display you wish to rotate to choose your preferred display rotation value
For Intel-based Macs
Starting in macOS 11 Big Sur, DisplayLink-connected displays can be rotated using macOS's built-in Display menu.
For macOS 13 (Ventura)
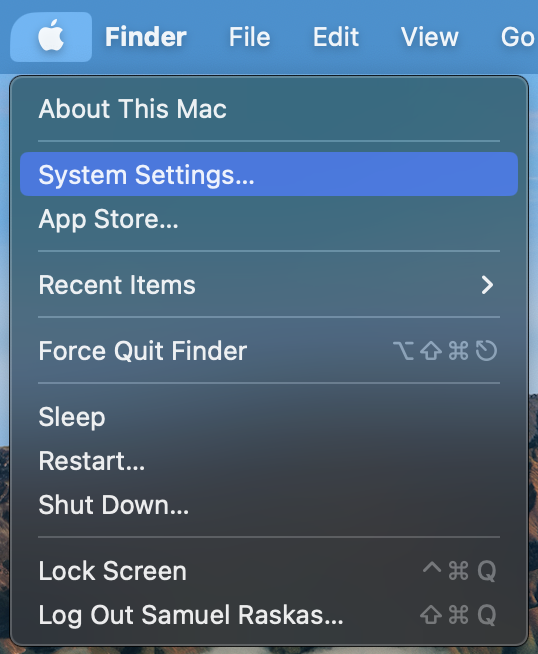
- Click on the Apple menu in the macOS menu bar at the top of your display
- From the Apple menu, click on “System Settings”
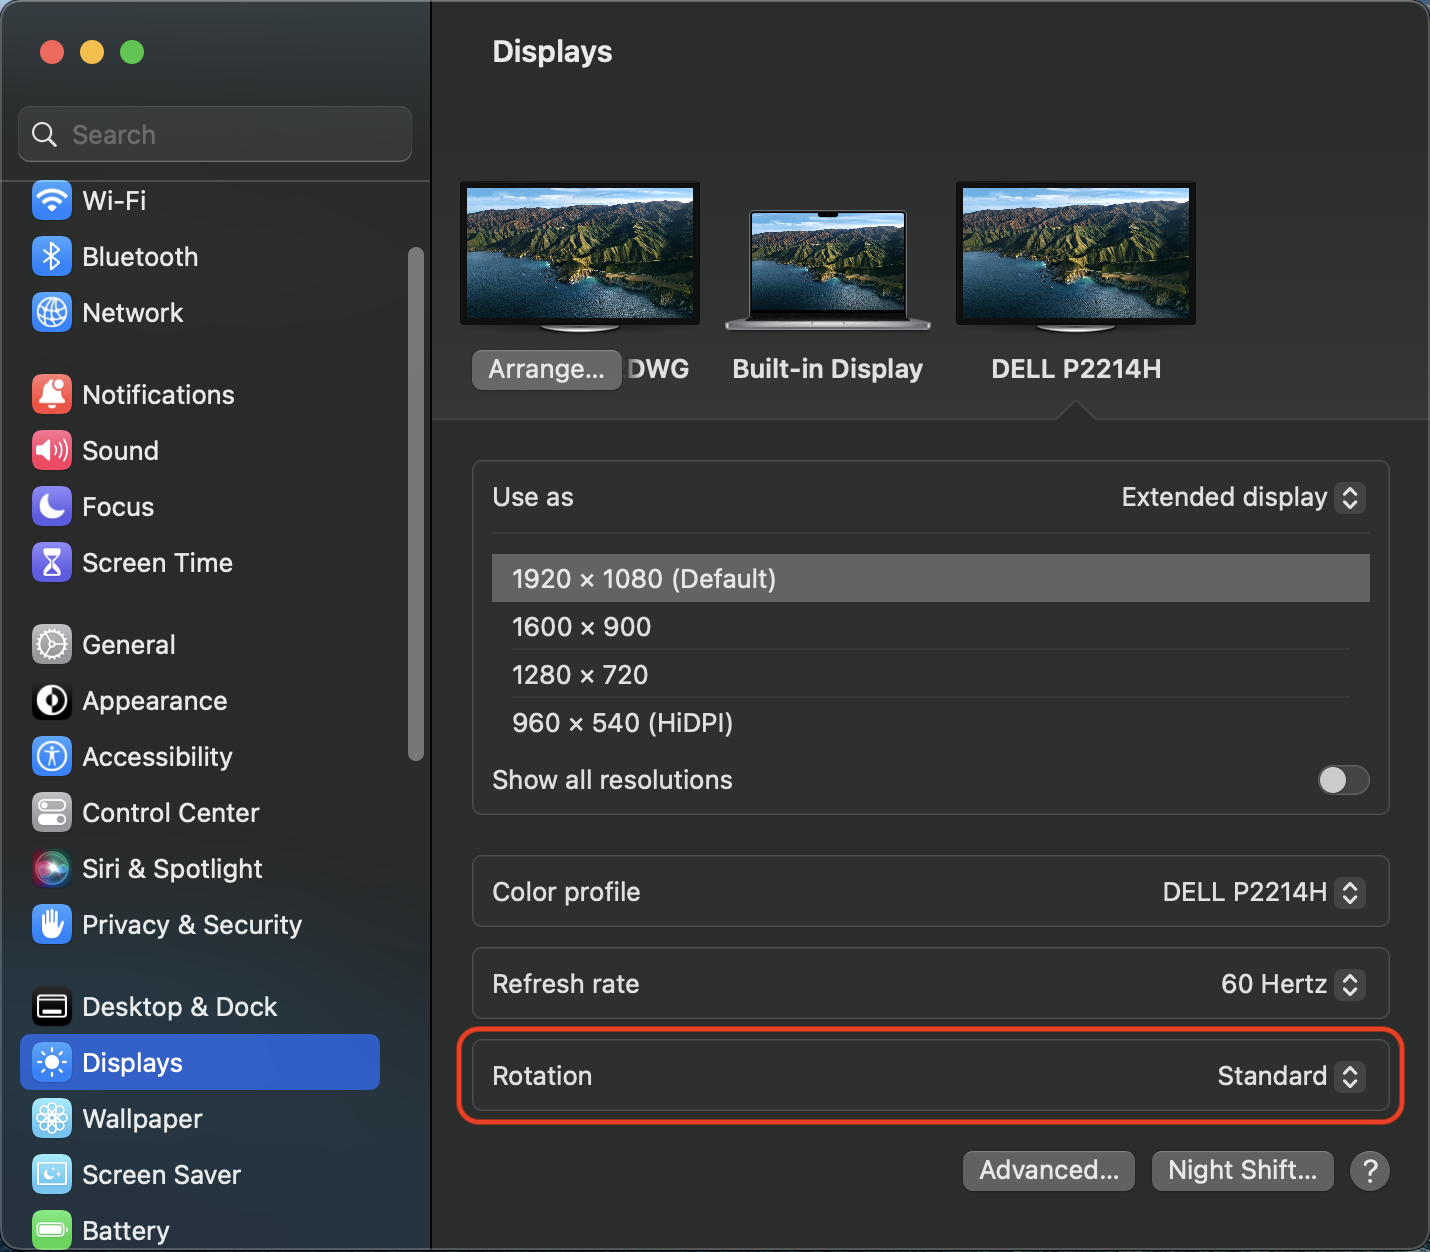
- In the sidebar of the “System Settings” window, click “Displays” (you may need to scroll down to see this)
- Click to select the display you wish to rotate
- Click the pop-up menu next to “Rotation” to choose your preferred display rotation value
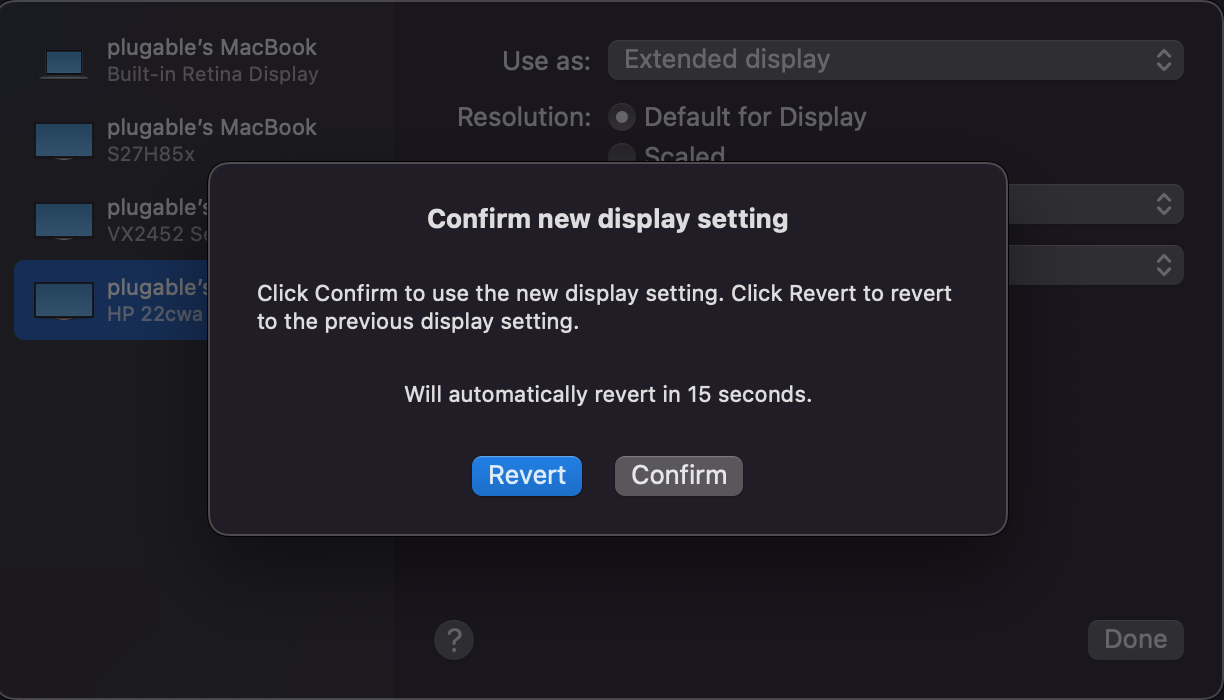
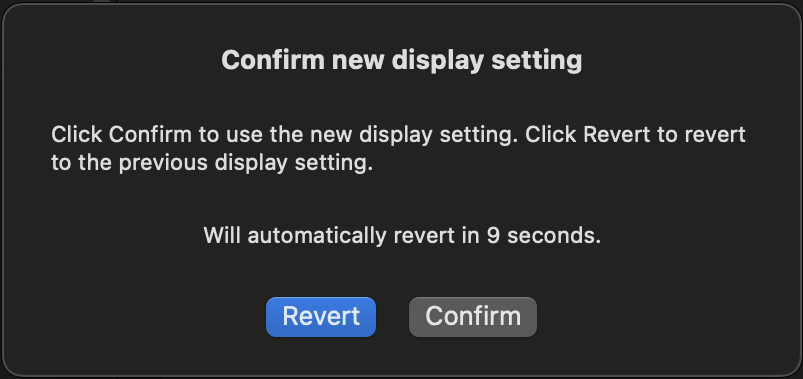
- In the dialog box that appears, select “Confirm” to proceed
For macOS 11 (Big Sur) and macOS 12 (Monterey)
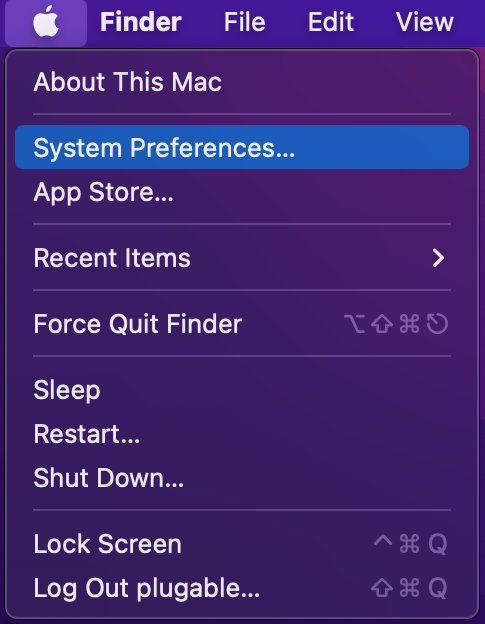
- Click on the Apple menu in the macOS menu bar at the top of your display
- From the Apple menu, click on “System Preferences”
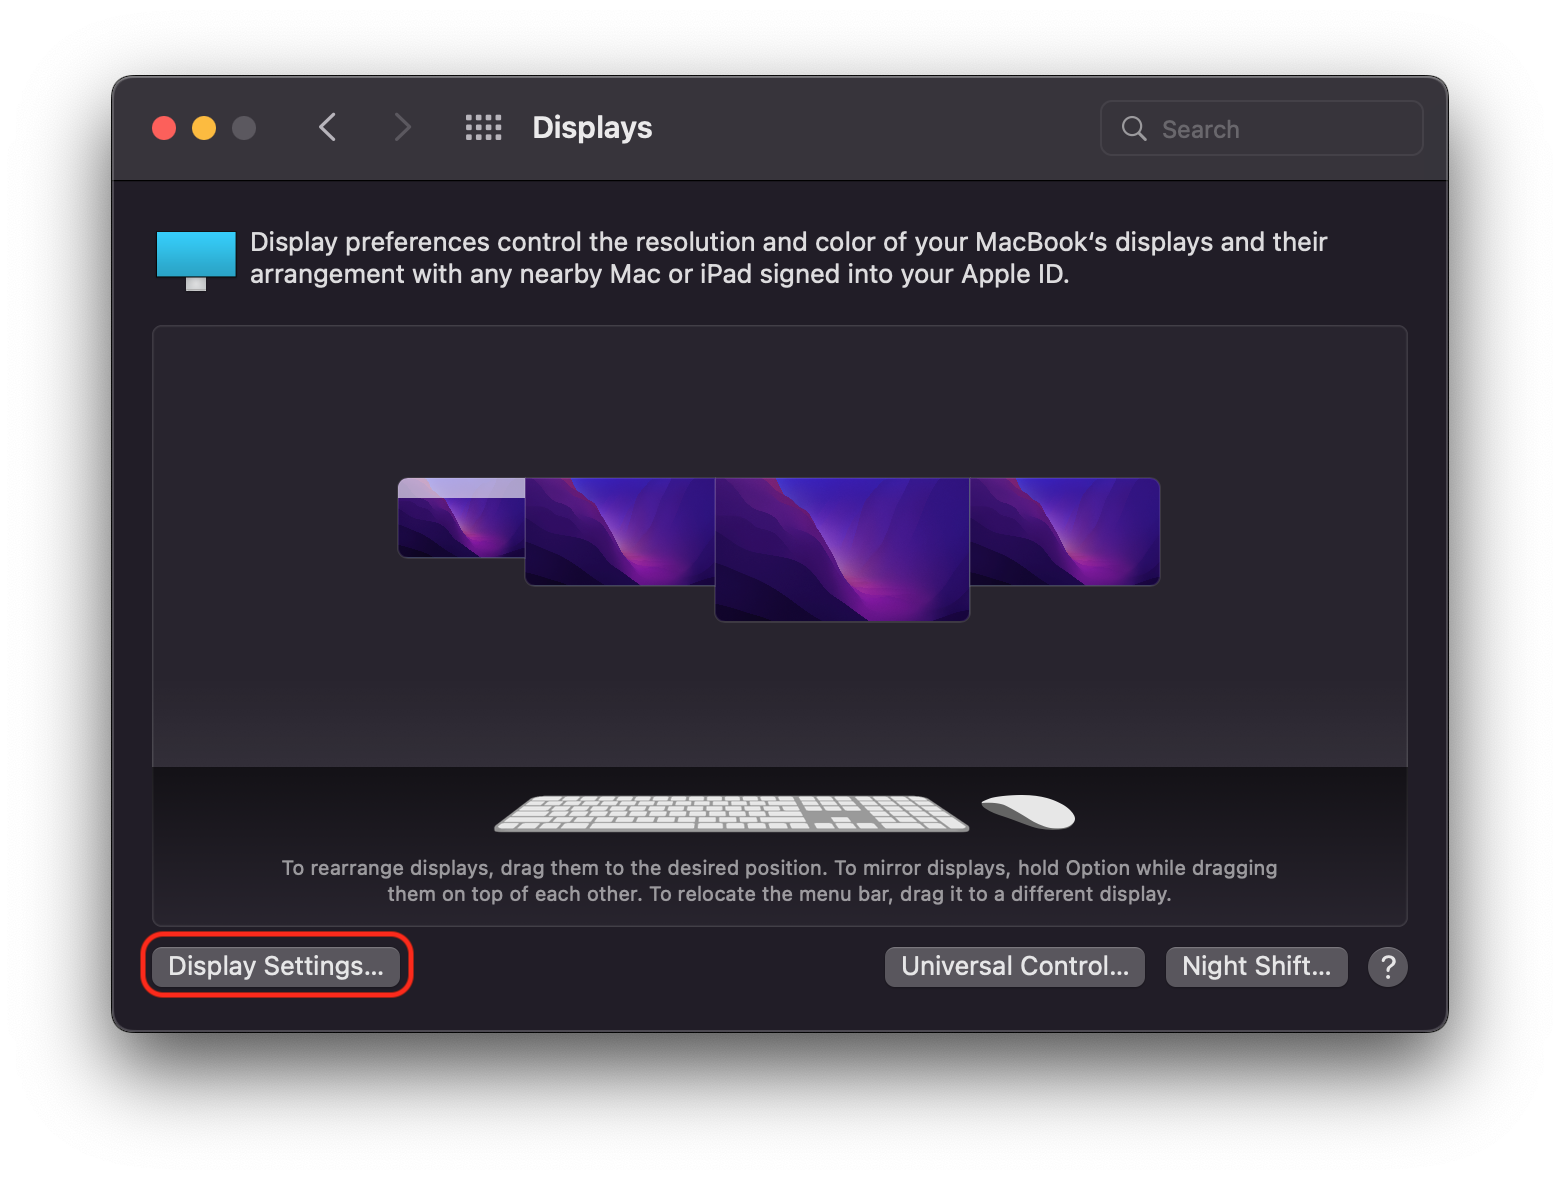
- In the “System Preferences” window, click “Displays”
- From the "Displays" window, select “Display Settings...”
- Click to select the display you wish to rotate
- Click the “Rotate” or “Rotation” pop-up menu to choose your preferred display rotation value
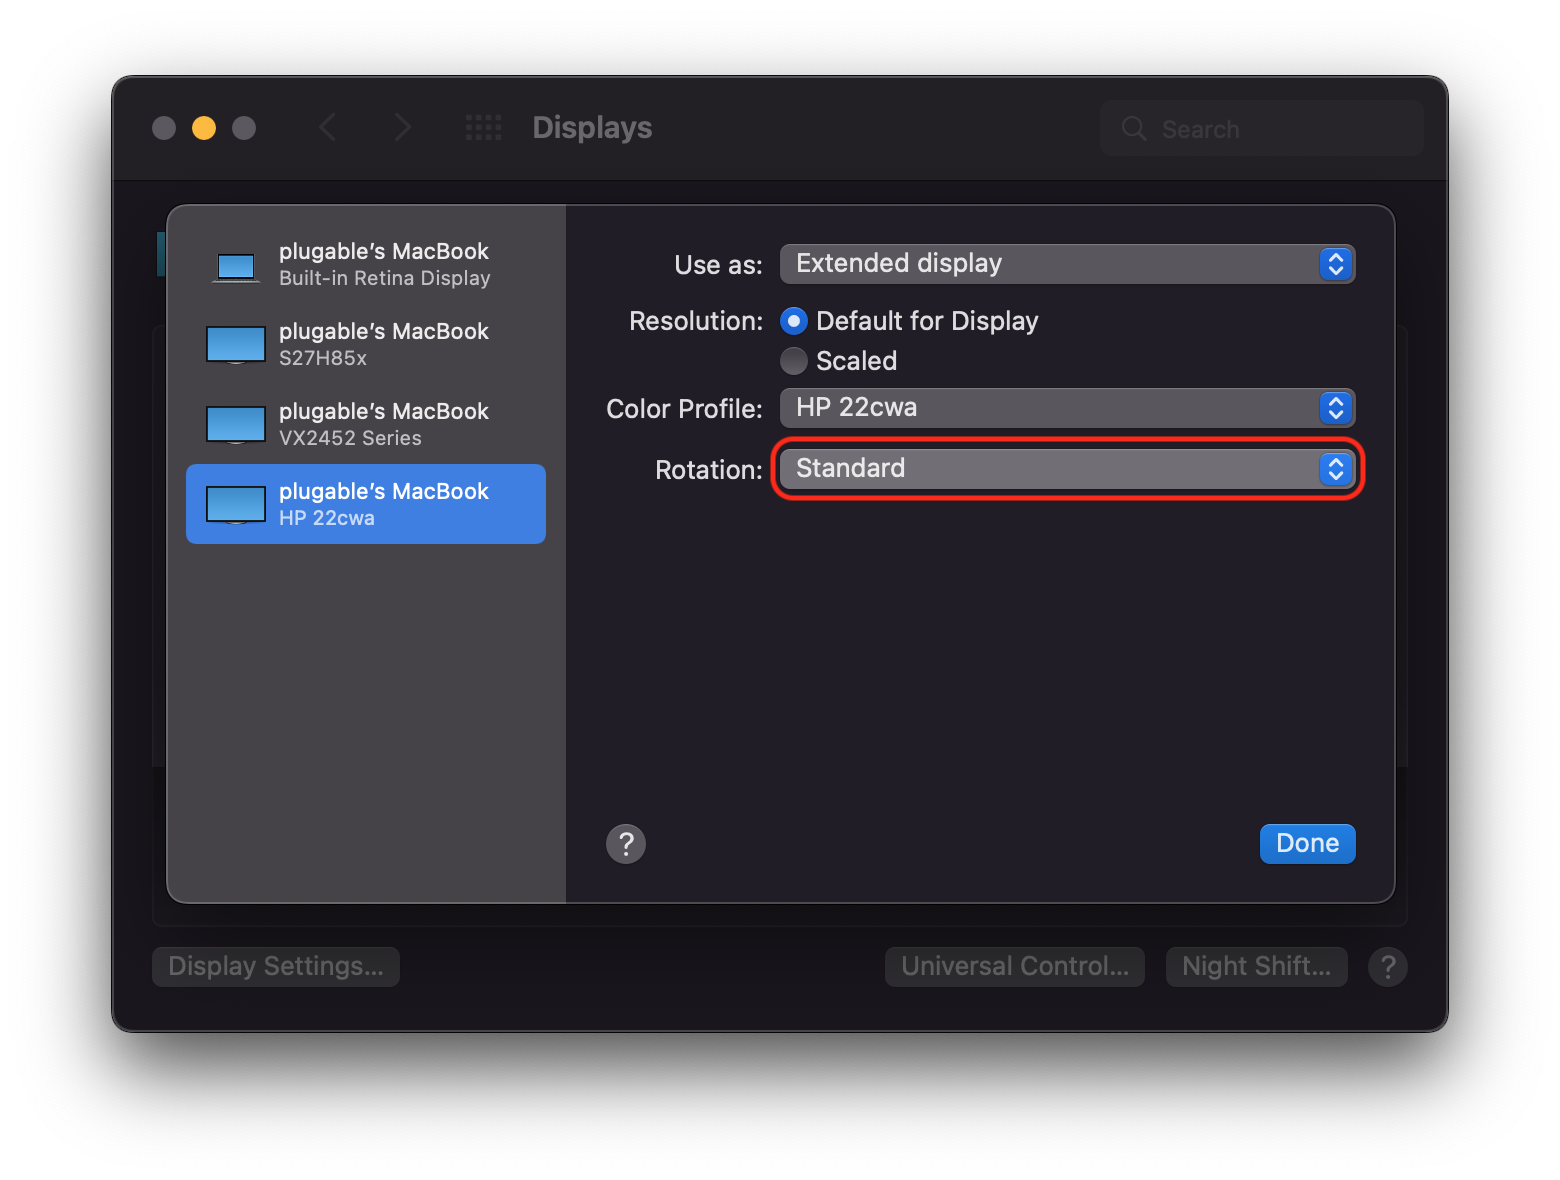
- If you're prompted with an additional dialog box, select “Confirm" to proceed
