
Originally authored by: Bernie Thompson, July 4, 2011
To change the COM port for a USB Serial adapter on Windows, you must adjust the advanced port settings within the Device Manager. This is often necessary because Windows may automatically assign a high COM port number, while many legacy applications expect a port between COM1 and COM4.
How to Change the COM Port
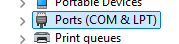
- Open the Device Manager and expand the Ports (COM & LPT)
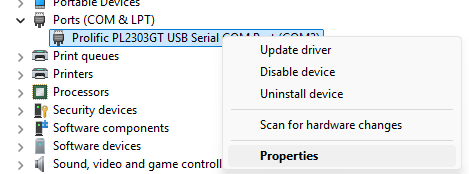
- Right-click on your USB Serial adapter device and click on Properties
- Select the Port Settings tab and click on the Advanced button

- Click on the COM Port Number drop-down menu to change the port to the required port number, ideally between 1 and 4 (some legacy applications expect a COM port in this range)

- Click OK on all open Property windows to apply and save the settings. The updated COM port number should now be reflected in the Device Manager

Applicable To
PL2303-DB9
