Originally authored by: David Roberts, May 9, 2013
A recent article on CNET explains how to speed up your external USB 2.0 USB hard drive by removing it from its enclosure and reinstalling it in a new USB 3.0 enclosure. Ed Rhee, the writer of the article, has been able to double the speeds of his hard drives from 40MB/s to 80MB/s, essentially reaching a new level of performance without having to buy new drives and go through the hassle of transferring over his data.
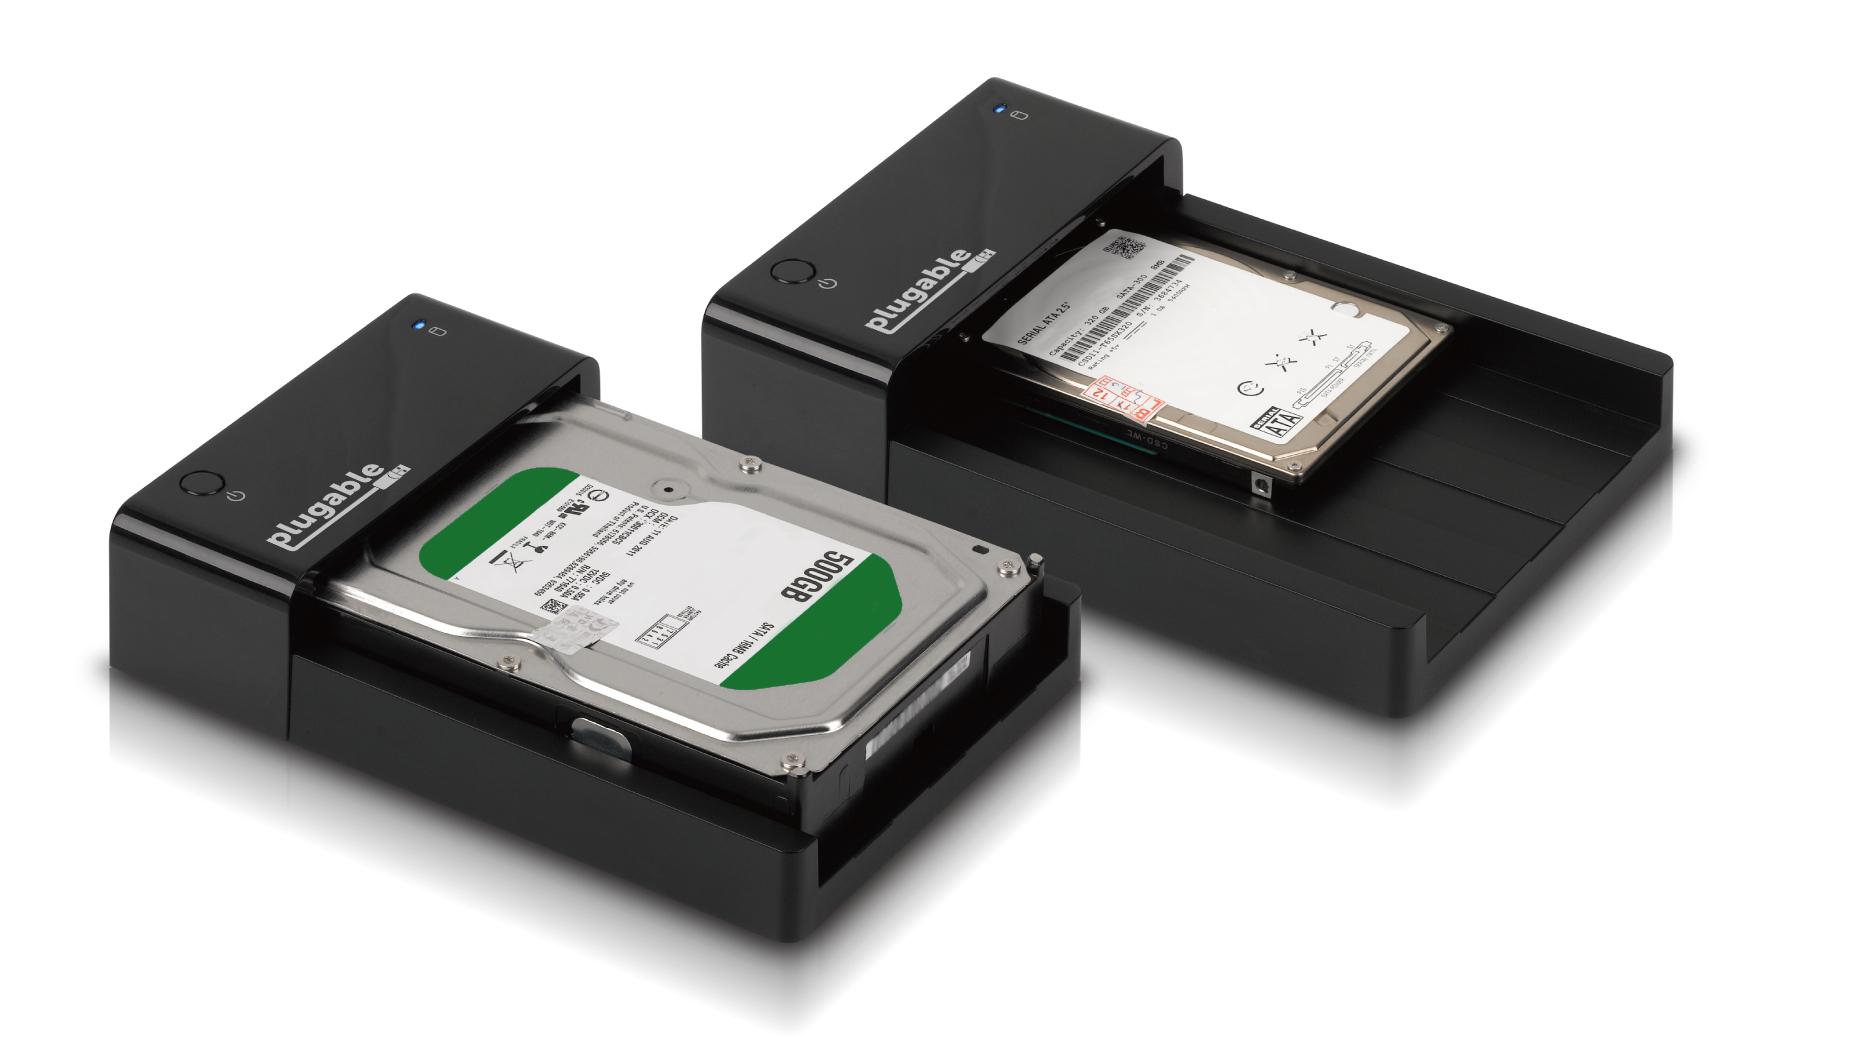
This a great idea, and Plugable lets you take it a step further. Instead of buying individual enclosures for each hard drive, as Rhee mentions in his article, any number of USB 2.0 hard drives can be speeded up by purchasing a single Plugable USB3-SATA-U3 or USB3-SATA-UASP1 docking station.

With either of these docking stations, there is no need to buy multiple enclosures. As long as you intend to access your drives one at a time, a single Plugable 3.0 docking station will allow you to operate an unlimited number of hard drives at USB 3.0 speeds, for about the same cost as a single enclosure.
How it works
First, remove your hard drive from its current USB 2.0 enclosure, following the instructions in the CNET article. Please be aware that this will void the warranty on the hard drive. Also, there is a small but real possibility of data loss, so be sure to back up the contents of the drive before proceeding.
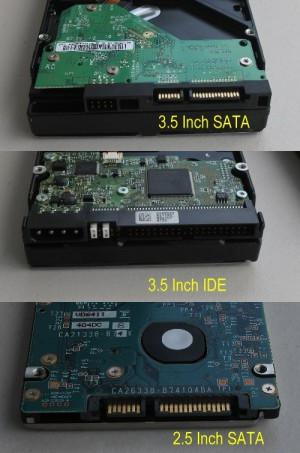
After removing your drives, verify that they are SATA drives. The connectors on SATA drives are flat plastic tabs with metal pads on them. Another common drive type, called IDE or PATA, was phased out several years ago, but you might still encounter one in an older external drive. These drives will not work with USB 3.0, and you should continue to use them in their USB 2.0 case. IDE drives have two rows of metal pins enclosed in a plastic wall. The photos below will help you identify which type of drive you have.

In the CNET article, Rhee goes on to talk about purchasing a new enclosure and installing the disk in it, but with a Plugable docking station, these steps aren’t necessary.

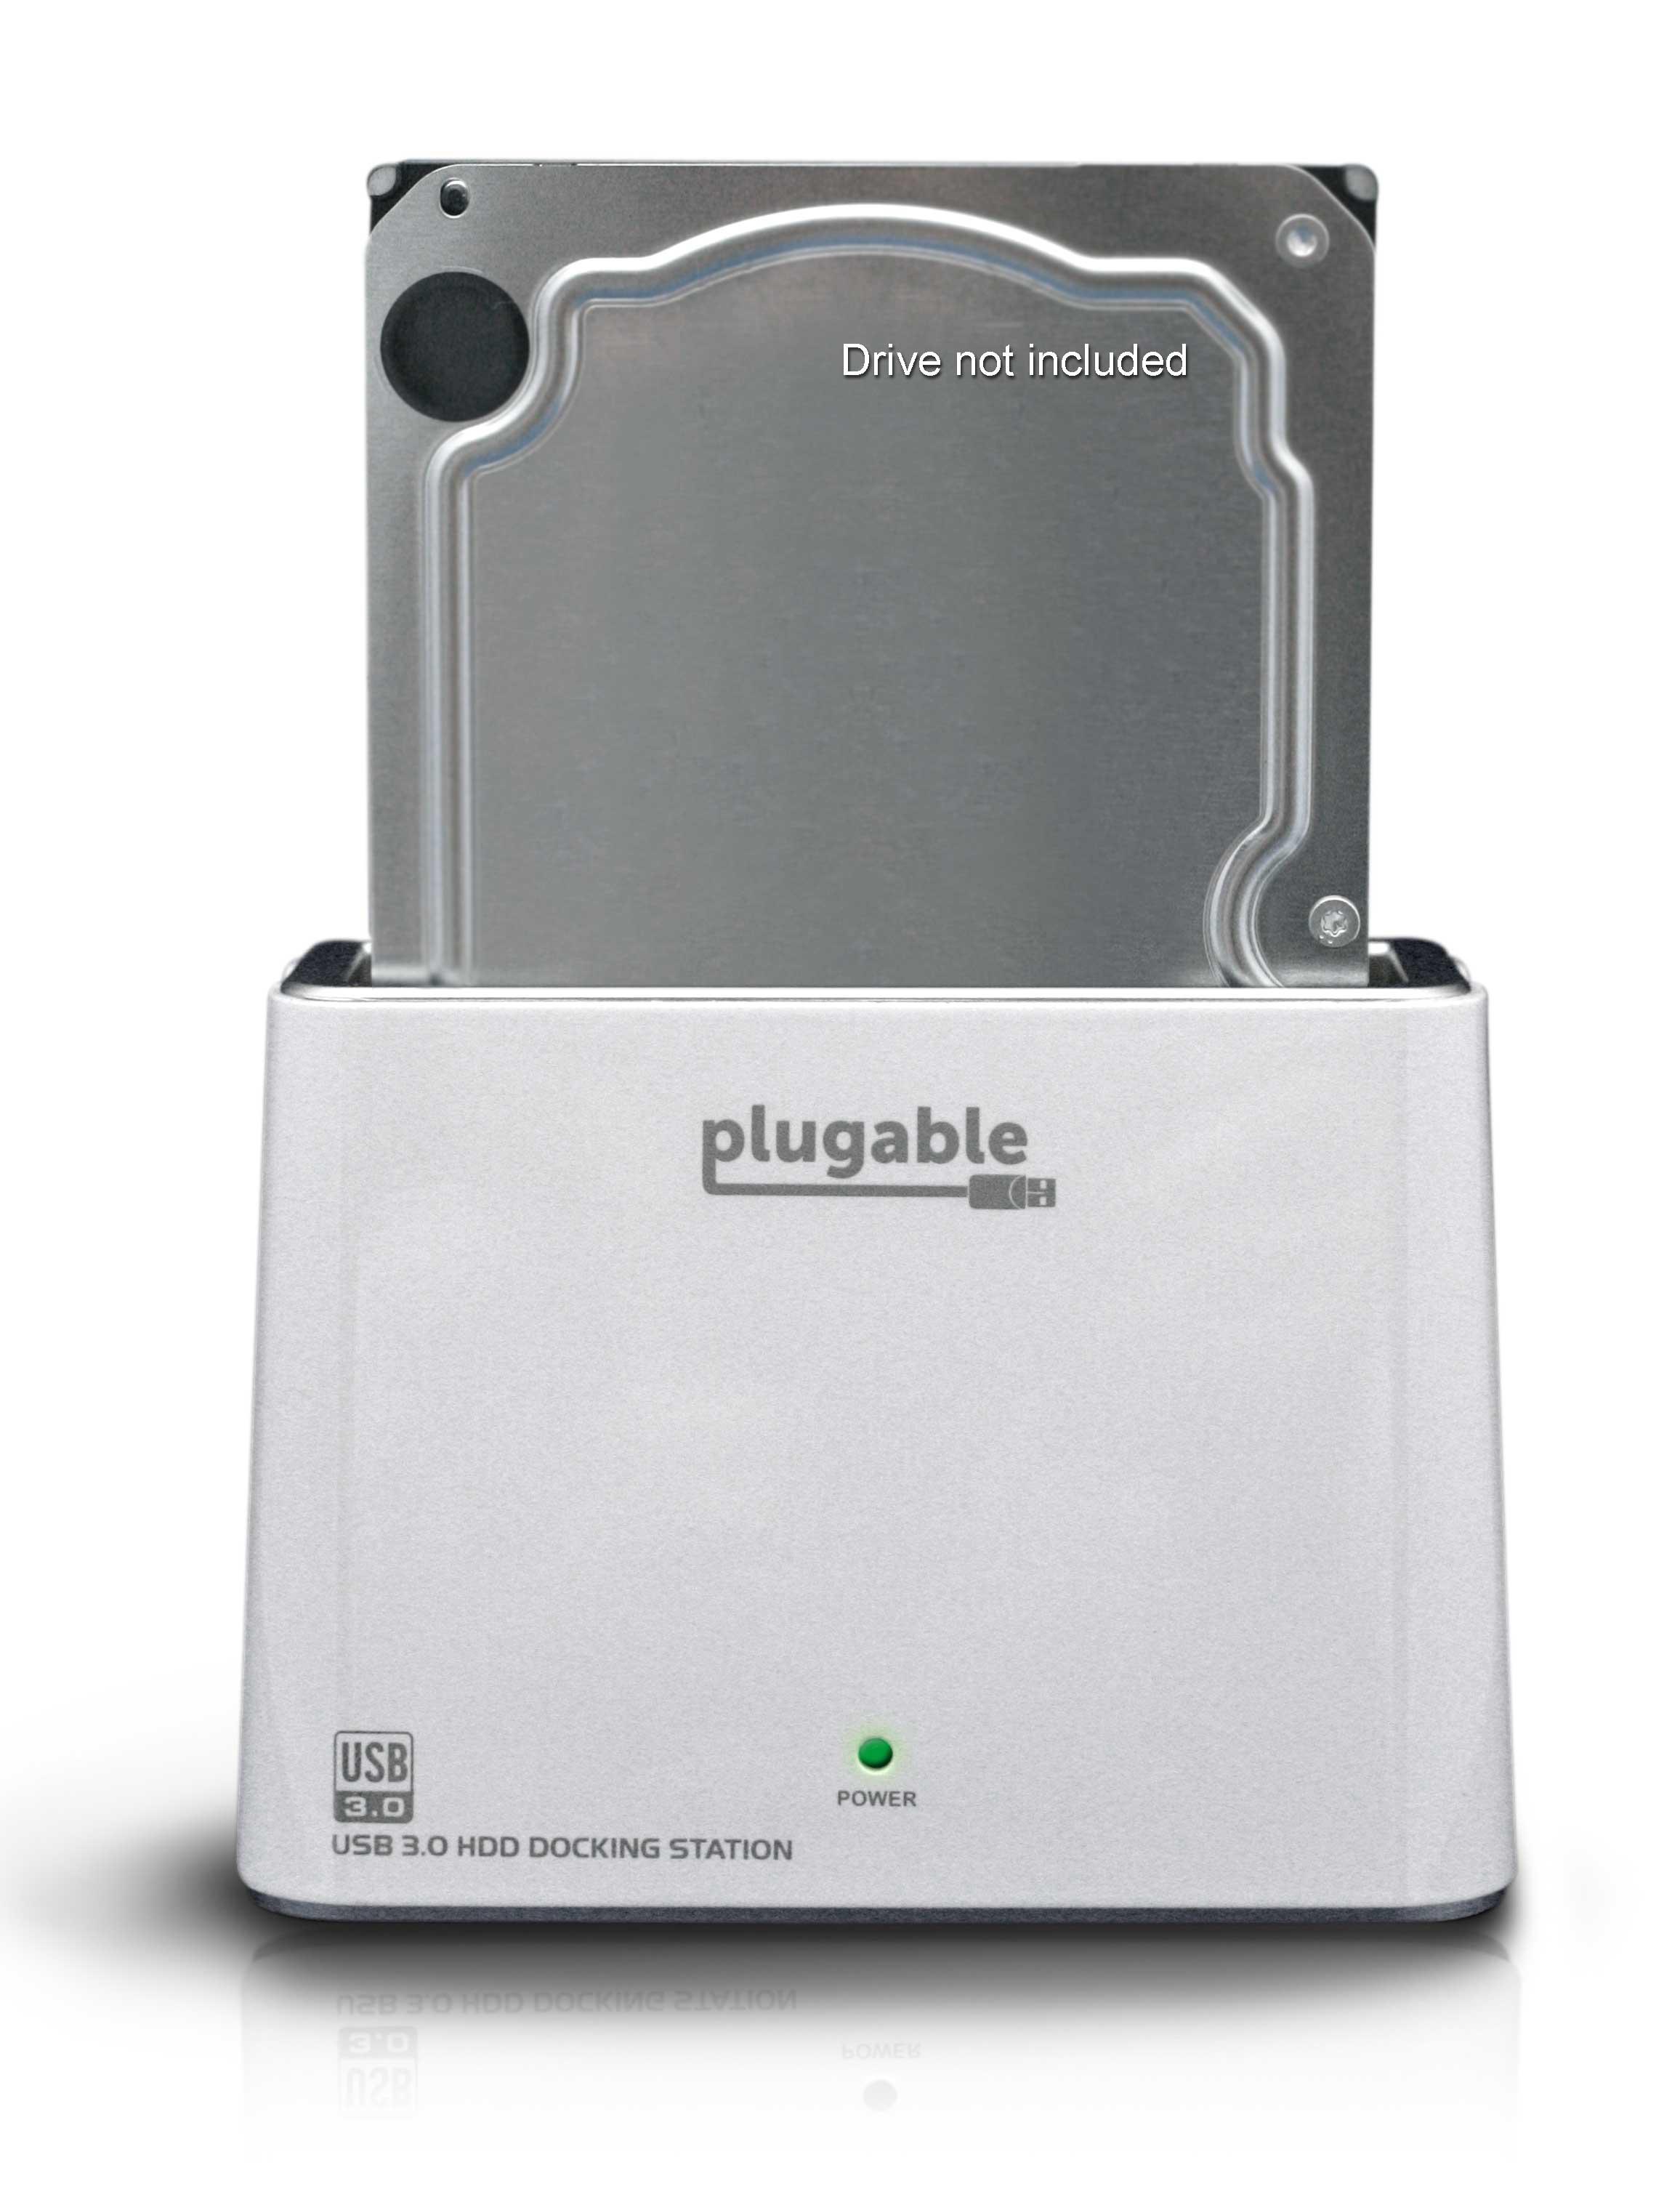
Just insert the SATA drive into the docking station, making sure the connectors are aligned correctly and plug the docking station into a USB 3.0 port on your computer. You will be able to access your data at USB 3.0 speeds without buying a new hard drive.

