
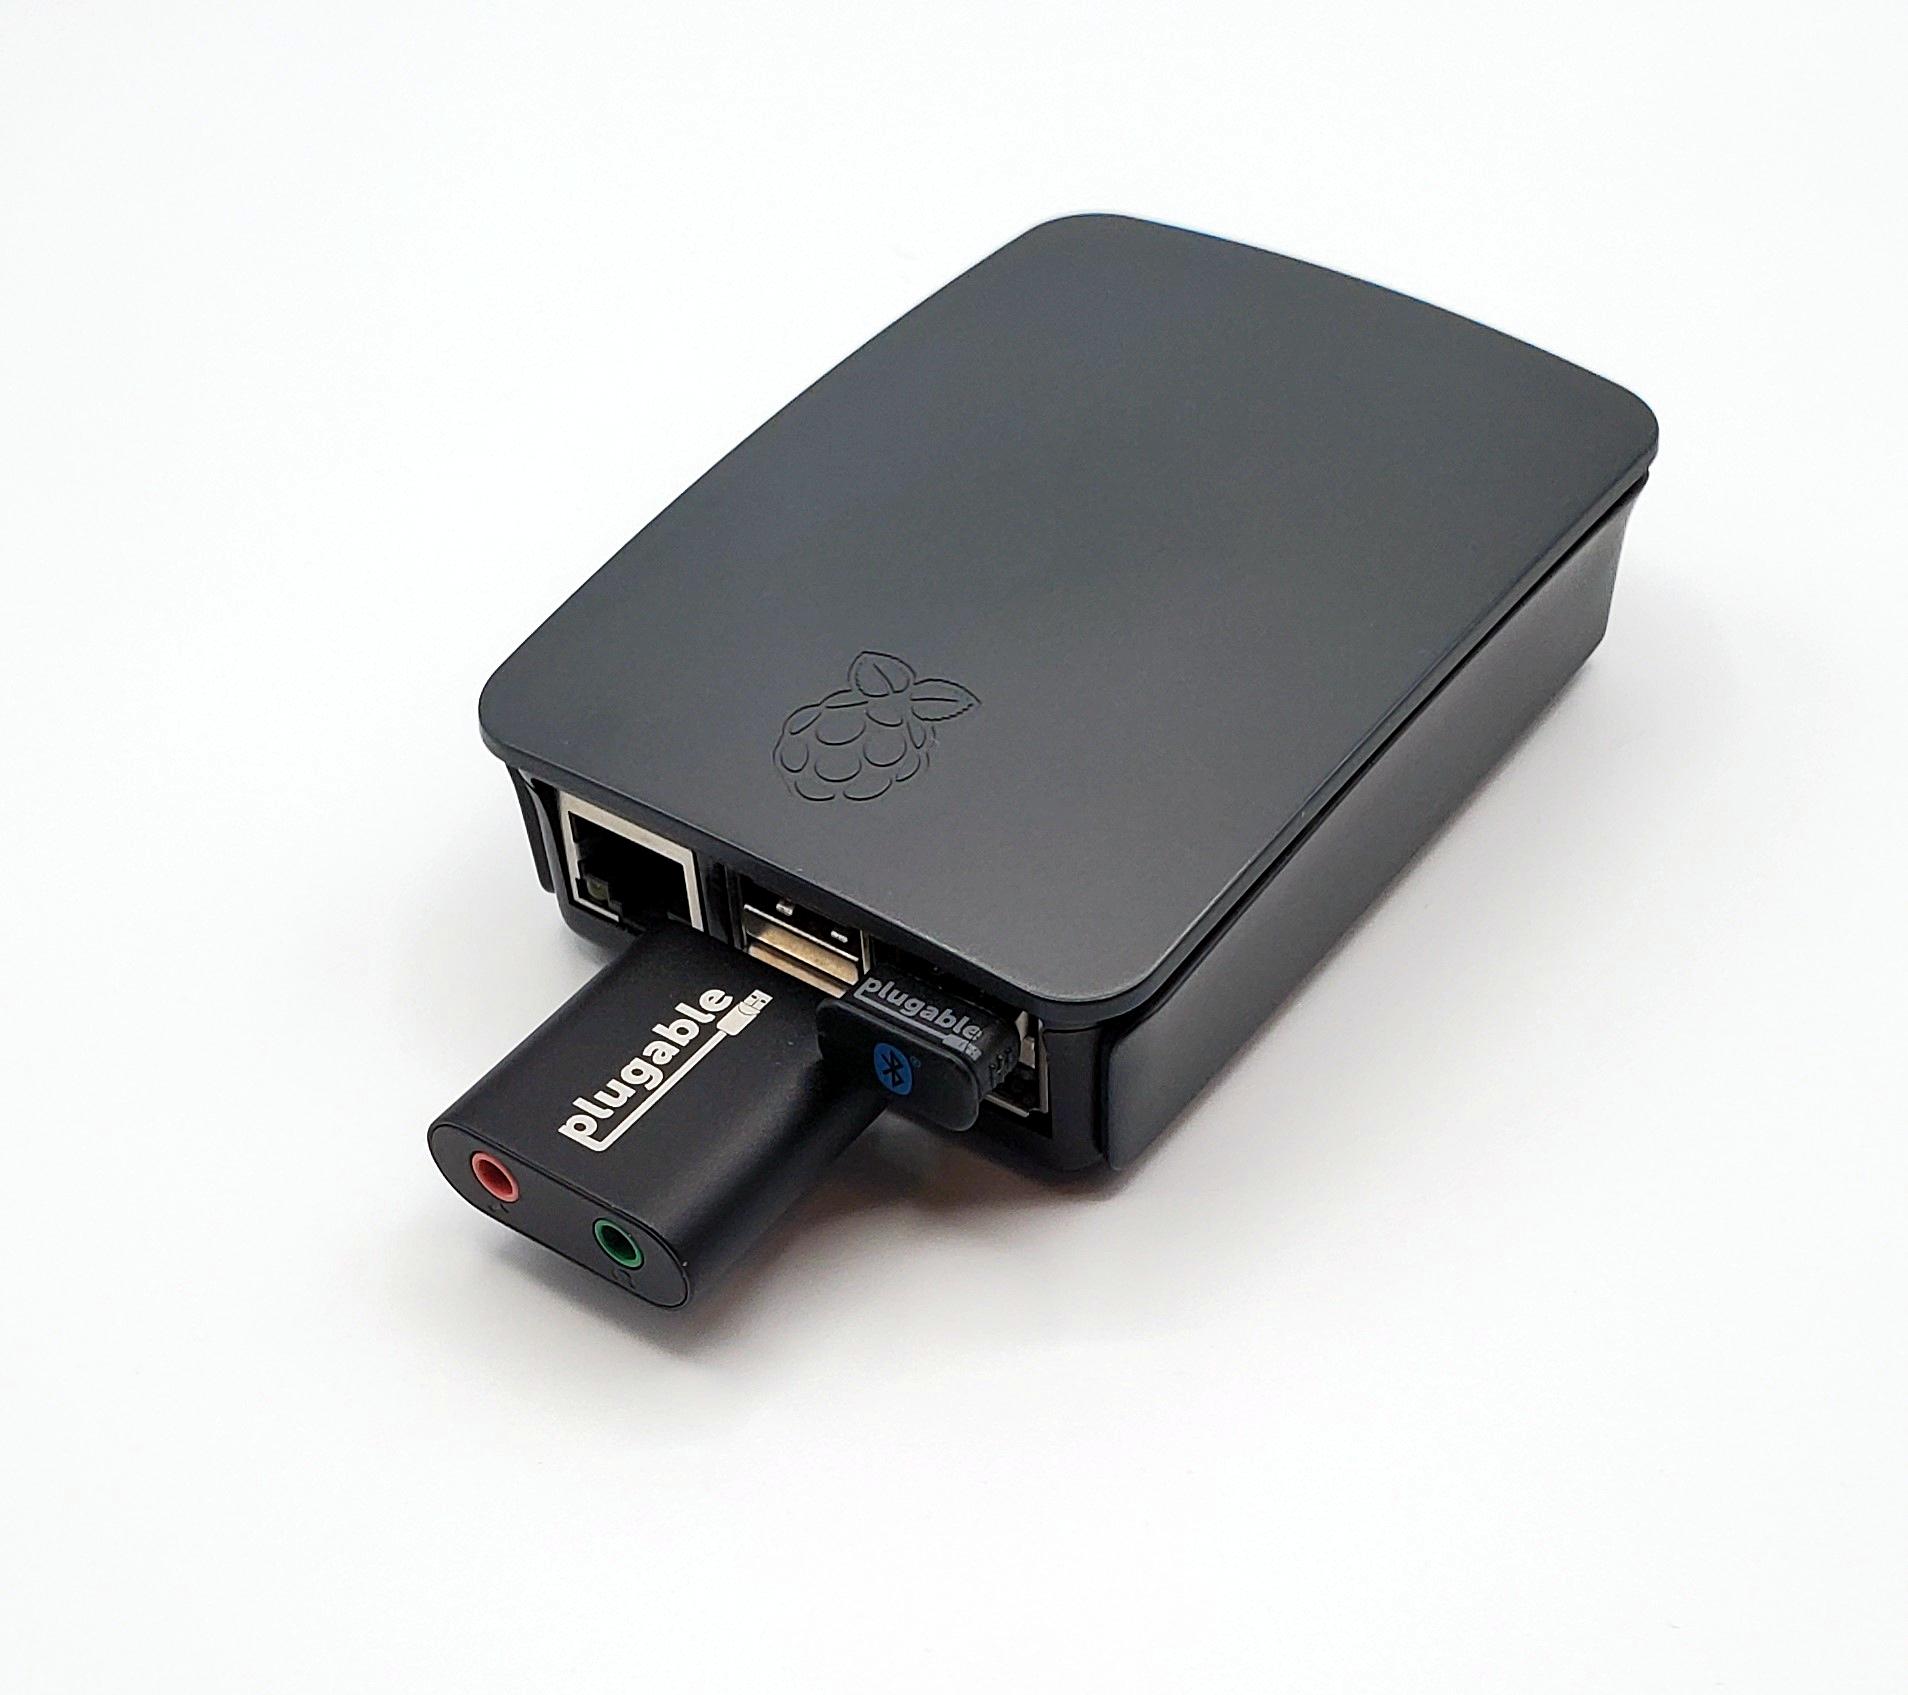
It's Pluga-Project time! This is a really neat one. We're going to make a Raspberry Pi Bluetooth audio receiver. We'll be able to stream audio in from a device like a phone, tablet or computer, and out to audio equipment like a stereo system, pair of speakers, headphones, etc.
The Project Developer suggests using a USB Bluetooth adapter instead of the onboard Bluetooth adapter due to issues with interference. We've seen some interference issues and lag with the onboard adapter, so that's where our USB-BT4LE Bluetooth adapter comes into play. We'll stream our audio into the adapter.
The Raspberry Pi has a built-in 3.5mm Audio out port, but the volume seemed a little low. You can manually adjust volume settings, but ultimately, we found that the volume would also need to be cranked on the audio equipment itself, which isn't ideal. So we've been testing with our USB-AUDIO adapter, and have had good results with a normal volume!
What we need
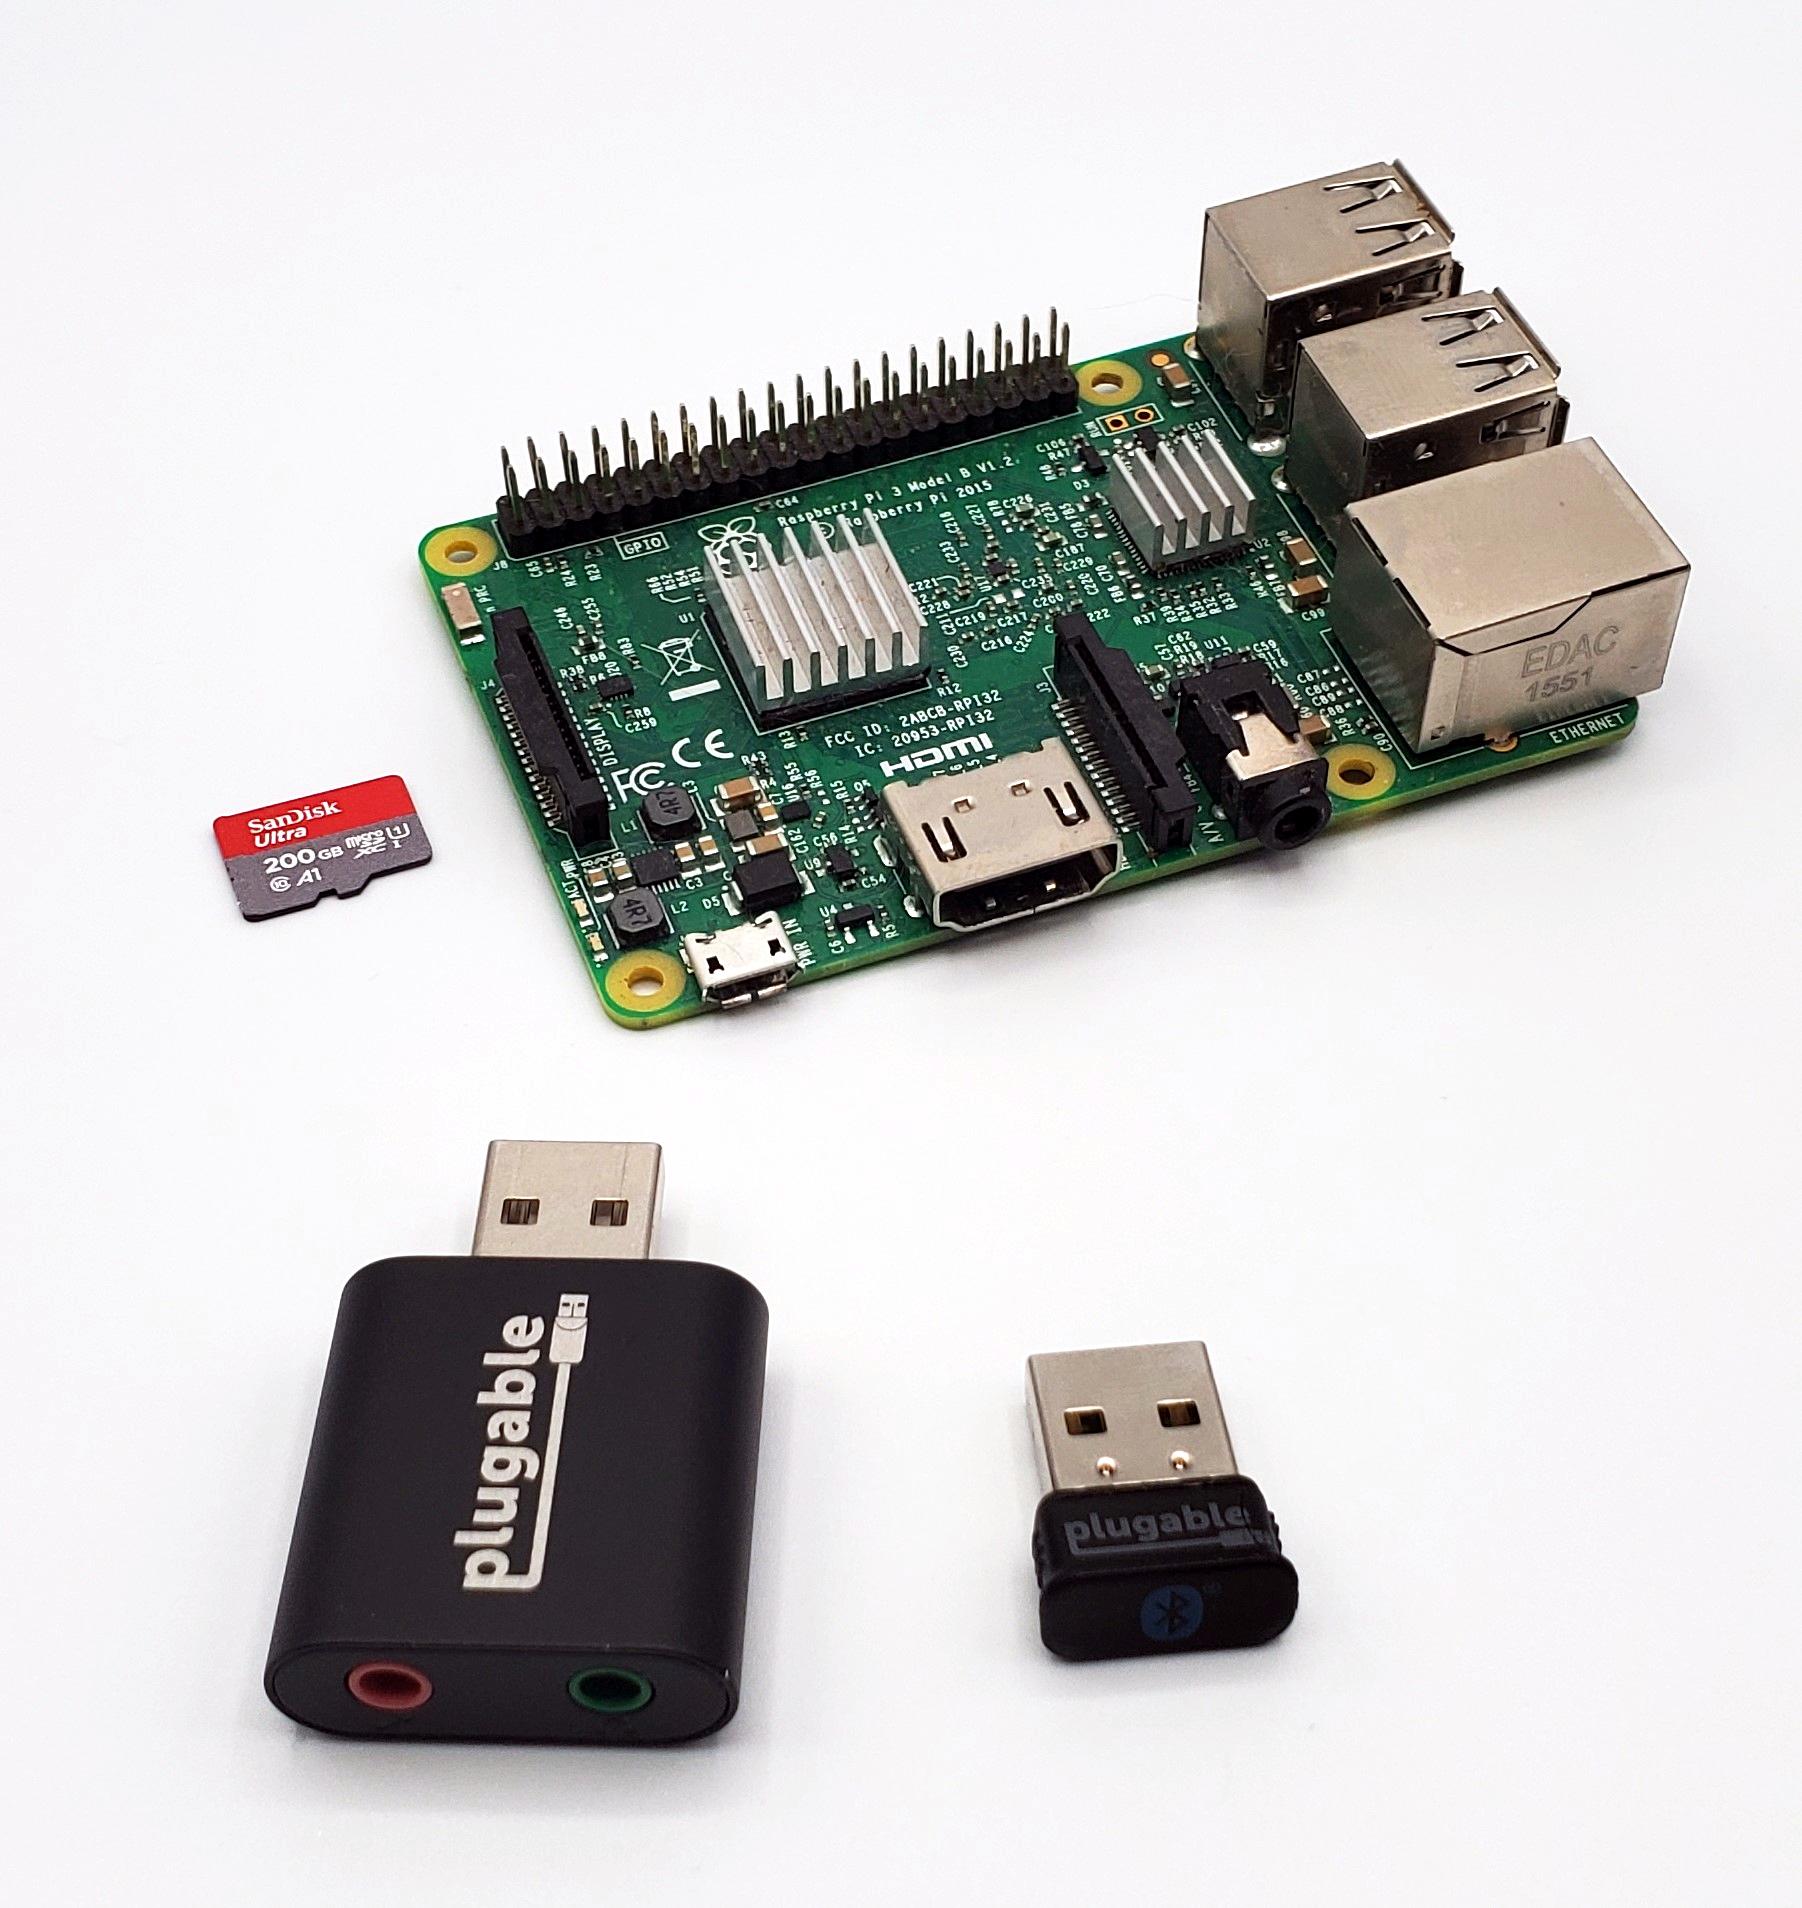
- A Raspberry Pi 3/3B+ or 4 series for the best results
- A Plugable USB-AUDIO adapter
- A Plugable USB-BT4LE Bluetooth adapter
- Speakers or a stereo system with an AUX/Line Input, we can connect to
- A 3.5mm TRS Cable
Do you have what you need? Great! Below, you will find sections for each of the four main steps we need to take to get this thing working. Head down when you're ready, and let's have fun!
We're going to use the new Raspberry Pi Imager tool to cut down on the time and work. The program is available on Windows, macOS, Linux and can even be installed on a Raspberry Pi systems!
We'll need to use the Raspberry Pi OS Legacy build for this project, and we'd suggest the Lite version to keep things easy. That's because the receiver platform uses the BlueAlsa package for Bluetooth audio. There are some different packages in the latest Bullseye Version of Raspberry Pi OS, which unfortunately makes it incompatible with this system.
The Raspberry Pi Imager tool provides useful configuration options before boot, so we can cut down time afterwards. Head over to the link below, and install the version for your computer. Make sure you have the Micro SD Card inserted and then move on to the steps below when you're ready!
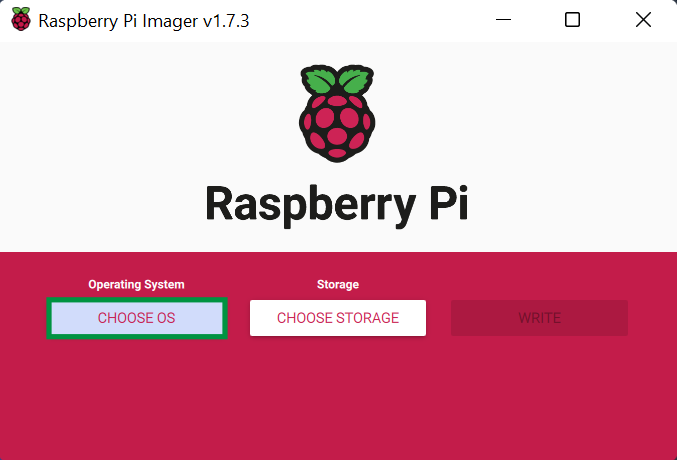
Did you install the Raspberry Pi Imager? Yes? Great! Let's move on. Start the program, and then let's follow along with the steps below:
- We need to choose the operating system to install. Click Choose OS
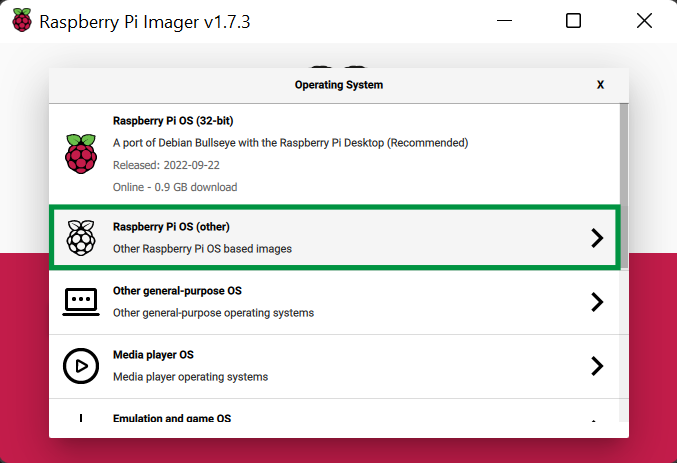
- Click Raspberry Pi OS (other)
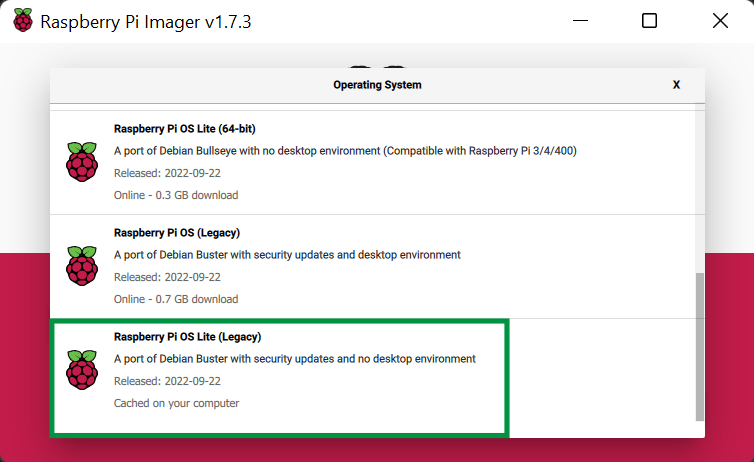
- Click on the Raspberry Pi OS Lite (Legacy) operating system. You may need to scroll down to see it or want to expand the window for a better view
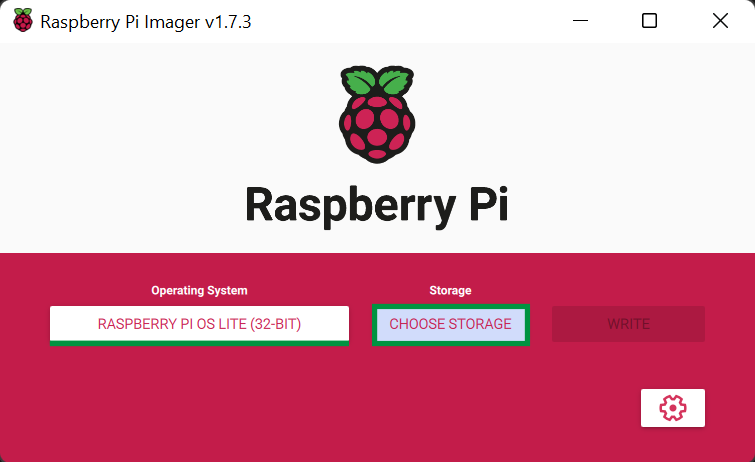
- Now, we have the Operating System set. Click Choose Storage
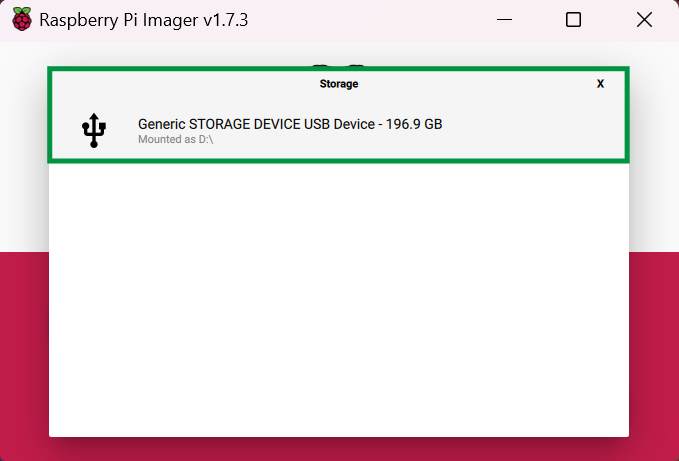
- Click on your Storage Device. Here, we have a 200gb MicroSD Card which we'll use. 8GB is the minimum amount of space suggested by Raspberry Pi
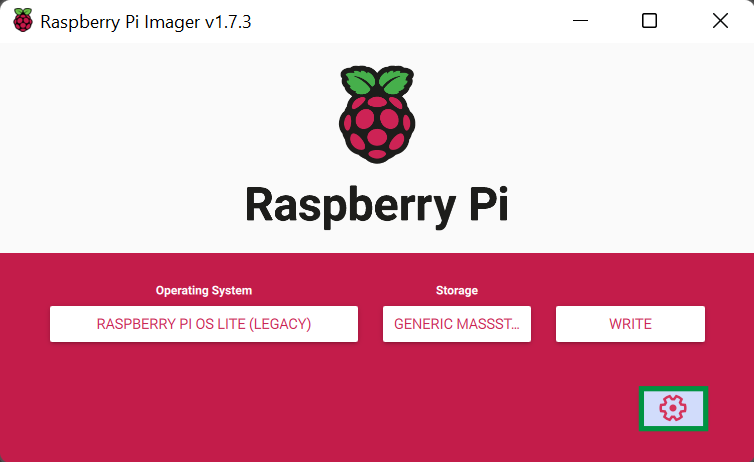
- Now that we have the Operating System and Storage Device set, we need to set our custom login properties. Click the Settings Gear
- Below are the custom properties that we should fill in to make our login process easier:
- Set Hostname
- Enable SSH - This will enable Secure Shell protocol so we can remote into our Pi
- Set username and password
- Configure wireless LAN (You could use the built-in ethernet, or a USB Ethernet adapter.)
- Set locale settings
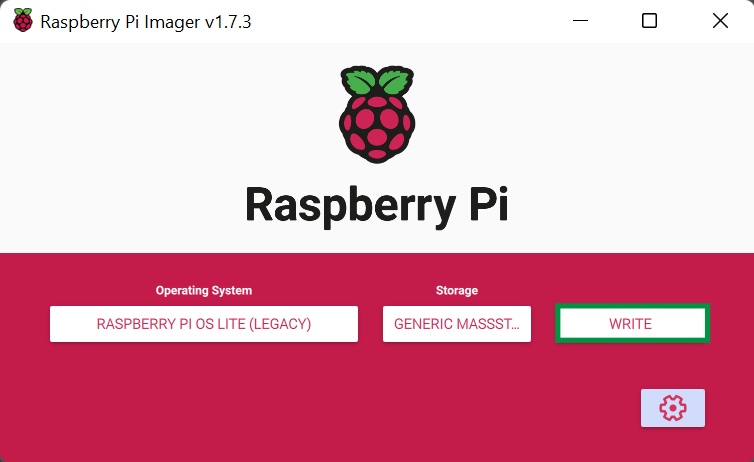
- Click Write to prepare for writing the OS to the card
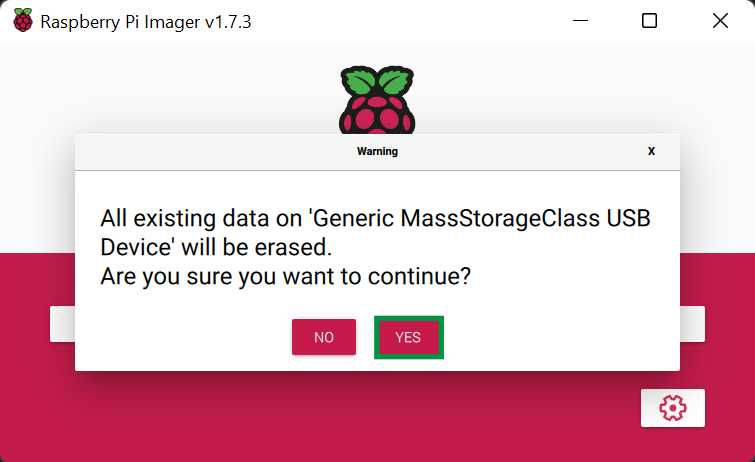
- You may get a message stating that all data on the card will be erased. Click Yes to continue
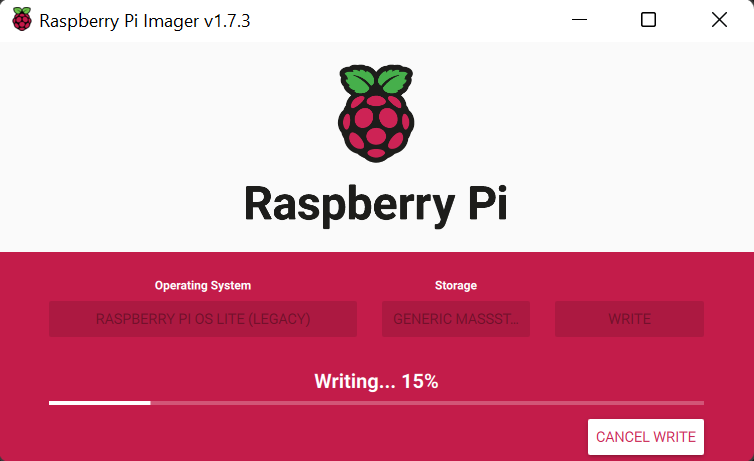
- Now, the image will be written
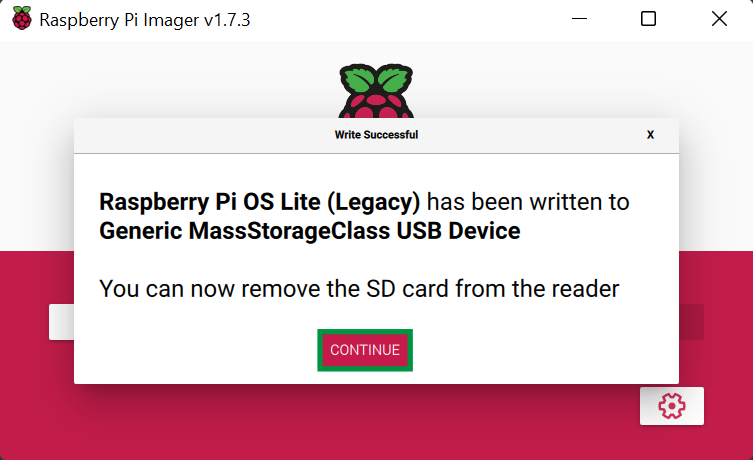
- It has been written! Click Continue to finish
That was pretty easy, right? Head down to the next section once you're ready to SSH into the Pi!
We're going to connect to the Pi from our computer using SSH (Secure Shell) protocol. That way, we can easily set up and configure the files and settings remotely to get the project to work.
There are many SSH programs available, but, we're going to use PowerShell on Windows to keep things easy. These commands can also be completed using the default terminal on macOS and Linux. Setup the Pi with the Micro SDcard, the Audio and Bluetooth adapters plugged into USB ports and turn it on.
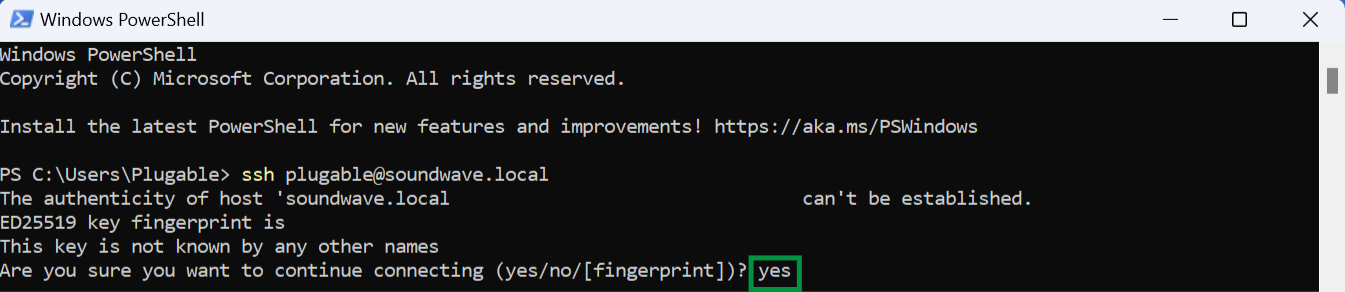
- Open PowerShell, and enter the ssh command combined with our username@hostname.local. So for example, my completed login looks like this:
ssh plugable@soundwave.local(Your username and hostname will be different)
- This next screen seems a little scary. But, it's just asking us if we're sure we want trust this connection. We are sure, and we sure didn't come this far to turn back! Enter yes, into the terminal to proceed and it will make a note for next time
- Enter your password. (Please note, it will not be shown when typing)

- You should now be logged in!
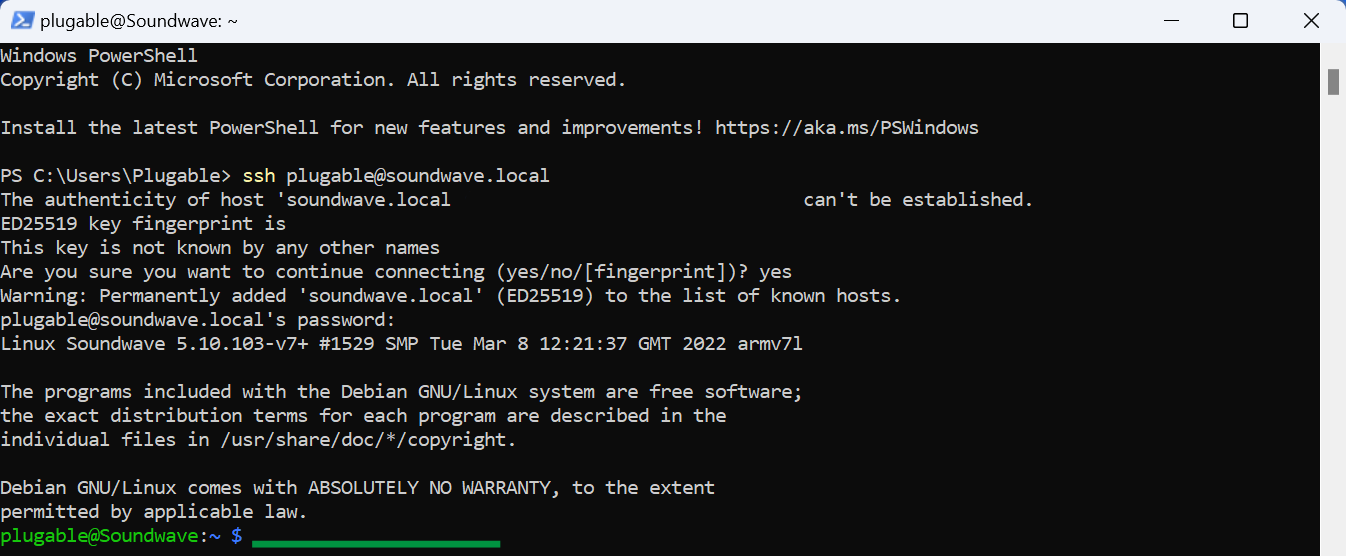
- The first thing to do is update. Enter
sudo apt-get updatewhich will look for available updates and packages function showAlert() { alert("Copied to Clipboard!"); }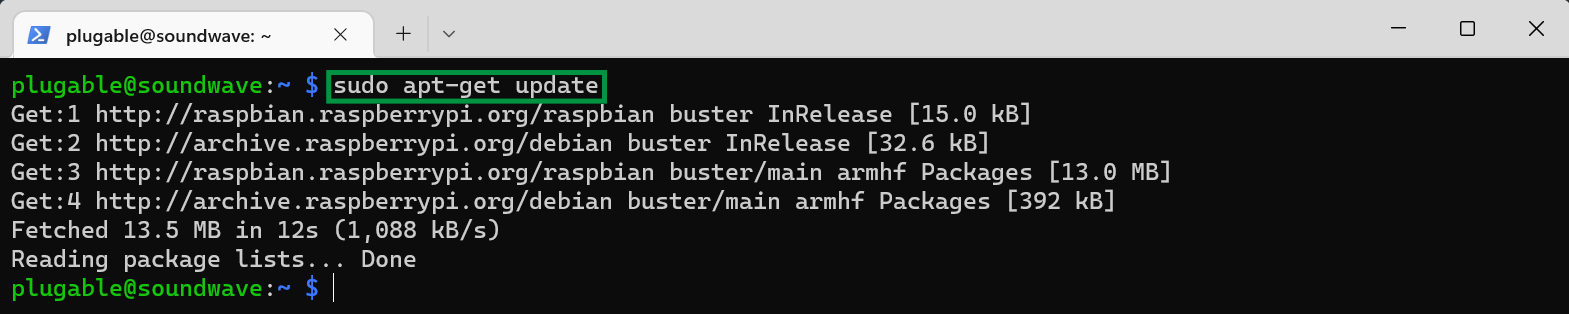
- Once the update finishes we need to upgrade. Enter
sudo-apt-get upgradewhich will prepare to install any updates/packages that were found. Then, we'll need to enter y for yes which will start the upgrade process. Please note, installation times may vary function showAlert() { alert("Copied to Clipboard!"); }
- When the upgrade finishes we'll be ready to reboot, but first, let's get our actual IP address. Enter
hostname -Ifunction showAlert() { alert("Copied to Clipboard!"); } into the terminal, which will display the IP address. We can use this to log into the Pi going forward
- Enter
sudo rebootfunction showAlert() { alert("Copied to Clipboard!"); } into the terminal to reboot as we've done great work
Great! We've done the basic setup. Next, we will install the audio receiver files and setup the platform for use. See you there!
Overall we're going to follow the project guide, but with a few extra steps along the way to get everything configured for the adapters. Are you ready? Good! Let's go step-by-step and get this thing set up!
- First, we need to download the project files. Enter
wget -q https://github.com/nicokaiser/rpi-audio-receiver/archive/main.zipfunction showAlert() { alert("Copied to Clipboard!"); } into the terminal (Please note, you won't see any actual print out after entering, it will just be a blank line.)
- We need to unzip the files. Enter
unzip main.zipfunction showAlert() { alert("Copied to Clipboard!"); } and we will see a new directory created, files extracted and inflated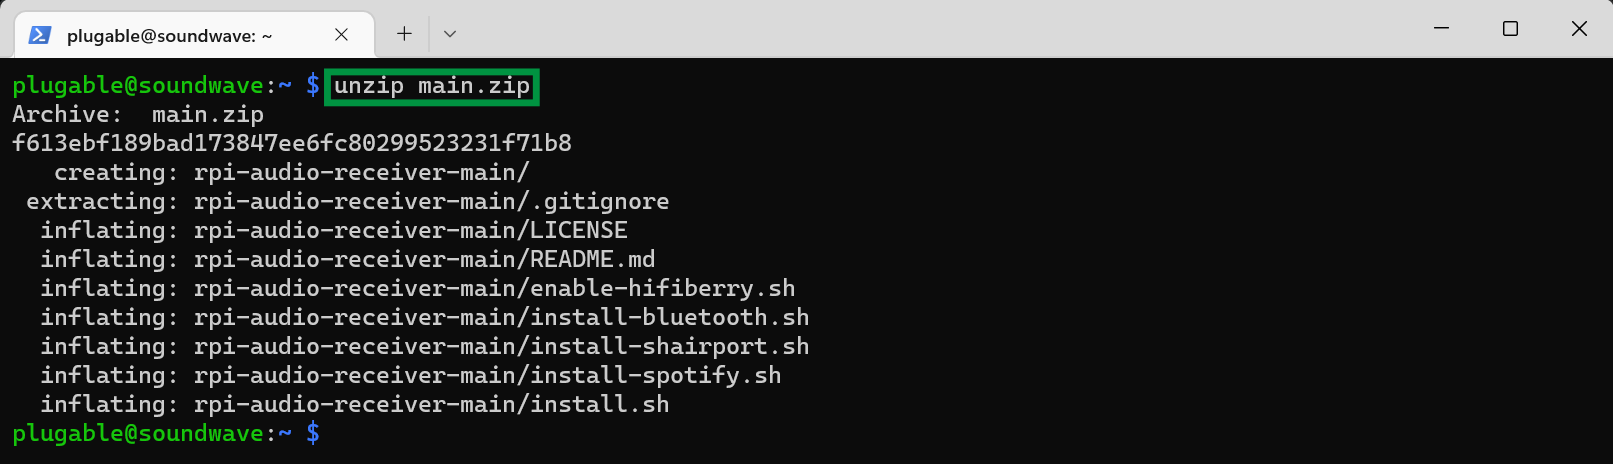
- Next, we can remove with archive the rm command now that the files have been extracted. Enter
rm main.zipfunction showAlert() { alert("Copied to Clipboard!"); }
- We're going to Change Directory with the cd command into the newly created rpi-audio-receiver directory. Enter
cd rpi-audio-receiver-maininto the terminal function showAlert() { alert("Copied to Clipboard!"); }
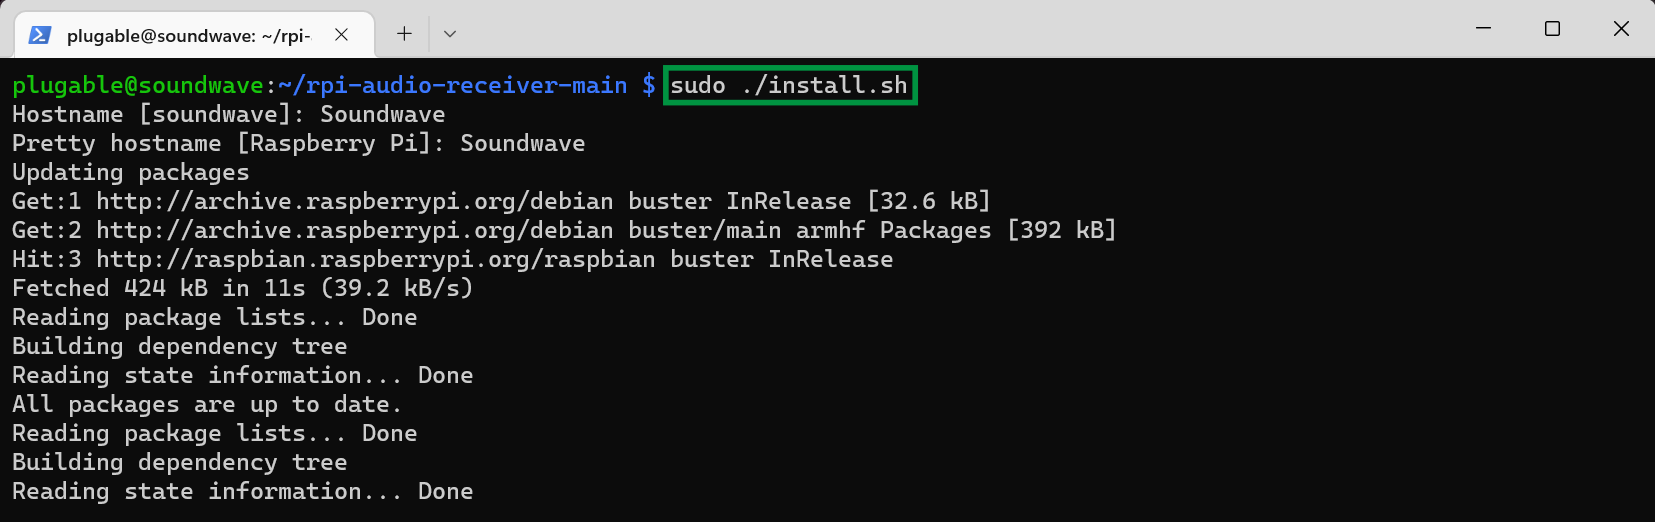
- We're now in the main audio receiver folder! Let's start the guided installation. We'll need to use sudo (Super User Do) to install the software. This is a powerful tool for administration, and we can do so by entering
sudo ./install.shinto the terminal function showAlert() { alert("Copied to Clipboard!"); }
- The Hostname is the name of our device itself, and the Pretty Name is what we'll actually see in our Bluetooth listing when trying to connect our devices. You can make the Pretty Name something different than the hostname if you want. We're going to stay the course for this example, and use Soundwave as both the Hostname and Pretty name. Once you pick your names the installation will begin
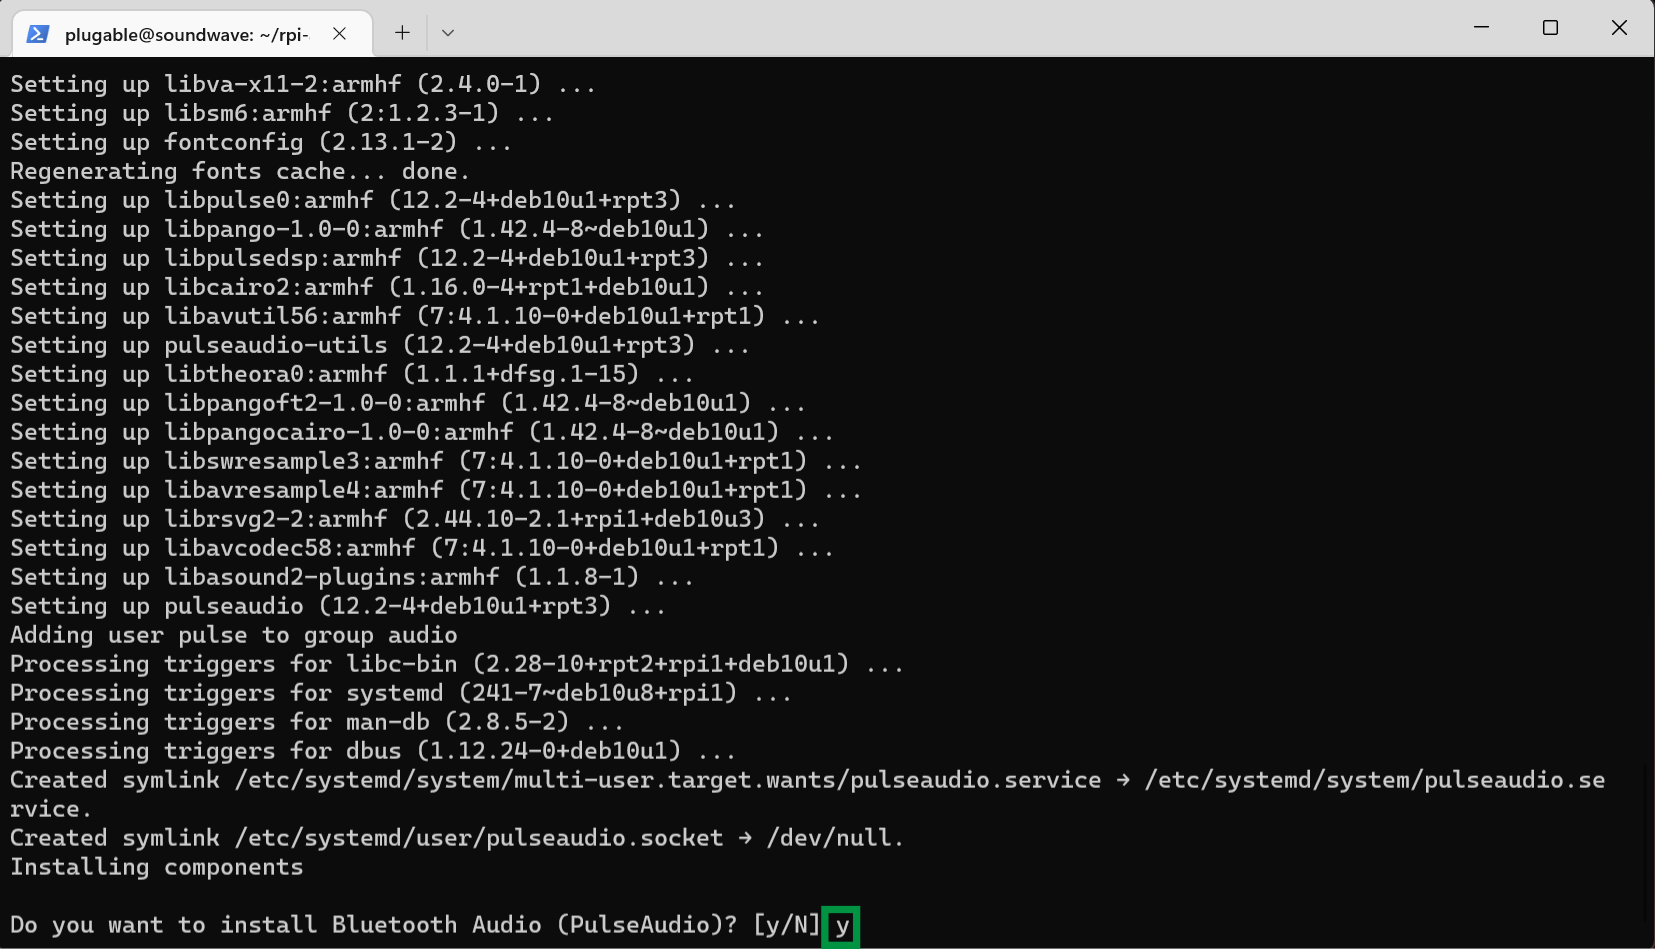
- Great, things are setting up nicely! Install Bluetooth Audio (PulseAudio) - This needs to be installed. Enter y for yes
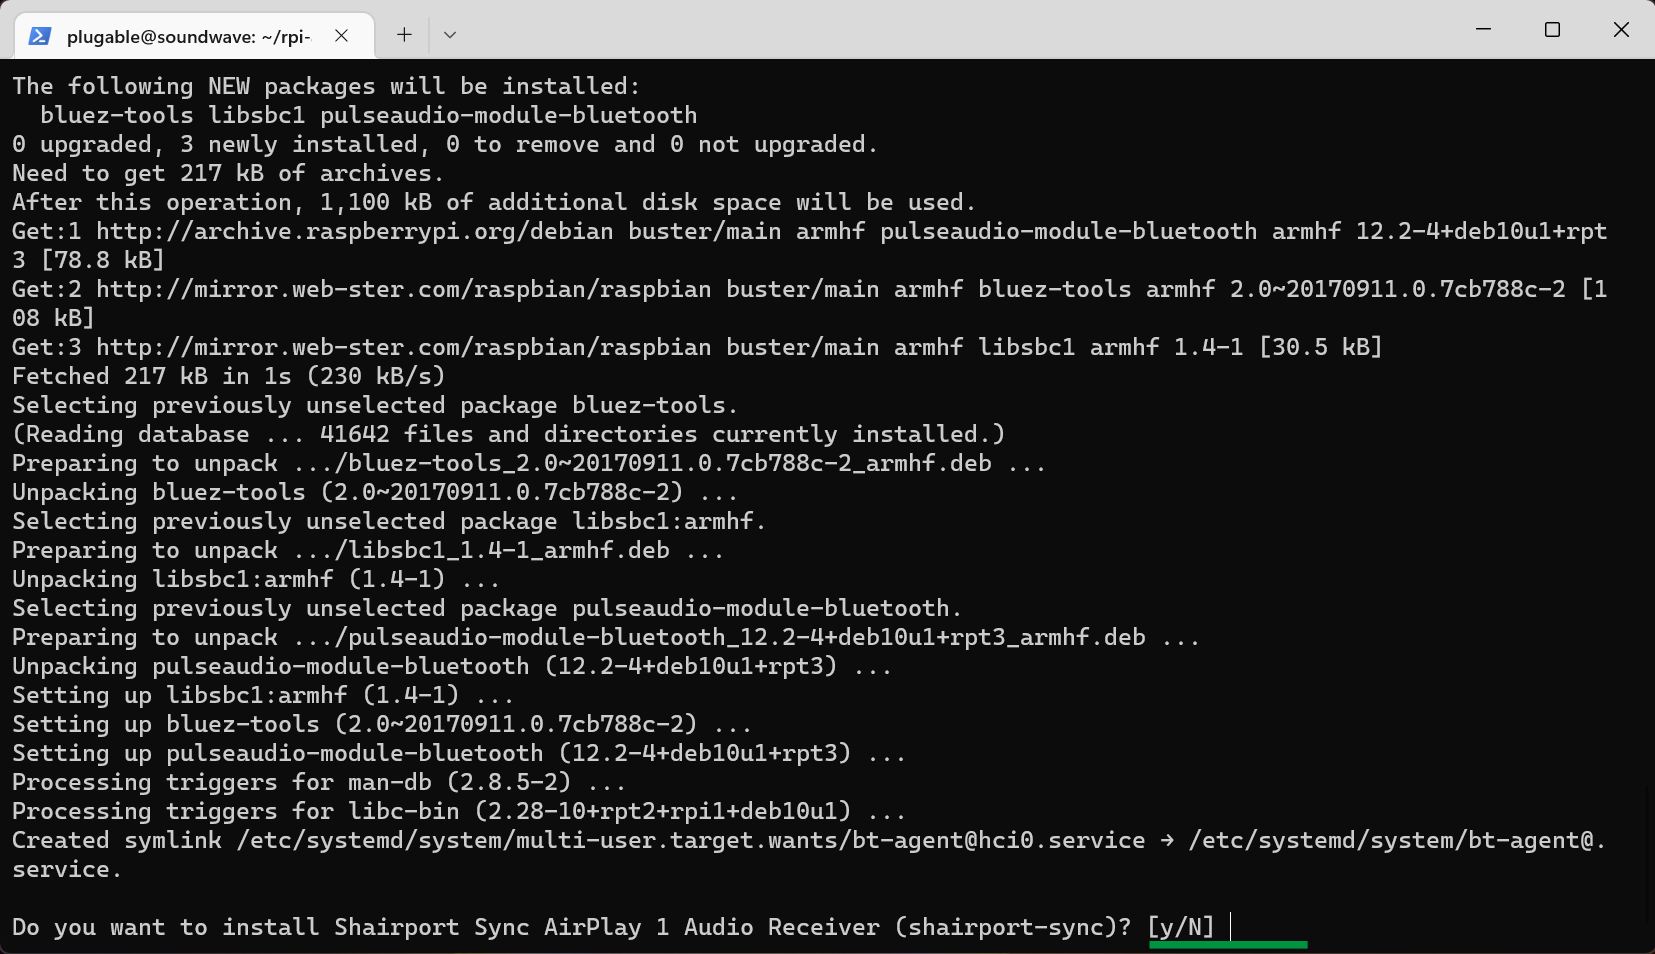
-
Optional - Install Shairport Sync AirPlay 1 Audio Receiver (see the link for more details)
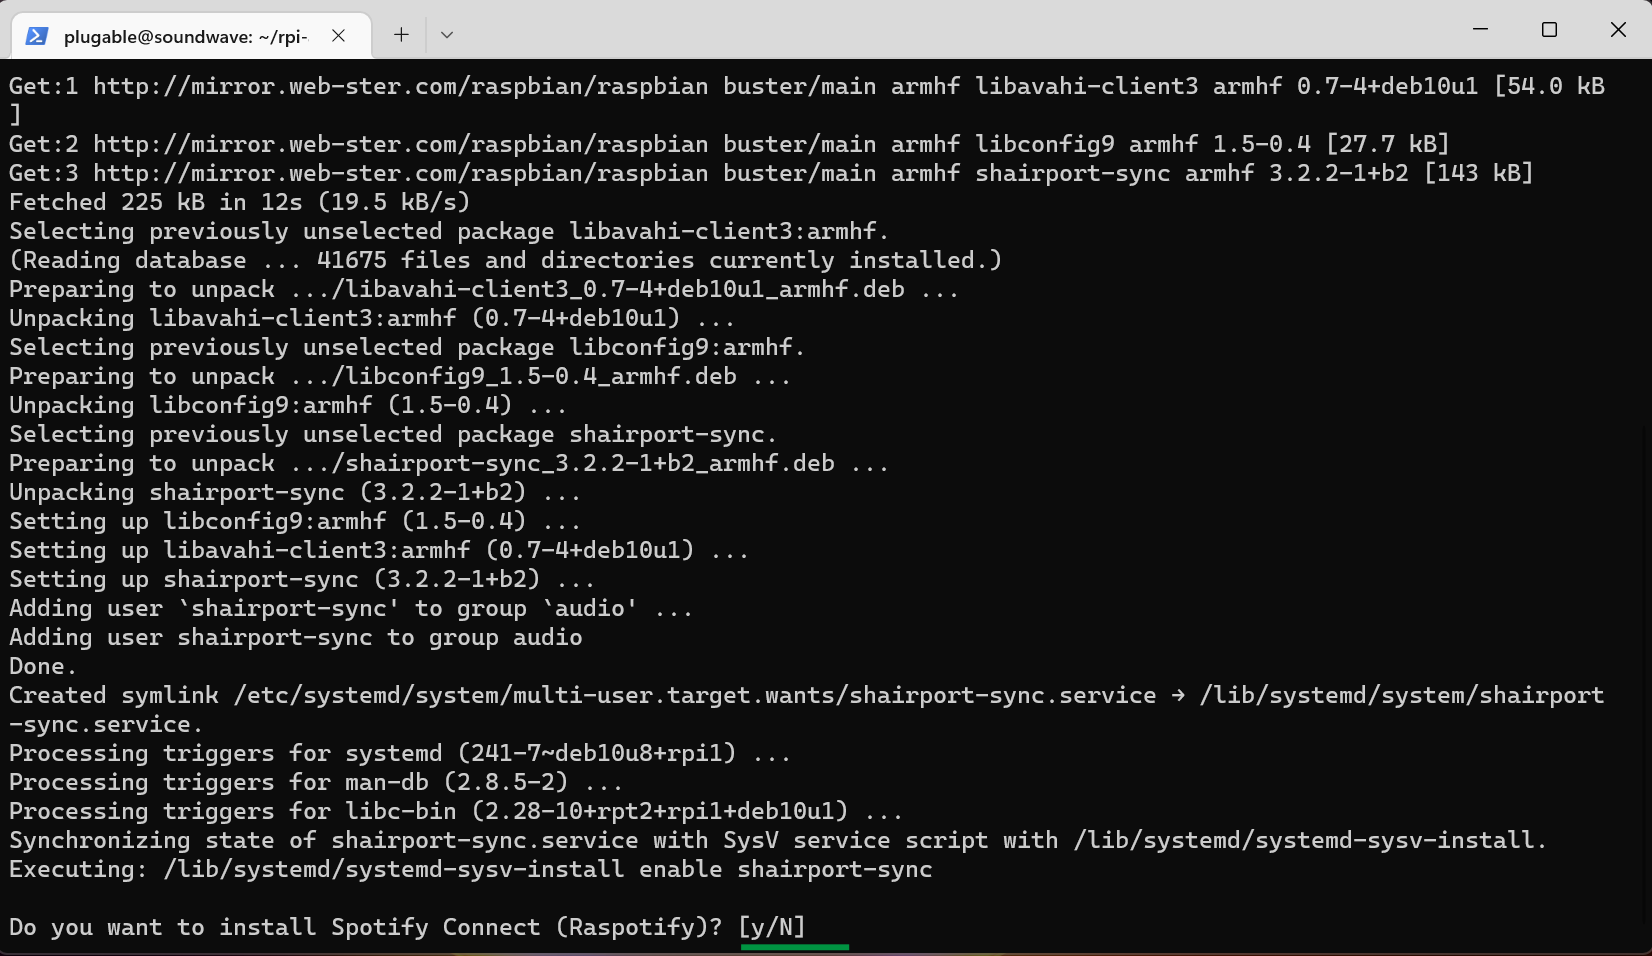
-
Optional - Install Spotify Connect (See the link for more details)
- After you've made your choices we'll need to disable the onboard Bluetooth adapter. There are different ways of doing this, but, editing the boot config is easy to do, and easy to re-enable. Enter
sudo nano /boot/config.txtinto the terminal function showAlert() { alert("Copied to Clipboard!"); }
- Scroll down to the bottom of the file, and type in
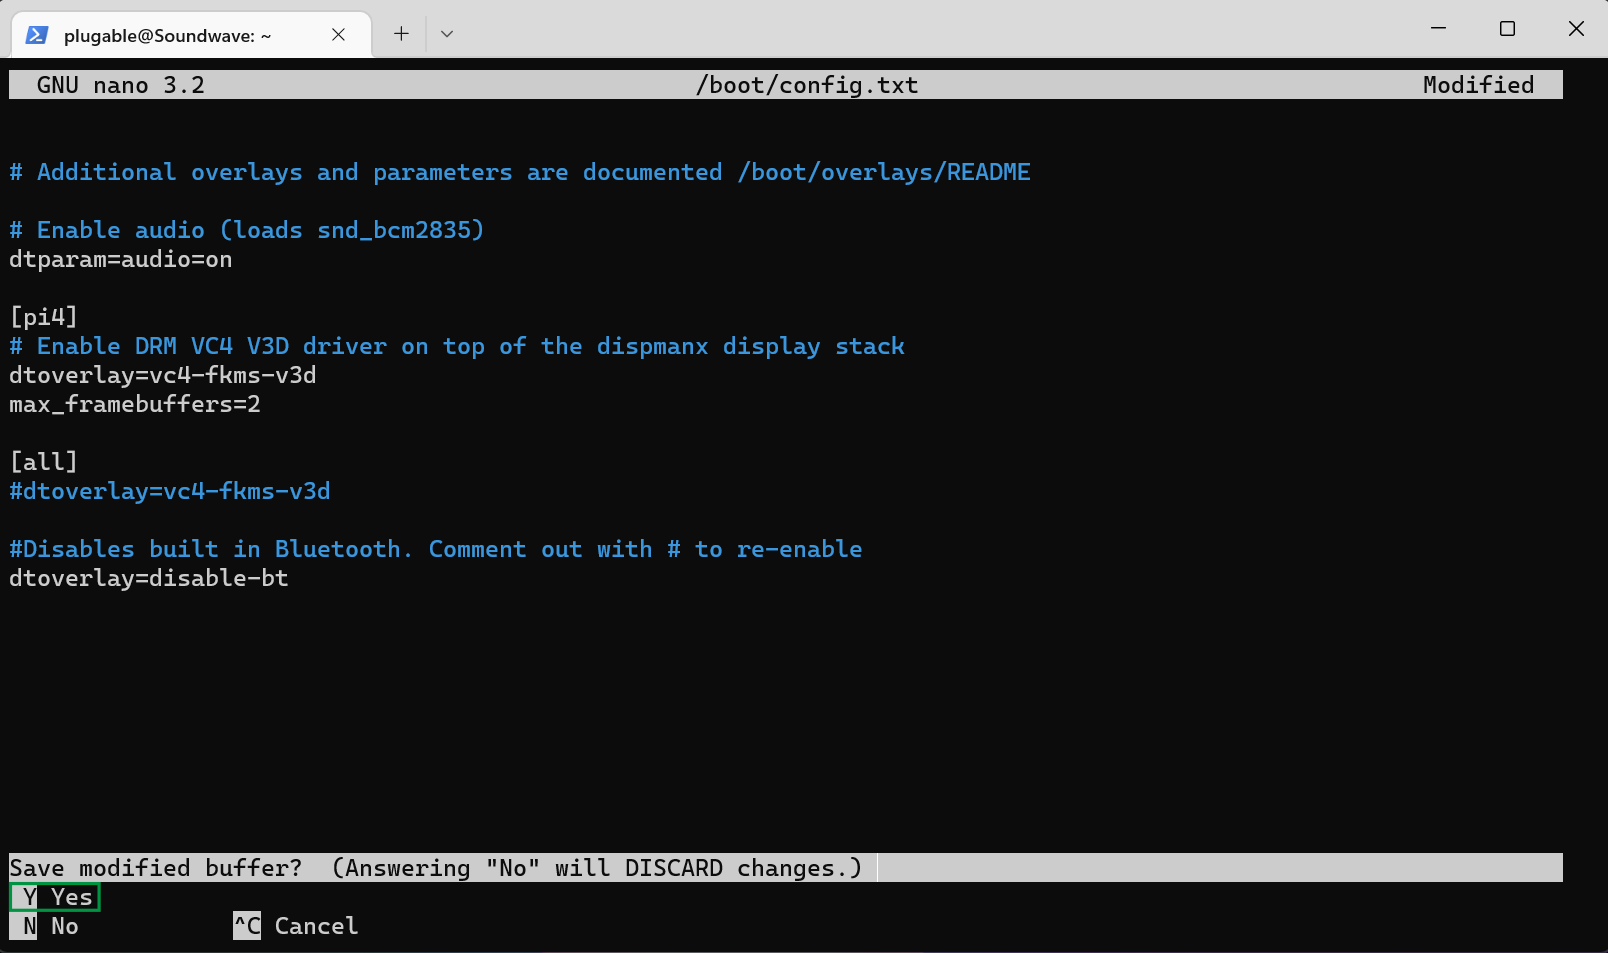
dtoverlay=disable-bt. This will disable the onboard Bluetooth adapter. Now we need to save the file. Press Ctrl and X at the same time on your keyboard to start a save and exit function showAlert() { alert("Copied to Clipboard!"); } .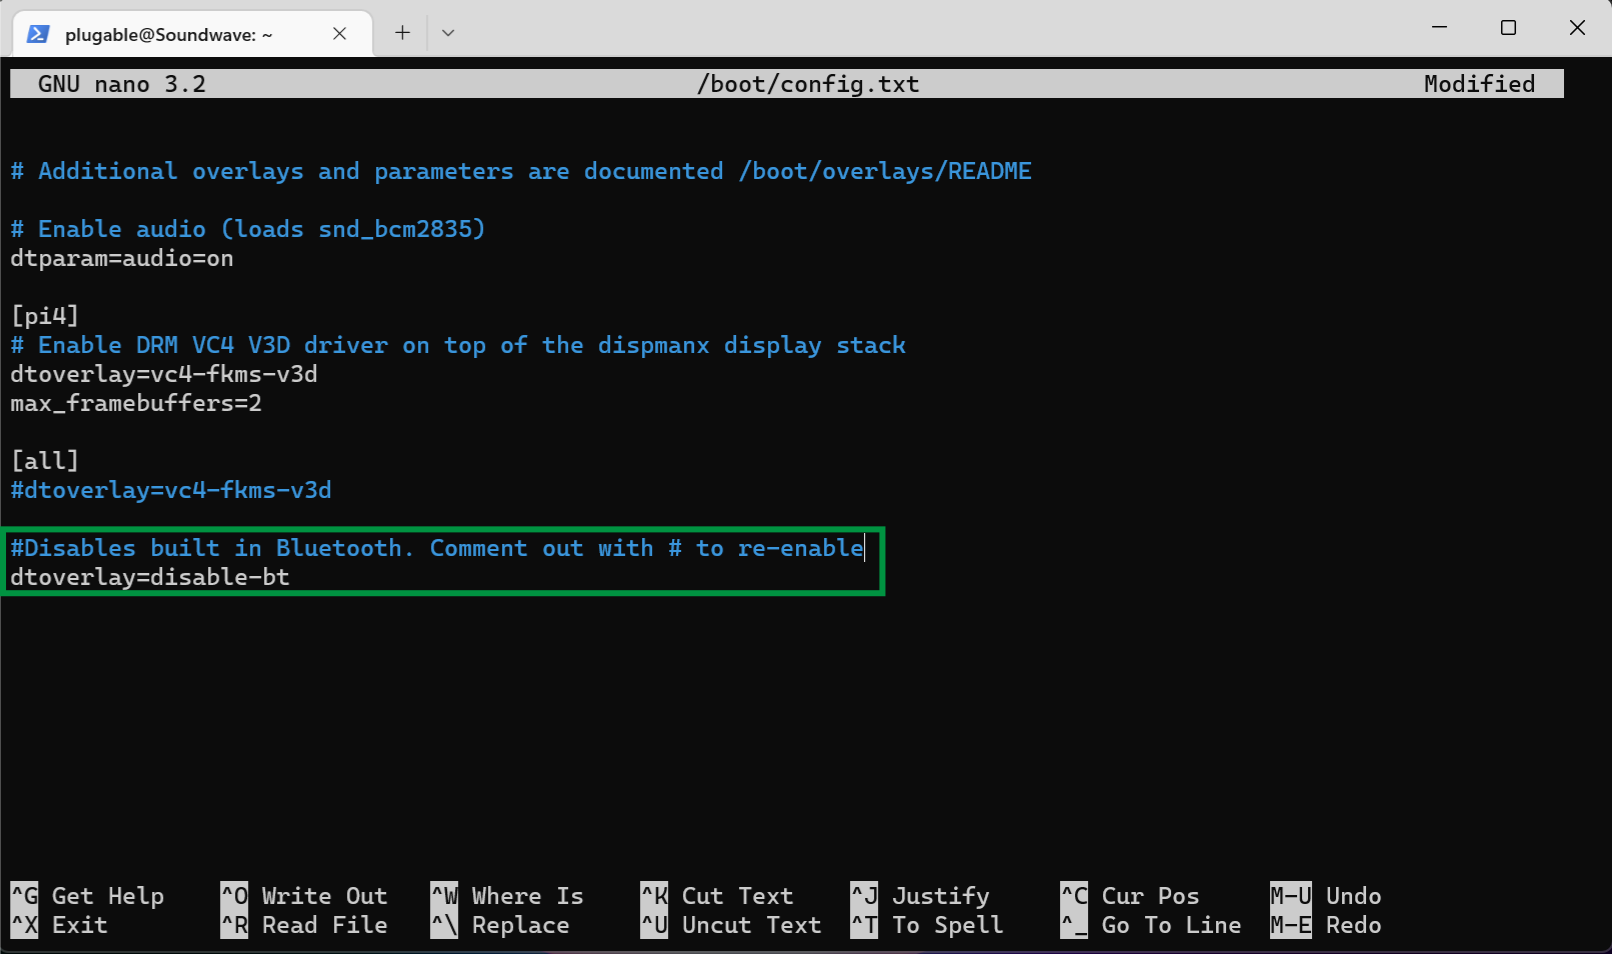
- This is asking us if we want to save what added into the file. Enter y for yes
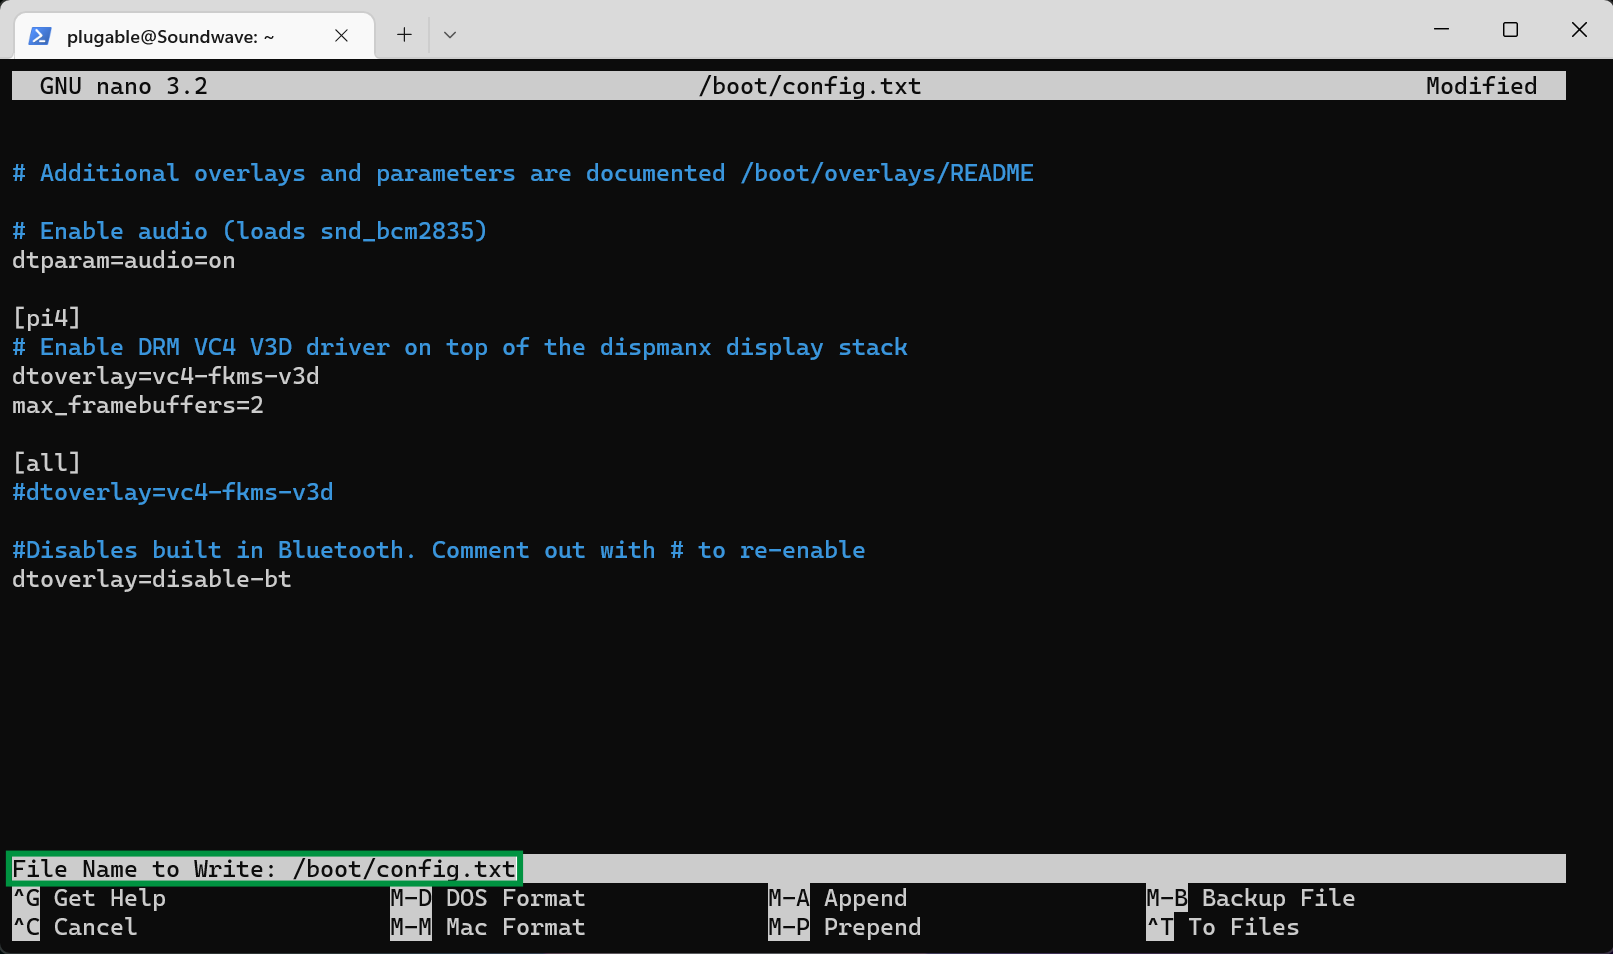
- Next we are going to confirm the file name which is Config.txt. We aren't going to change anything, so press the Enter key to confirm and save the file
- Great! We should reboot for the changes to finalize. Enter
sudo rebootfunction showAlert() { alert("Copied to Clipboard!"); }
Ok. Here we are at the final stage. Let's connect everything up, and test it out! See you there!
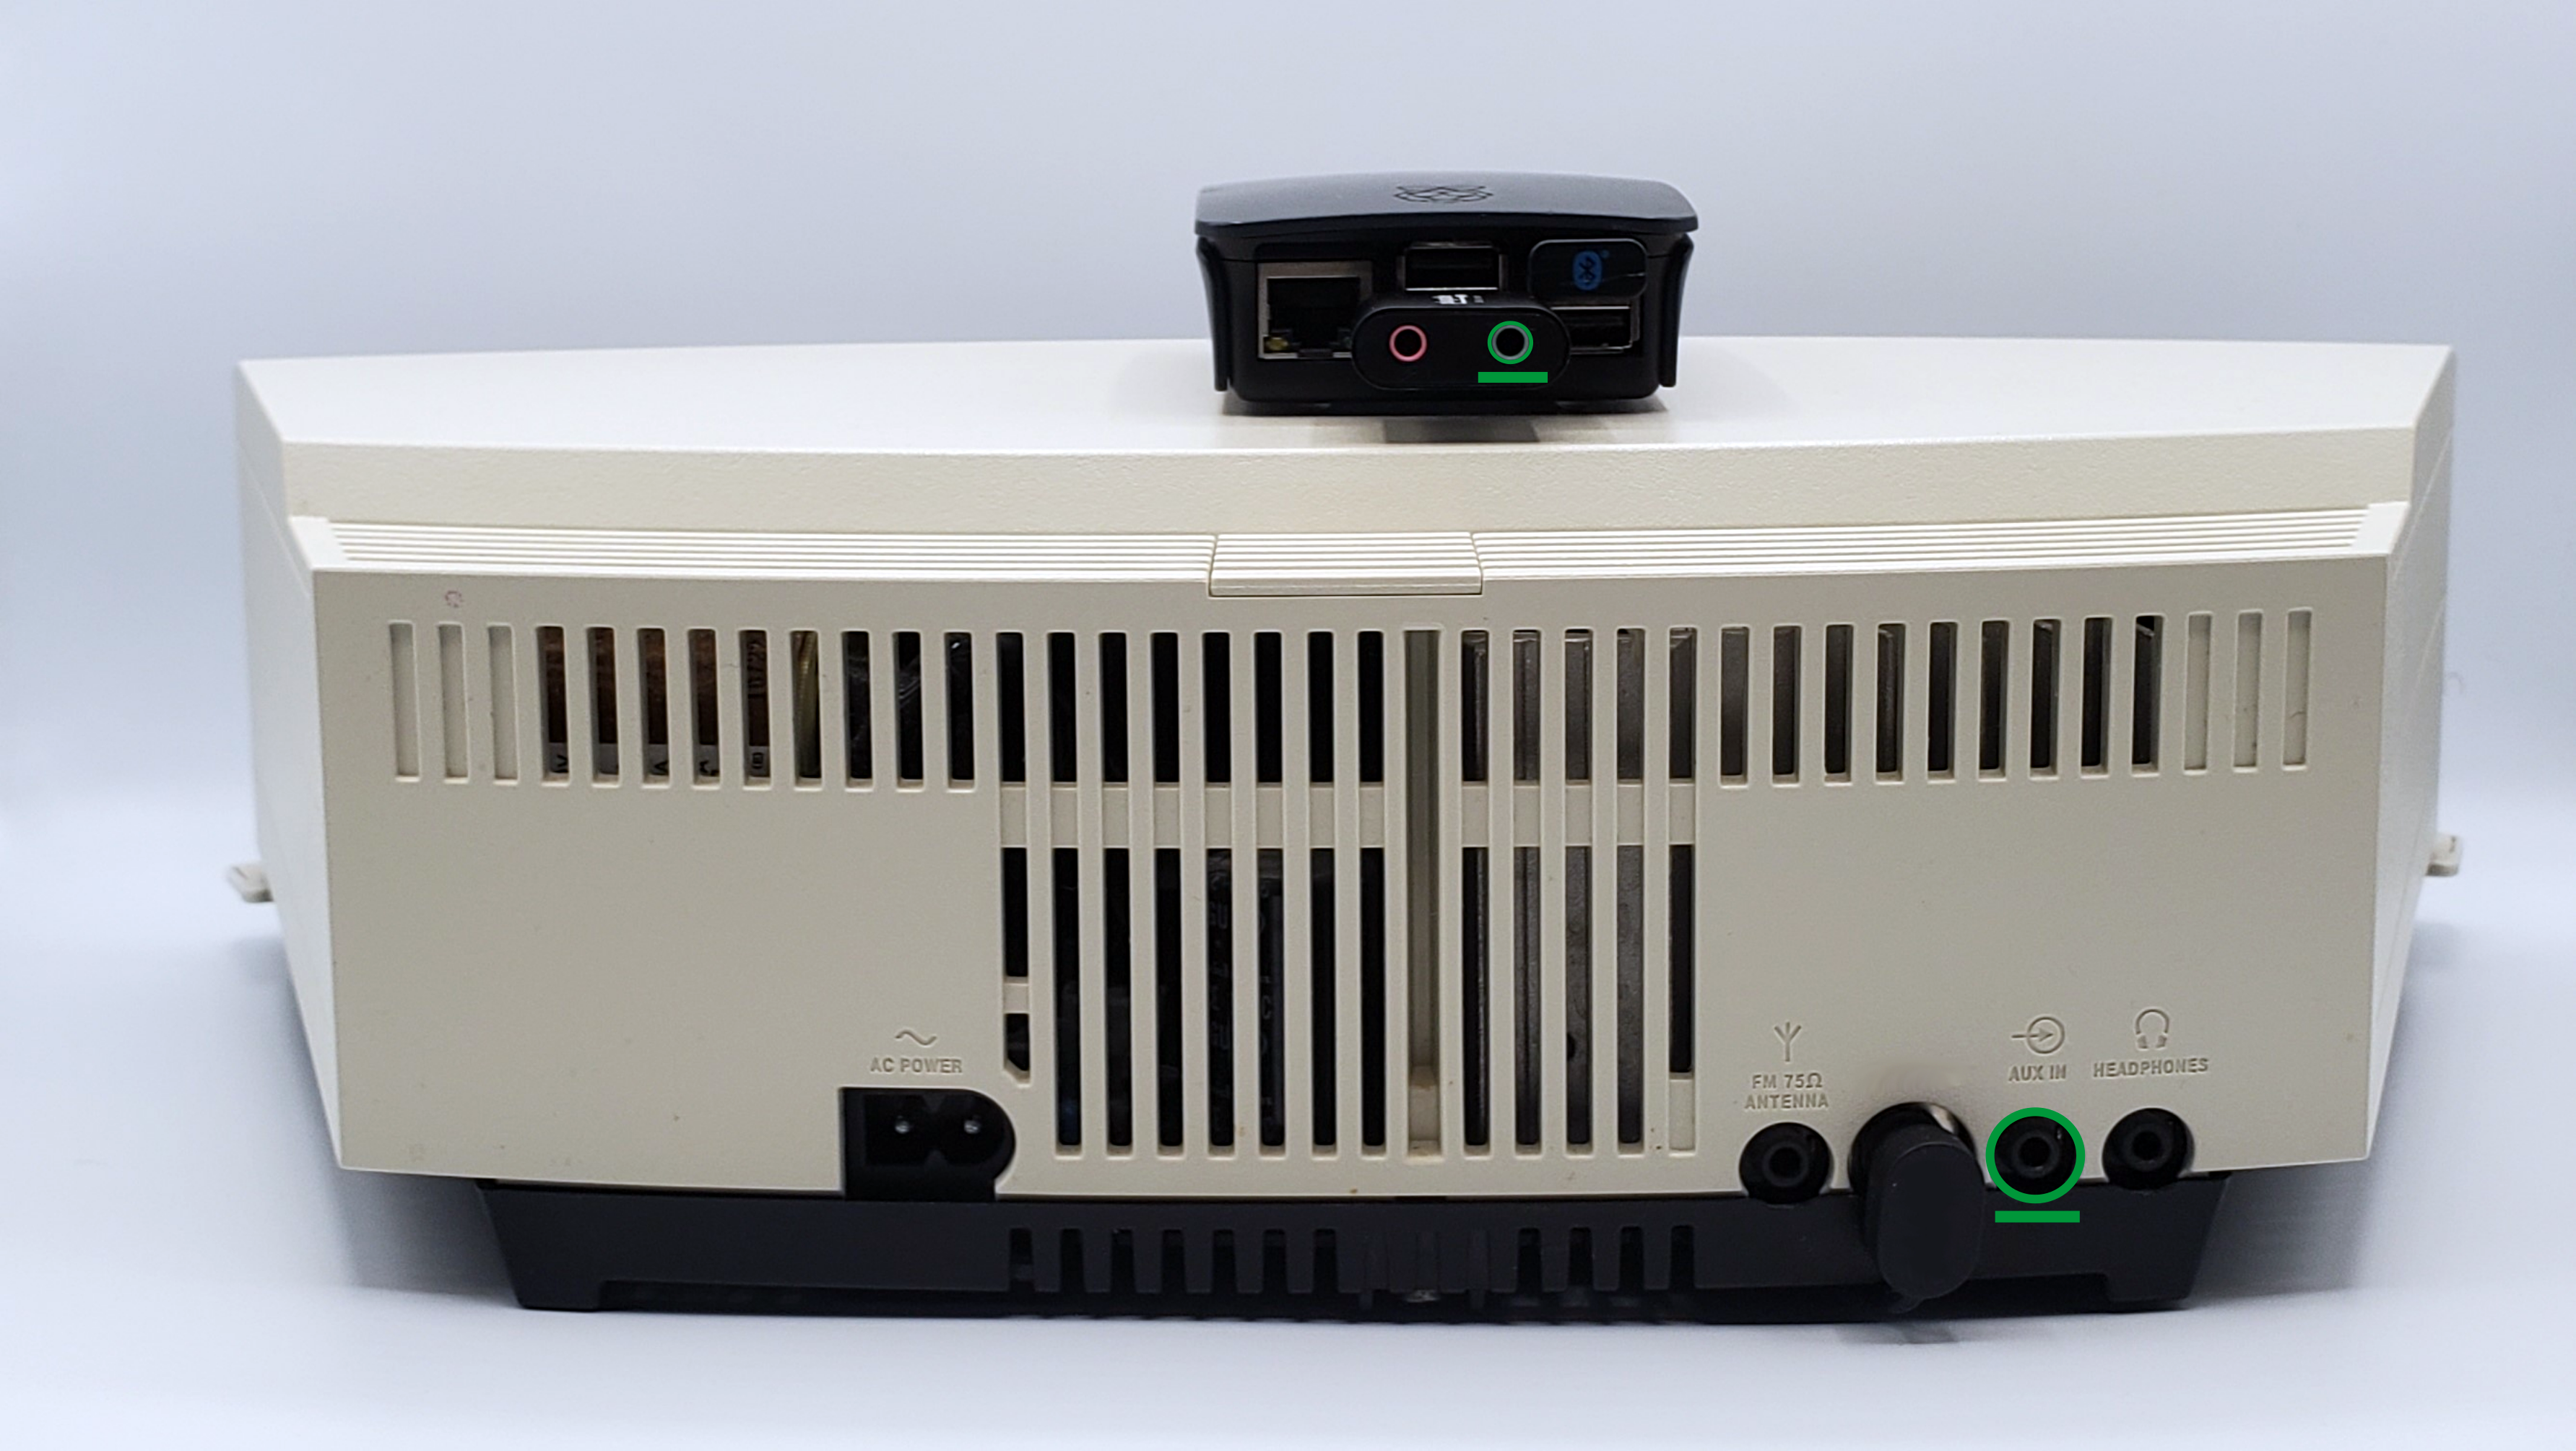
The time has come to test it all out. This older radio still has a great sound, but no network or Bluetooth connectivity. It does however have an Aux In jack and is just right for this project!
- Run a 3.5mm TRS cable from the green audio out jack on the USB-AUDIO into an aux or line in port on your equipment (Equipment varies, but typically you'll want to plug it into an Aux In or Line In jack)
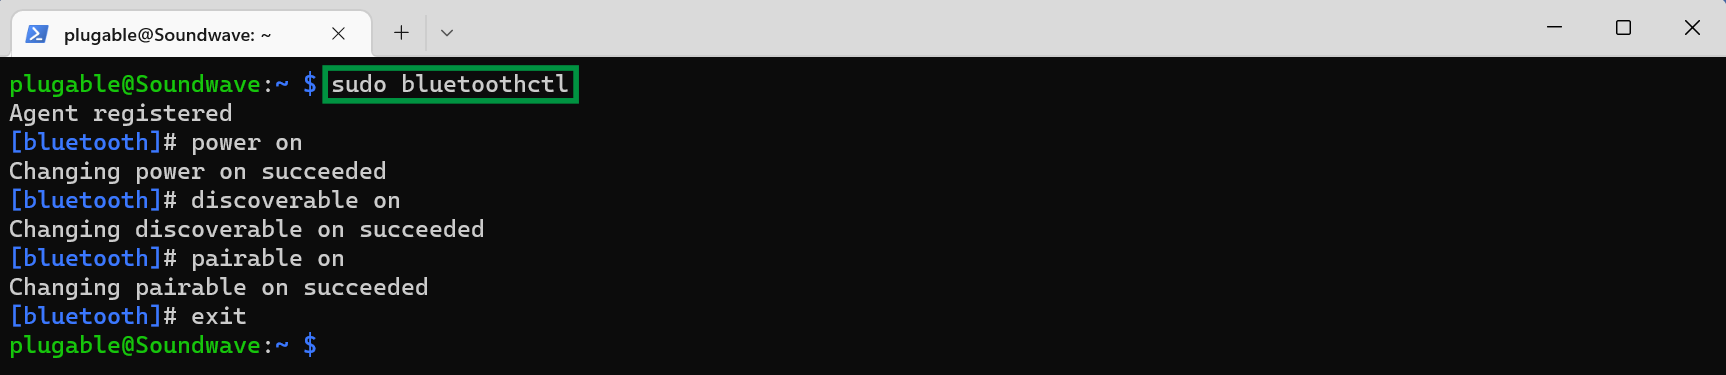
- We need to enter the final commands to get our receiver ready for a signal. Enter
sudo bluetoothctlinto the terminal to get into Bluetooth controls, and then enter the following commands: function showAlert() { alert("Copied to Clipboard!"); }- power on function showAlert() { alert("Copied to Clipboard!"); }
- discoverable on
- pairable on
- exit
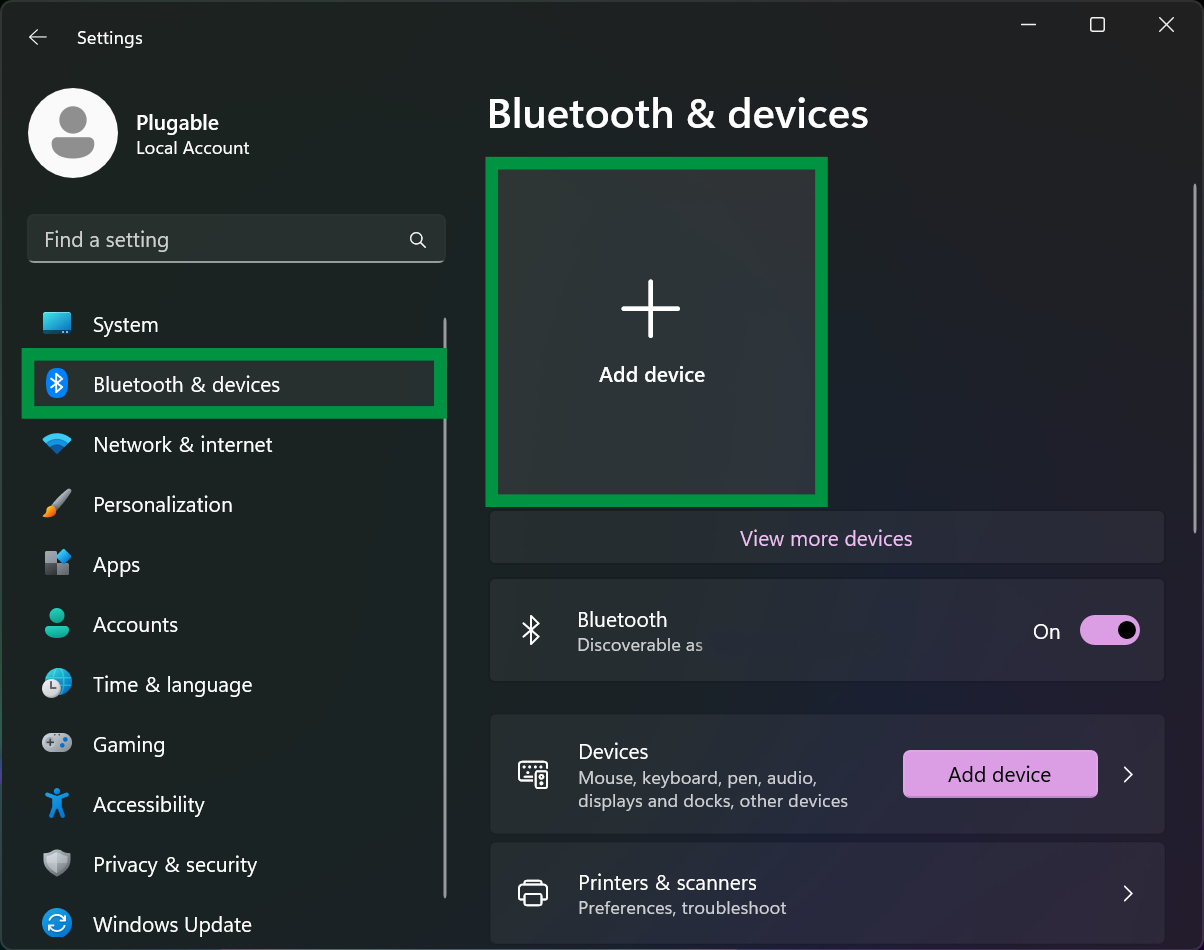
- Now it's time to try connecting to the receiver. Using Windows 11 as an example, go into your Settings > Bluetooth & Devices (or similar section) and click Add device
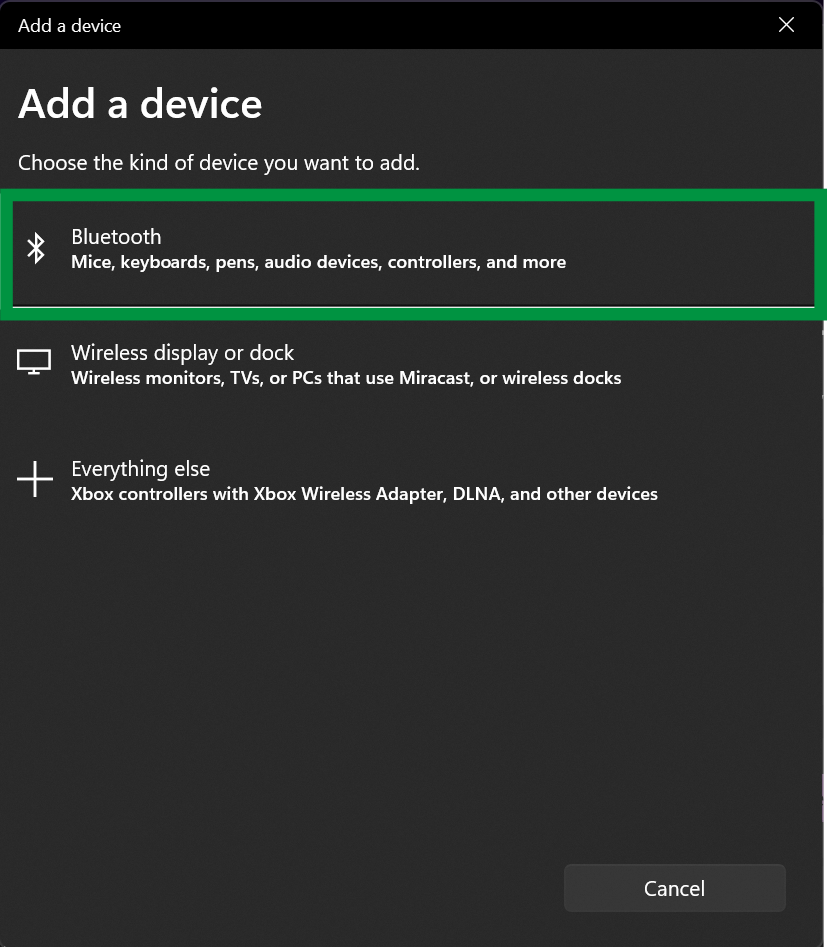
- Next, click Bluetooth
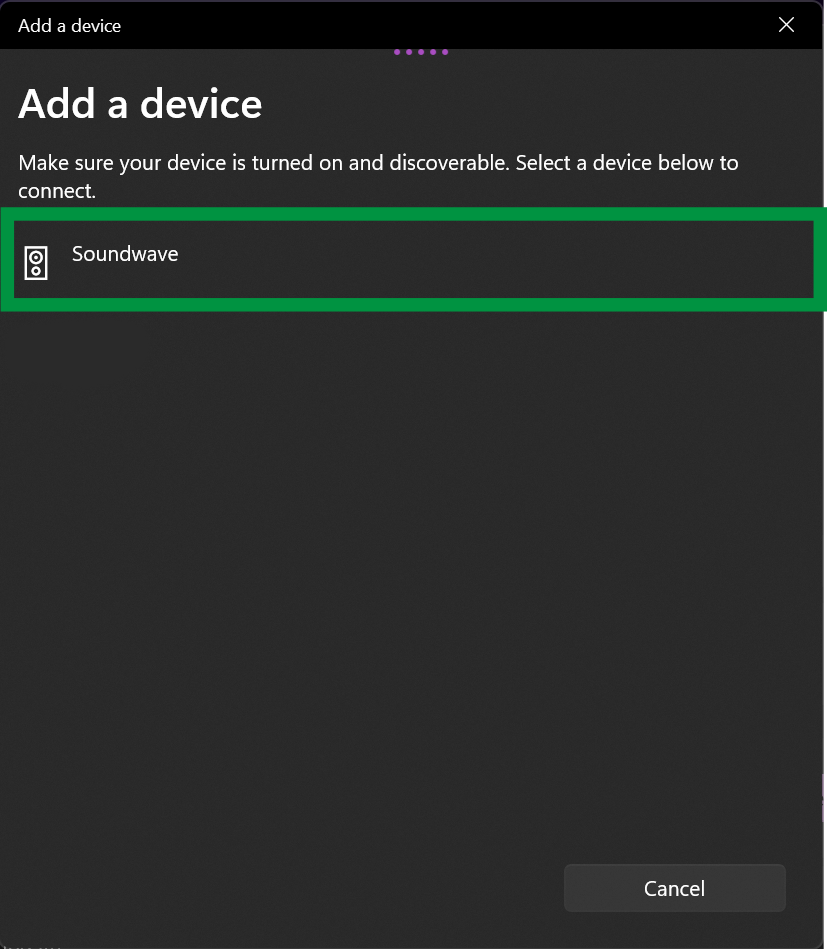
- You should see your receiver listed here. Click on it to set it as your device
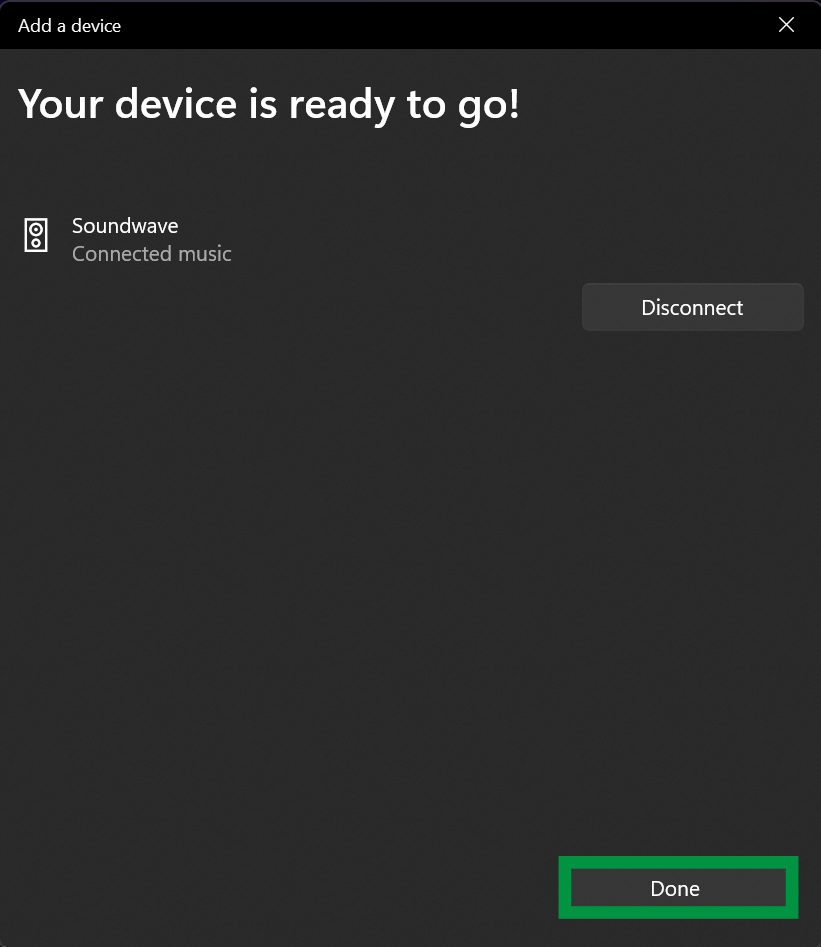
- Great! Our device is ready to go. We can see that it we are connected to it for music. We can click Done
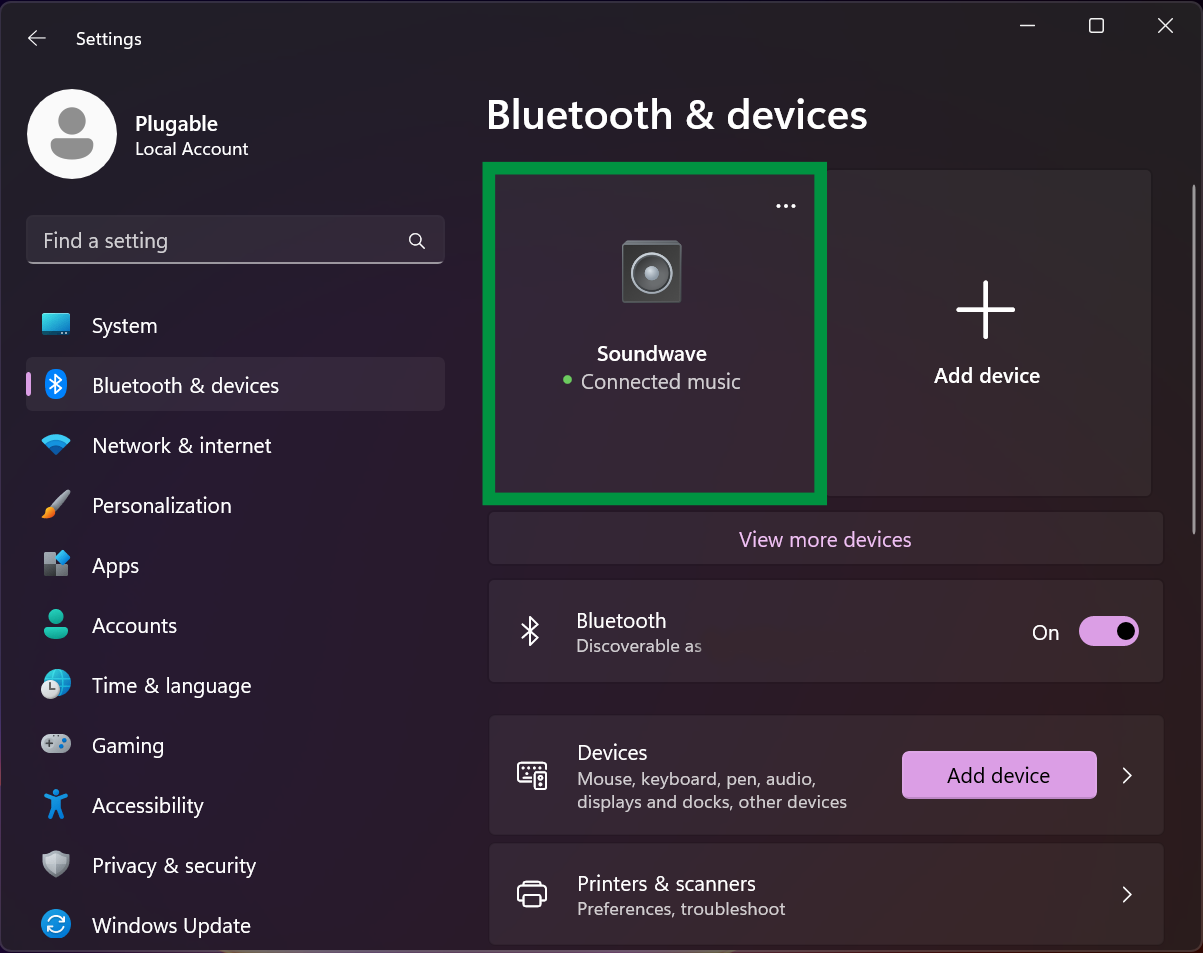
- We should now see our receiver in the main list of devices, and can now stream music to it
There we have it! This is a really neat project, and it's always cool to make something yourself!
Applicable To
- USB-AUDIO
- USB-BT4LE
We hope this was fun, helpful and informative! Feel free to reach out to us directly at: support@plugable.com with any Raspberry Pi project ideas, project results or other questions.
