
Why install Thunderbolt Control Center?
Our TBT-TRAN Thunderbolt Transfer Cable uses Easy Computer Sync software to transfer files between computers, but, a baseline Thunderbolt connection must be made as well. We're going to use the Thunderbolt Control Center software to make the connection between our computers.
There are a few different ways to download and install Thunderbolt software, and in this guide, we are going to get the software from Intel. Click the link below to start the download, which should go into your Downloads folder:
Download Thunderbolt Control Center from Intel
Installation Steps
After downloading, follow the steps below to install:
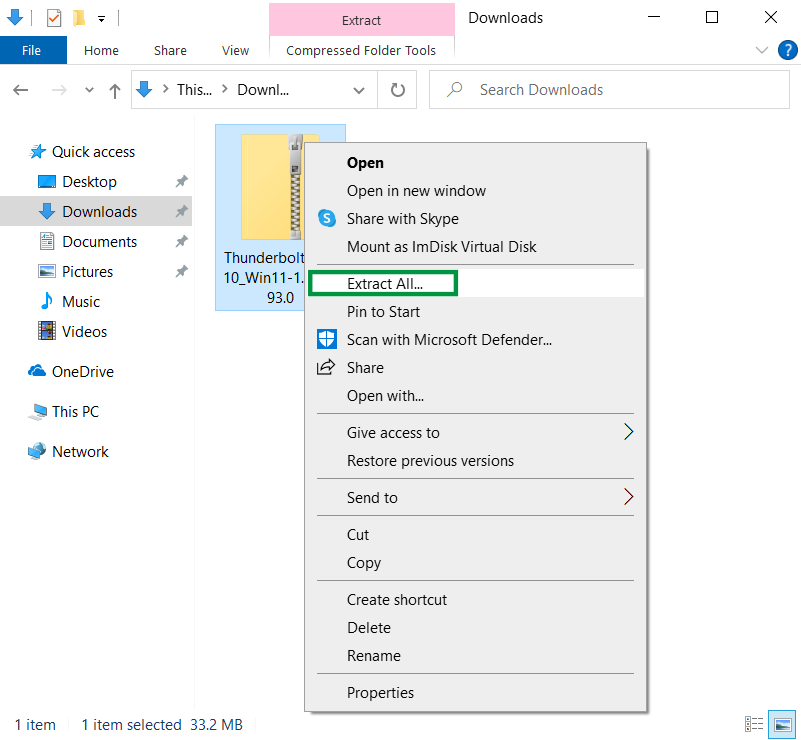
- Go into your Downloads folder, and right-click the Thunderbolt-Win10_Win11-1.41.1193.0 zip archive. This will open up some options for the file. Click Extract All
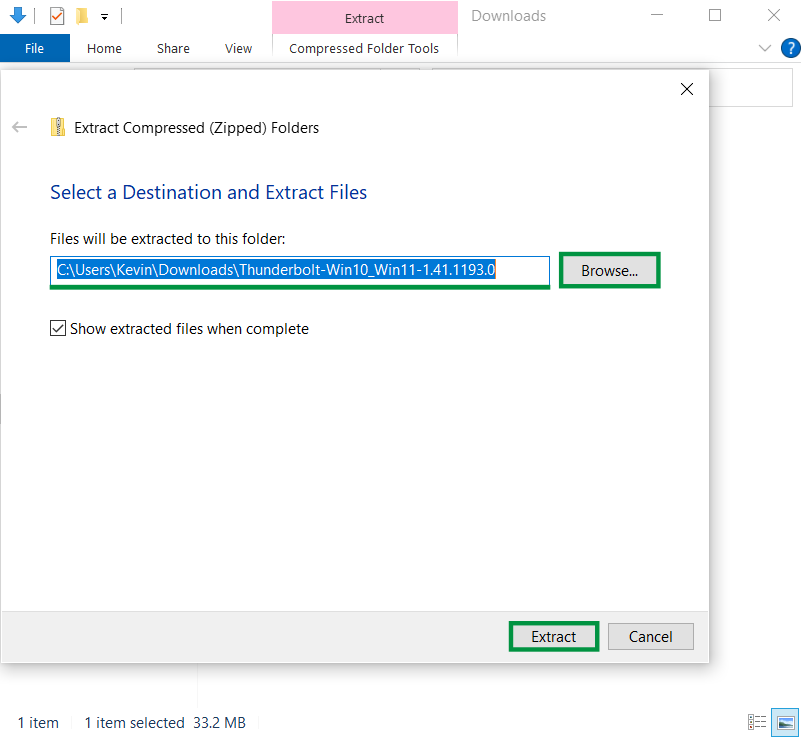
- A screen will pop up you can click Browse, to look for a different location if you'd like. Click Extract, when you're ready to move on
-
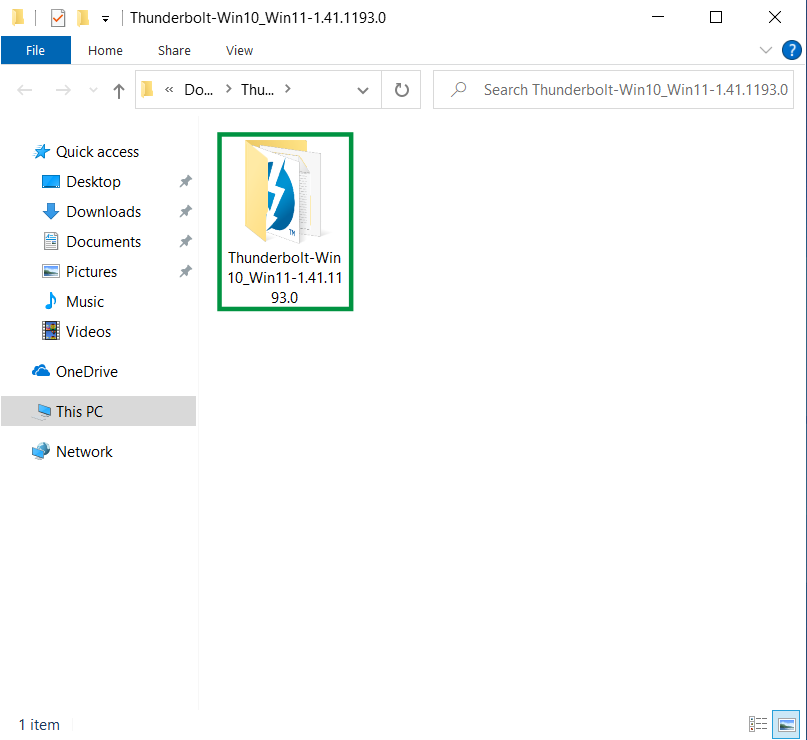
Double-click the extracted folder to open it up
-
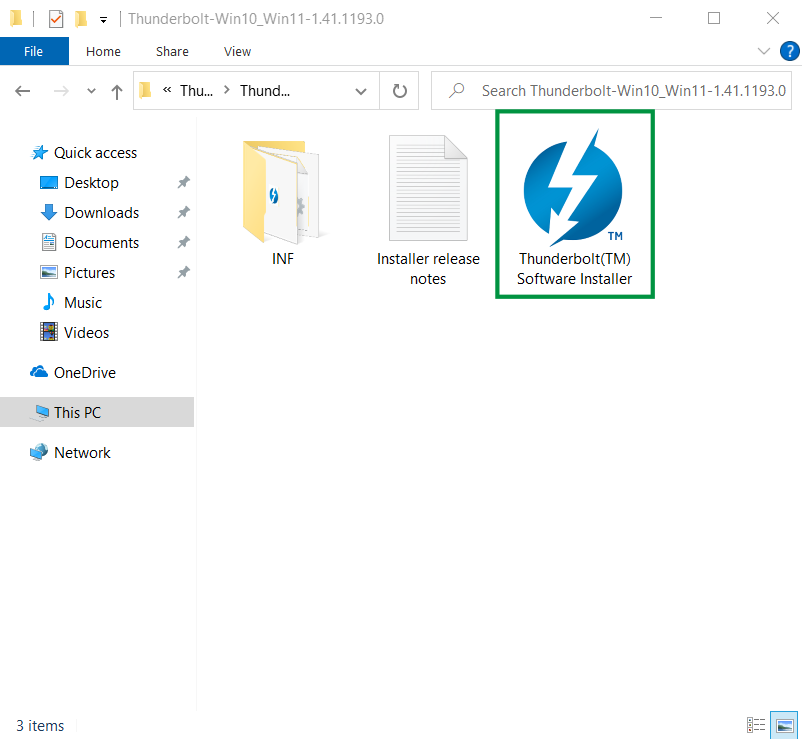
Double-click on the Thunderbolt Software Installer package to start the setup
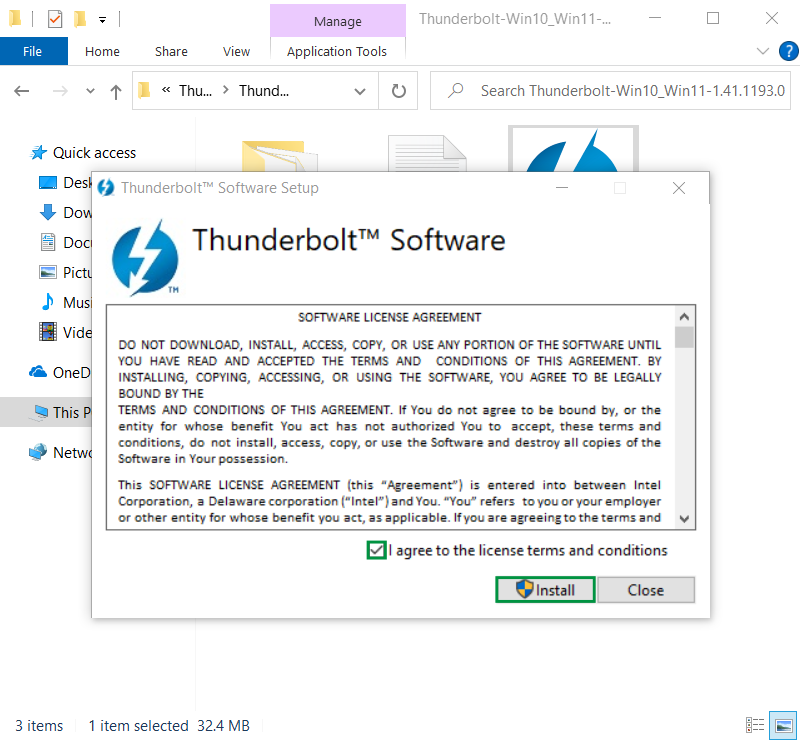
- A screen will pop up with license agreement information. Feel free to take your time reading through the agreement. Once you're ready to move on, click the box to agree, and then click Install to begin the installation
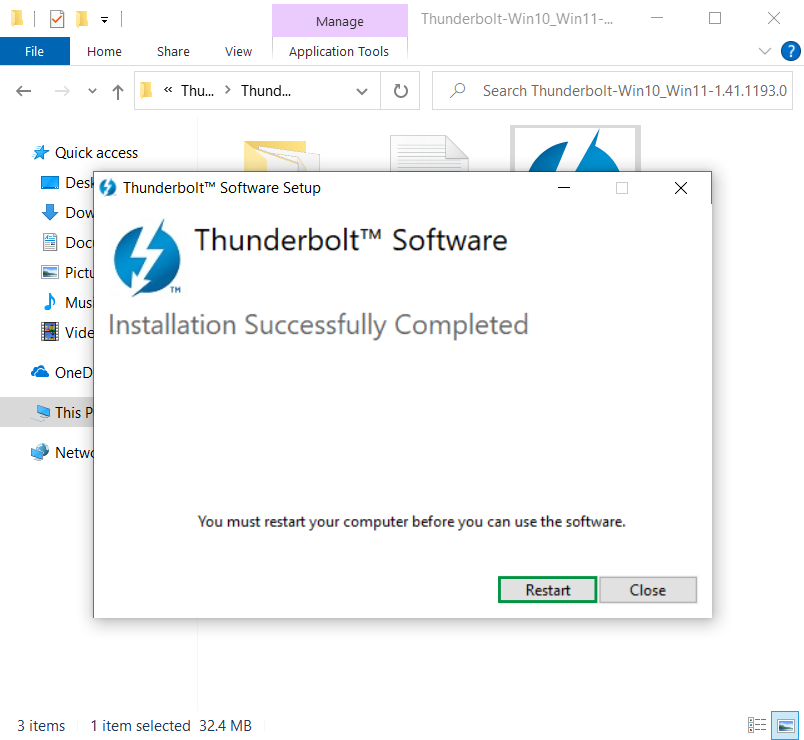
- Great! The installation finished successfully. Click Restart to finalize the installation
After installation
- After restarting, plug the cable in between both computers. Then, let's search for the Thunderbolt Control Center by pressing the Windows Key and the letter S at the same time. Type in Thunderbolt, and the application will show up. There are a variety of helpful options here that you may want to review later, but for now, let's click Open to start the software and check our connection

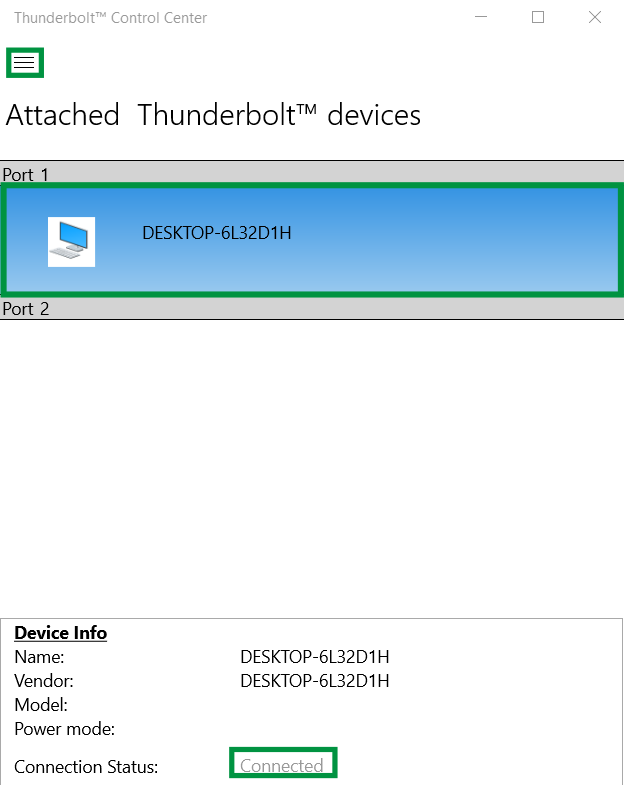
- This is the main screen for the Thunderbolt Control Center. We see that we're connected to the second computer on Port 1. If you click the three vertical lines in the top-left corner of the software you can view additional options which you'll see in the next step
- Here, we have the option to:
- Approve devices
- View Attached devices
- Manage approved devices
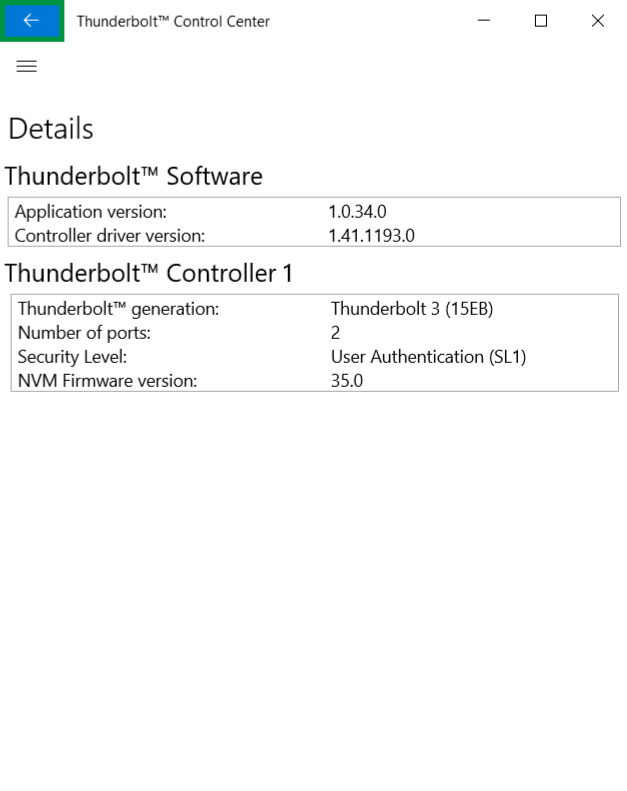
We can also click About, to see additional information about our Thunderbolt connection and software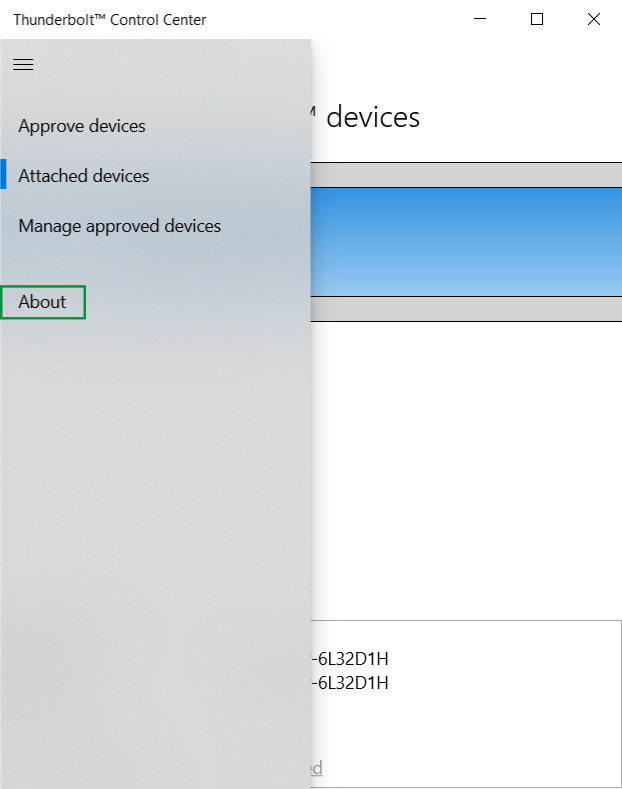
- Great! Everything is set up and ready to go. Click the arrow in the top-left to go back to the connection screen, or click the X in the top-right to close the software. The connection will continue to run in the background
Now, you're ready to download and install Easy Computer Sync onto your computers! You can follow along with this step-by-step guide:
How to Install Easy Computer Sync
We hope this was helpful! Feel free to reach out to us directly at: support@plugable.com with any questions or concerns