
This guide will help you install Bravura Easy Computer Sync software onto your Windows computers for use with our Easy Transfer Cables. Click the link below to download the latest version of Easy Computer Sync. A window will open for you to save You can use your default Downloads folder, or pick another folder that works for you. Once you've picked a folder, click Save, to start the download.
Easy Computer Sync v3.0.0.3.zip
Follow the ordered steps below after you've downloaded the software installation package.
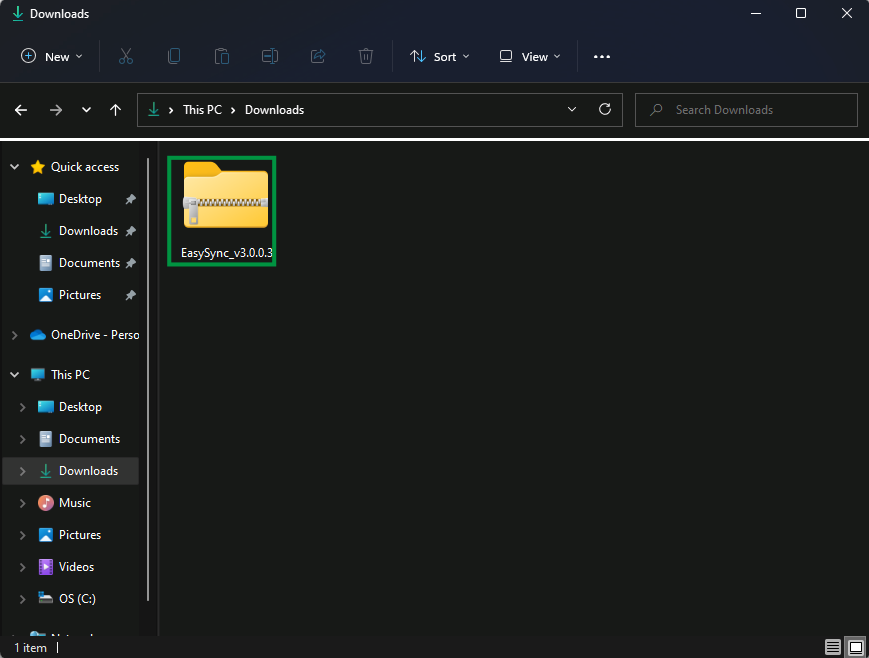
- When the download finishes, go into the folder you picked and double-click on the EasySync_v3.0.0.3.zip file to open the archive
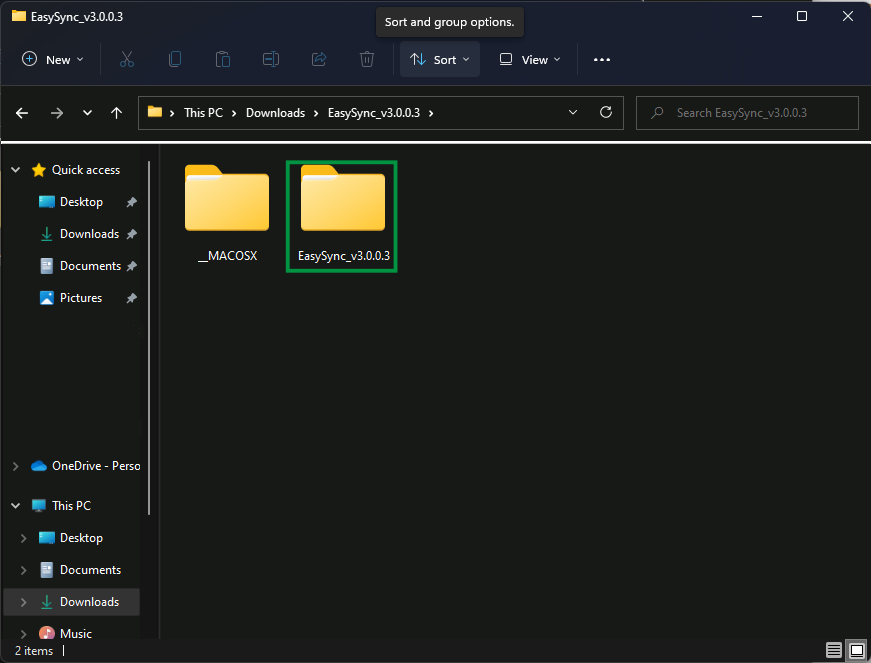
- Next, double-click on the EasySync_v3.0.0.3 folder which is inside the archive to open it
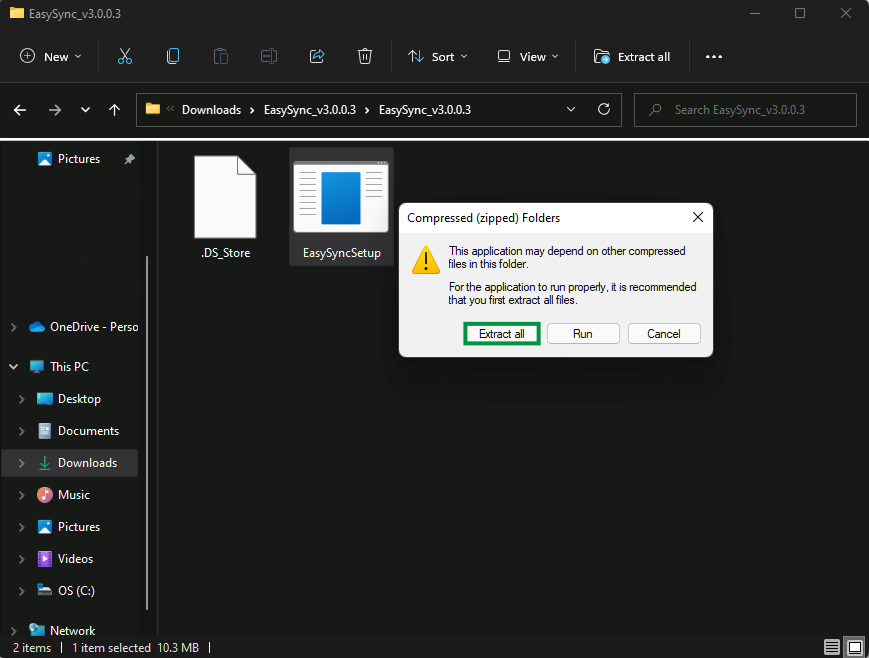
- Double-click on the EasySyncSetup application to start. A message will pop up stating that it is recommended for the application to be extracted. Let's take that recommendation, and click Extract All
- Here we can click Browse to pick a new location, and we can click Extract to extract the files

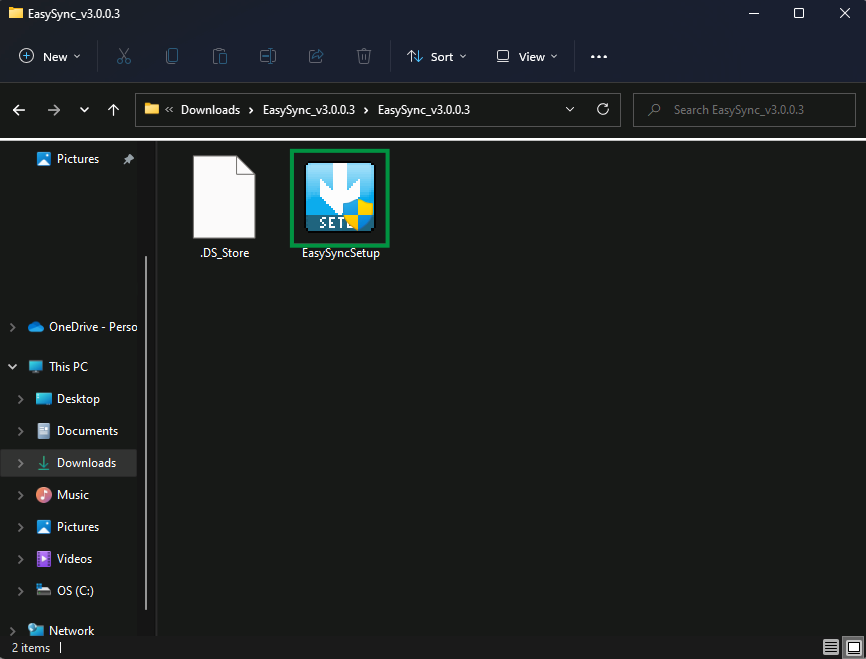
- A new window should automatically open with the extracted folder inside. But if it doesn't, you may need to navigate there yourself. Click on the EasySyncSetup application in the extracted folder to start the installation process. Note - Windows User Account Control (UAC), may pop up and ask you for permission to run the application. If it does, click Yes to allow the changes
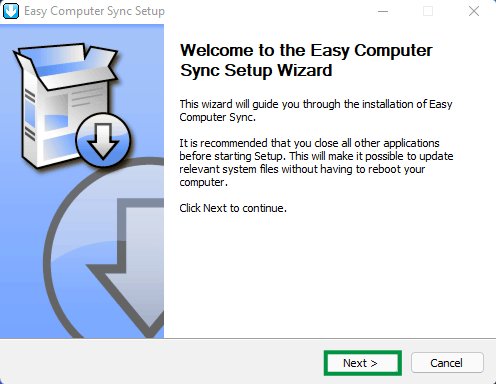
- You'll be greeted by the software welcome screen. Click Next > to continue
- Now we come to the License Agreement. Feel free to take your time to read through the license information, and click I Agree when you're ready to move on

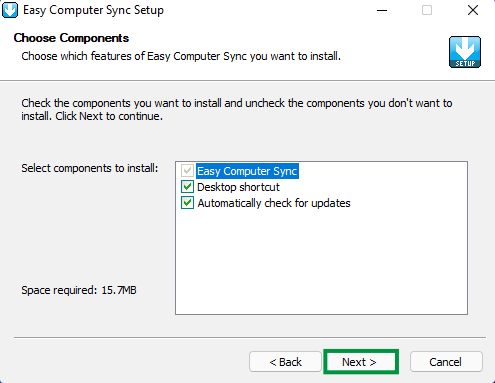
- Choose the components to install. Let's leave the default settings alone for easy operation. Click Next > to move on
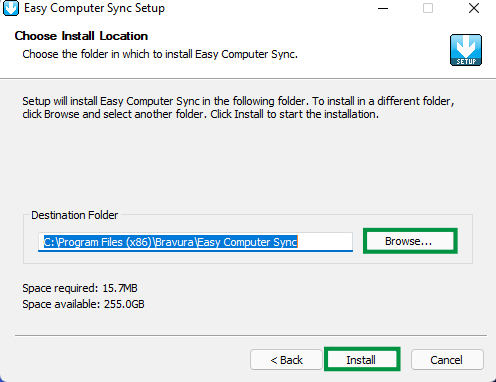
- We need to choose the location for installation. The software uses C:\Program Files (x86)\Bravura\Easy Computer Sync\ as the default folder. But, you can click Browse to pick a new folder if you'd like. Click Install once you've made your decision and the installation will start
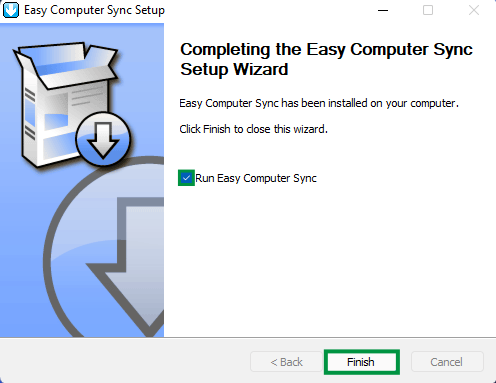
- Great! The installation is complete. Let's restart both computers for good measure after installing the software. Click the box to uncheck the option to Run Easy Computer Sync, and then click Finish to exit the installer and then restart your computers
There we have it! The software is installed, and ready to use! Plug the cable in, start the software and make the connection, then choose the transfer mode that works for you.
We hope this was helpful! Feel free to reach out to us directly at: support@plugable.com if you have any questions or concerns.
